Vendor Nacha Setup:
Note:Vendors must have the appropriate ACH/NACHA setup to use NACHA Transmissions as a payment method in AP Run Batches.
Contact I.T to set up your bank for NACHA implementation.
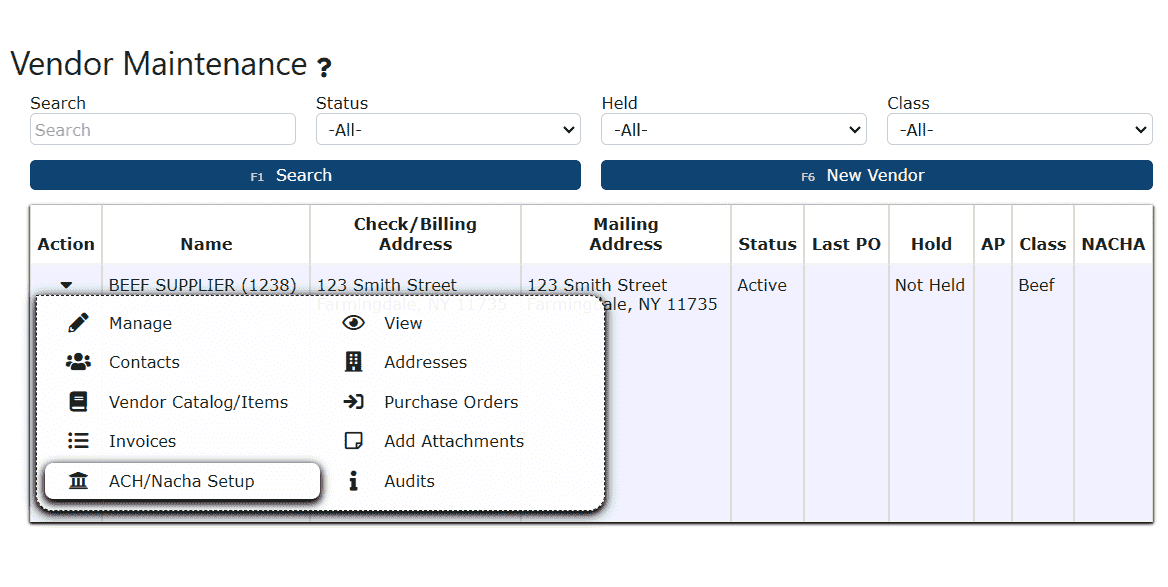
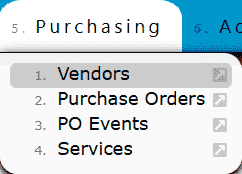
1. Go to the Purchasing Menu and click on the Vendors Sub-Menu.
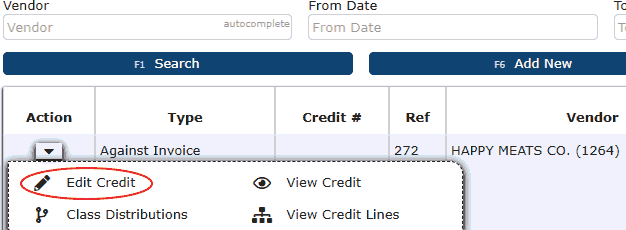
2. Click on the Carrot icon next to the desired vendor, then click on the ACH/NACHA Setup icon.
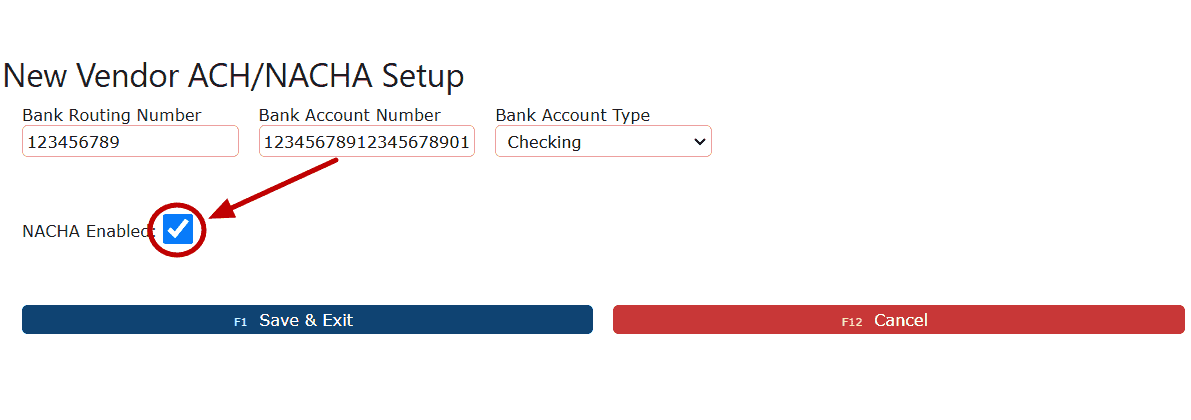
3. Fill in the Vendor's bank information and select either Checking or Savings from the Bank Account Type dropdown.
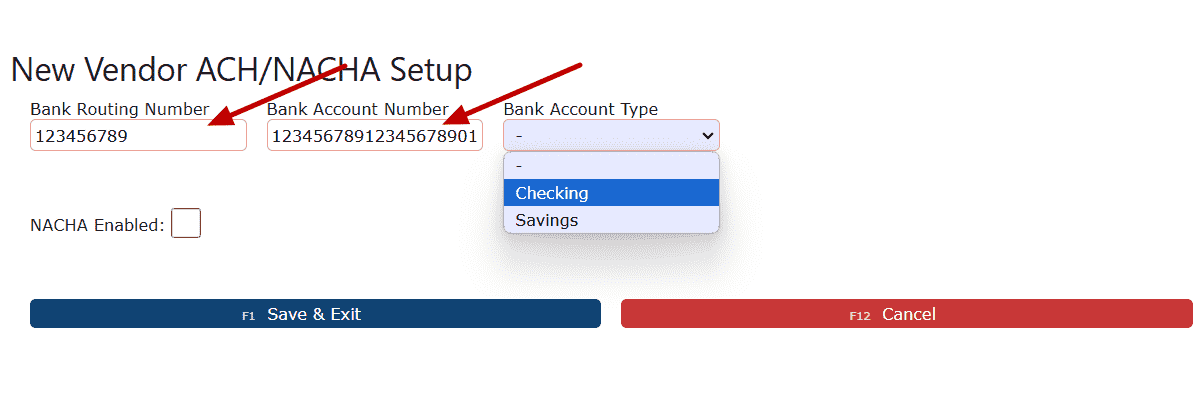
4. Check the NACHA checkbox to enable NACHA transmissions.
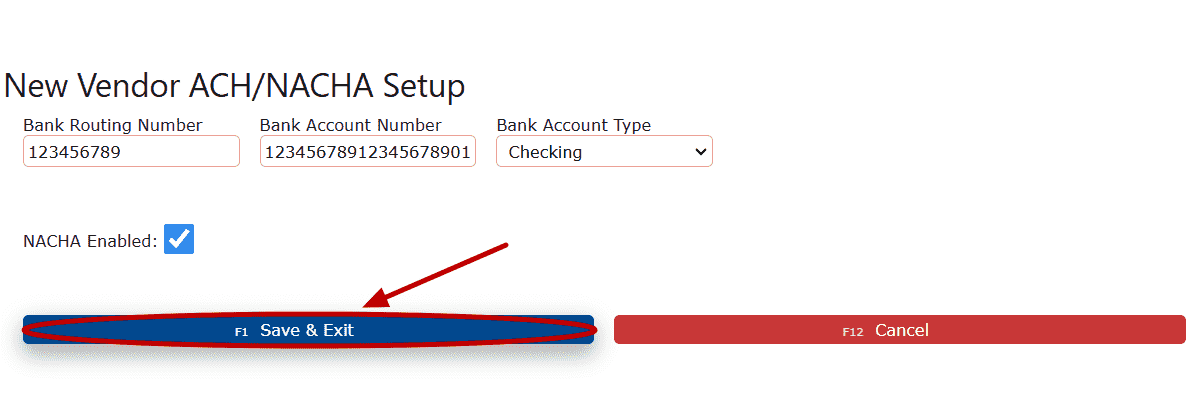
5. Click on Save & Exit.
Creating and Posting an AP Run Batch For NACHA:
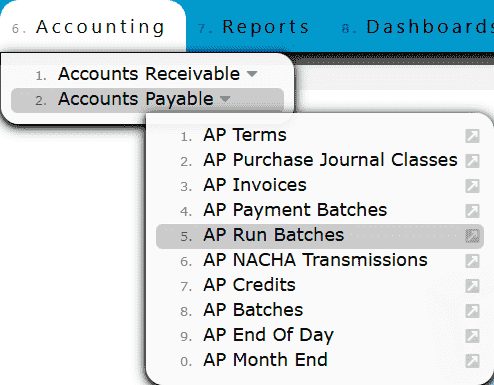
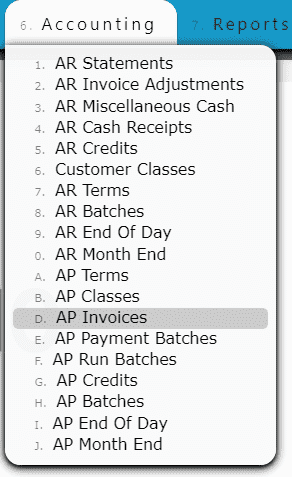
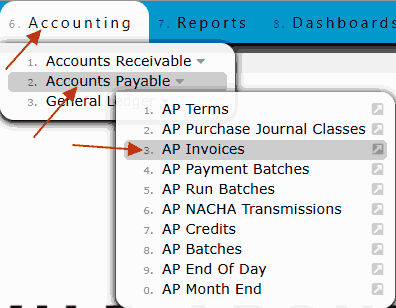
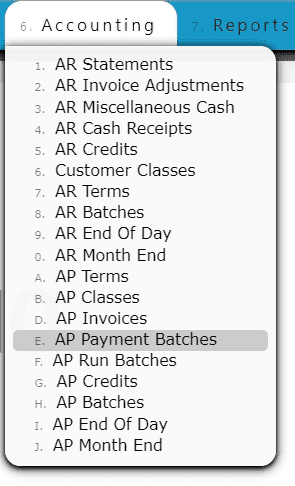
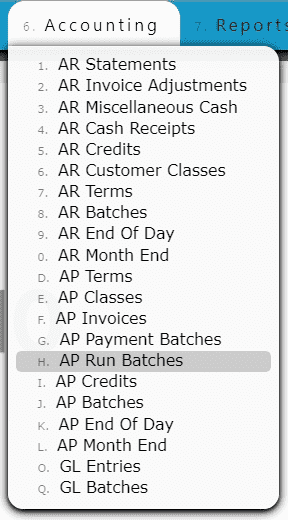
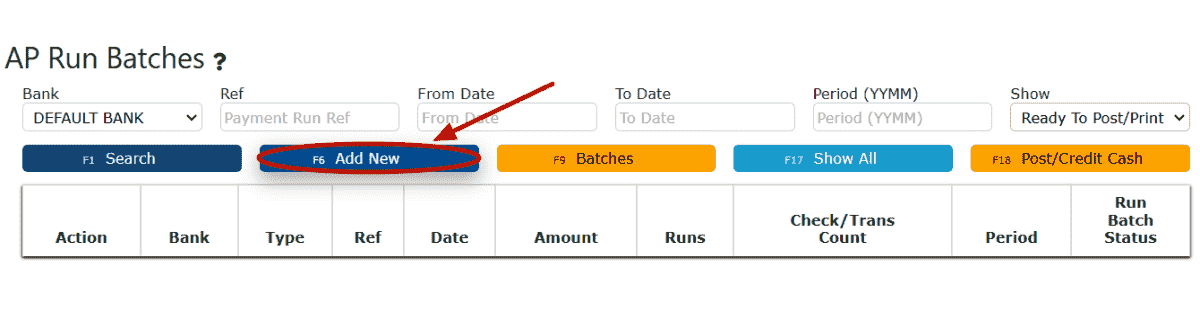
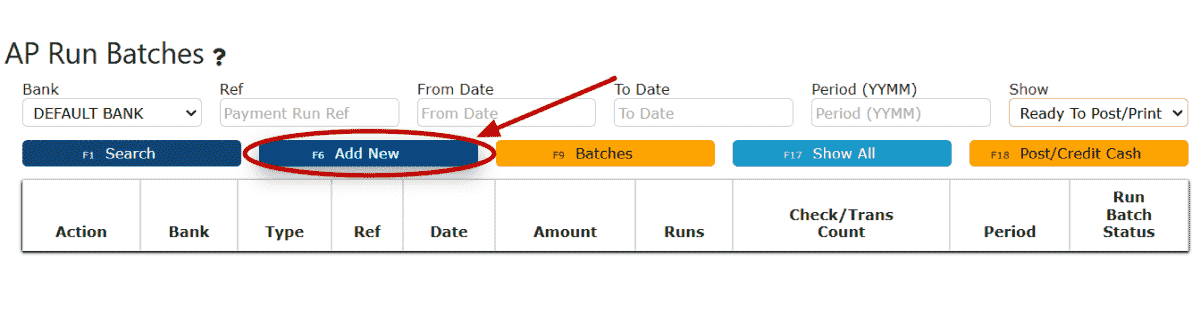
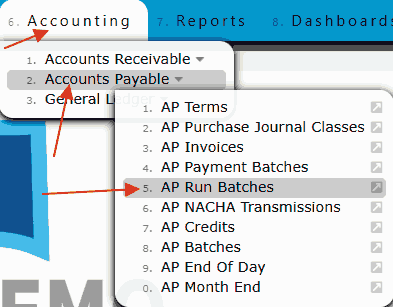
1. Go to the Accounting Menu, hover or click on the Accounts Payable Sub-Menu, then click on the AP Run Batches Sub-Menu.
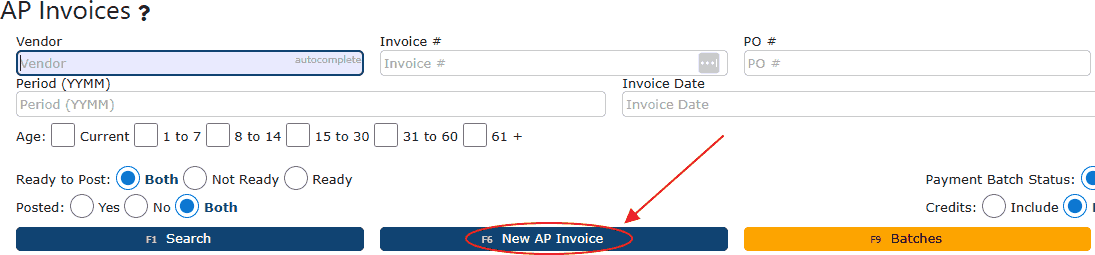
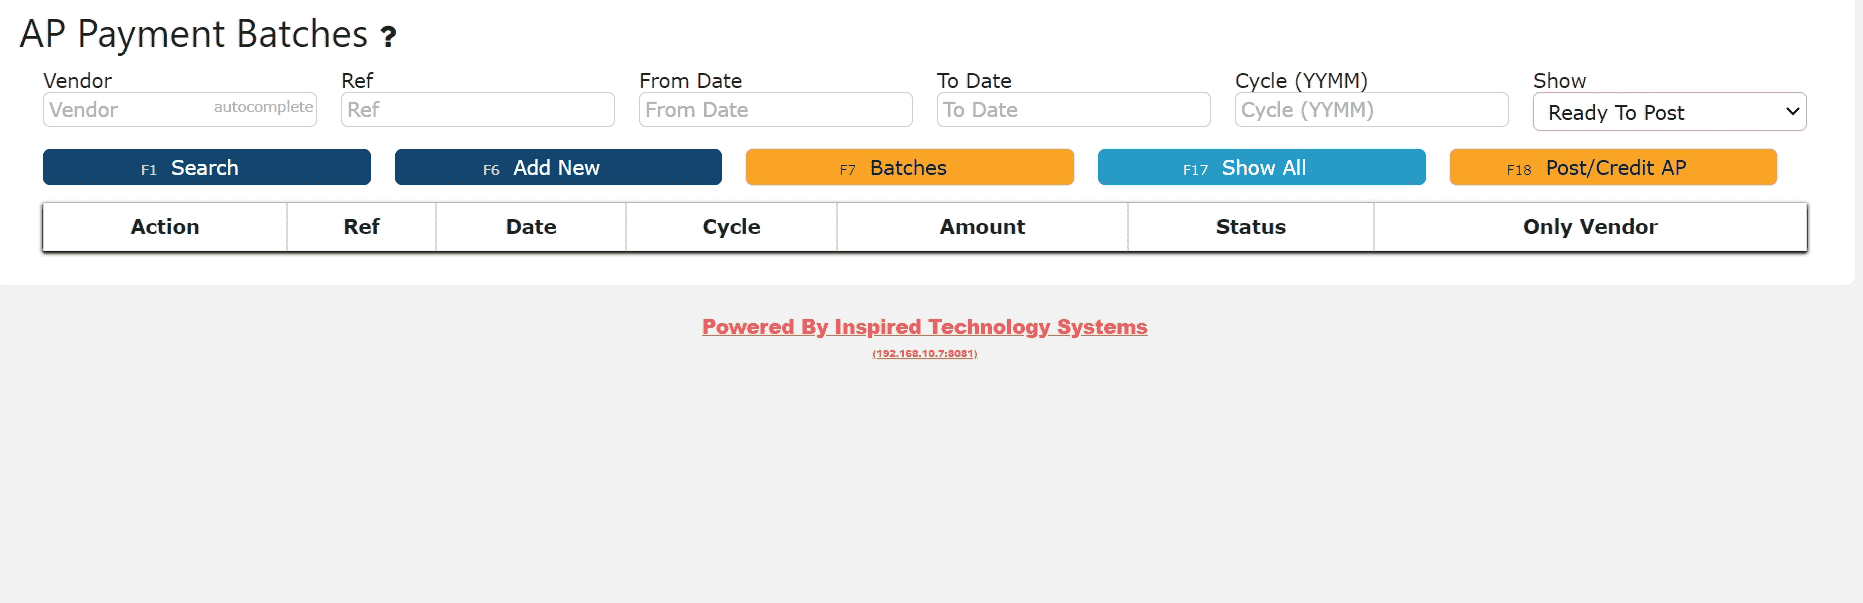
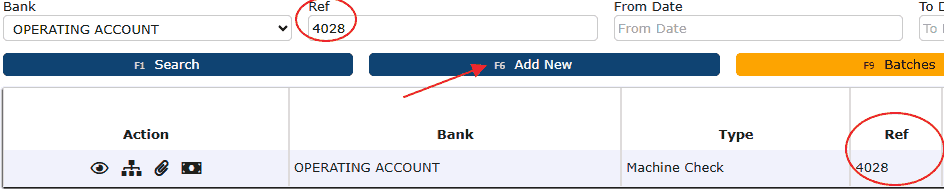
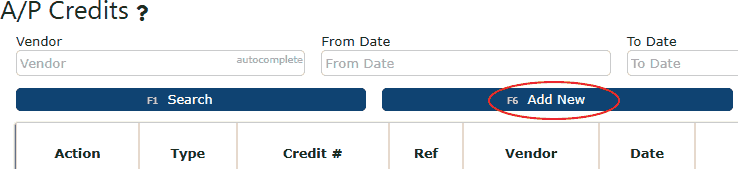
2. Click on the Add New Button.
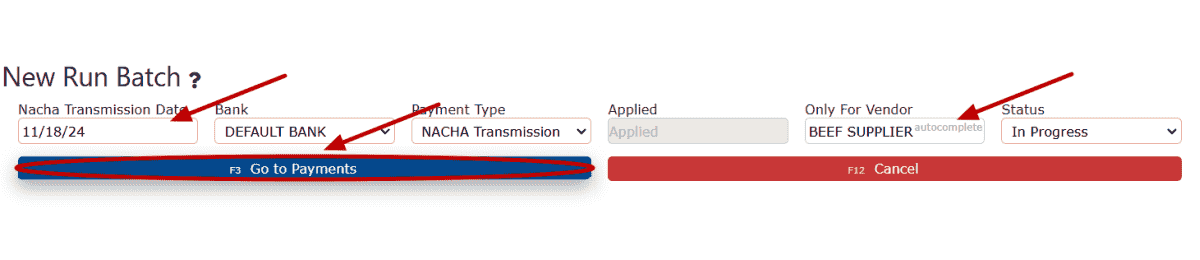
3. Select NACHA Transmission from the Payment Type dropdown.
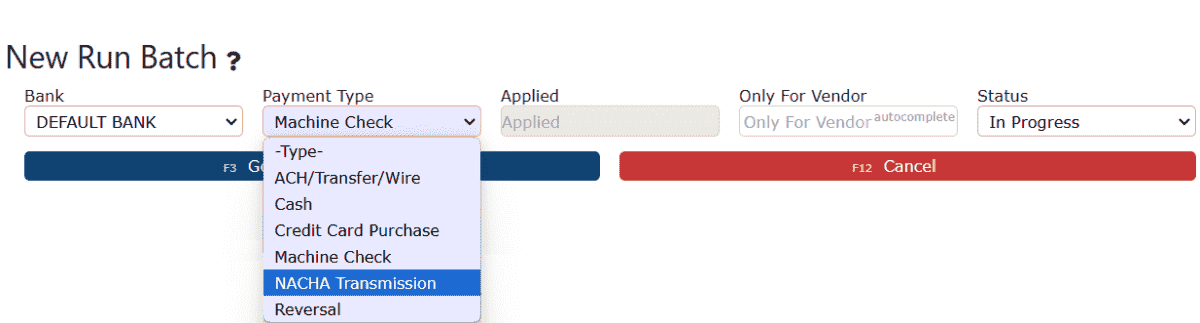
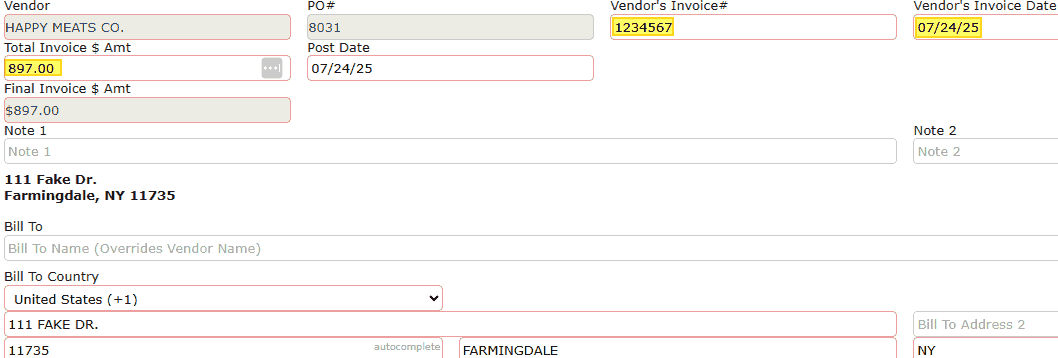
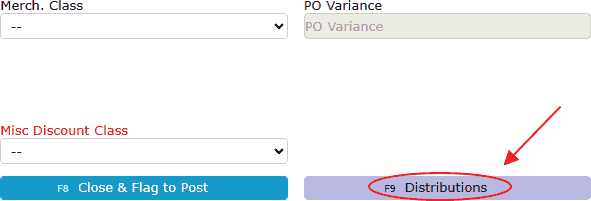
4. Fill in the rest of the run batch's information, then click on the Go To Payments button.
NACHA Transmission Date: The date that the Run Batch's NACHA transmission is set to be sent to the bank.
Note:AP Run Batches using NACHA require a vendor to proceed.
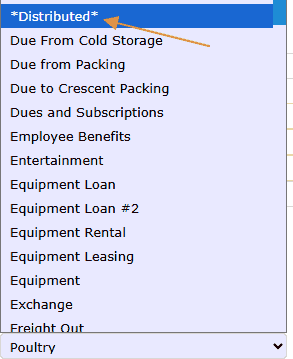
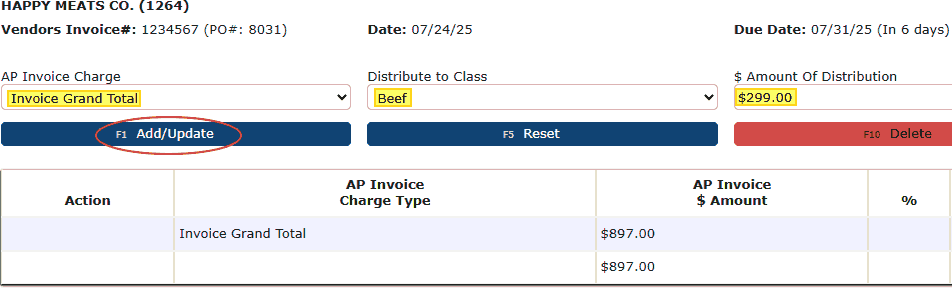
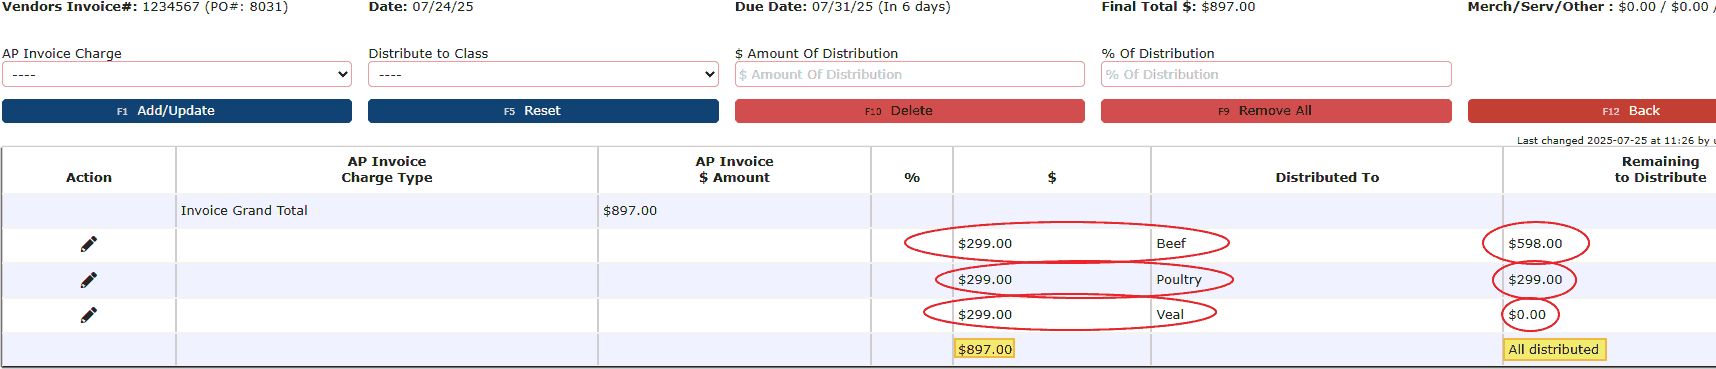
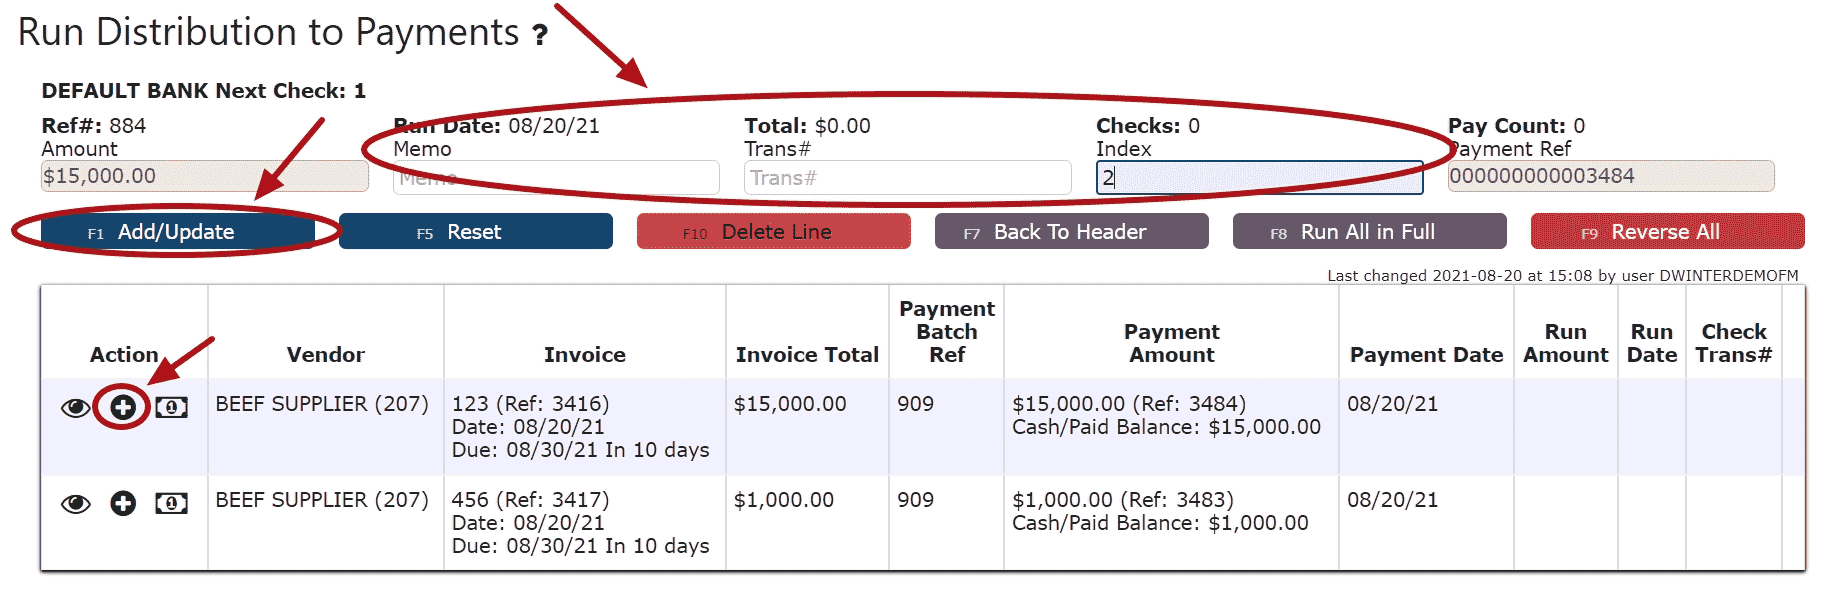
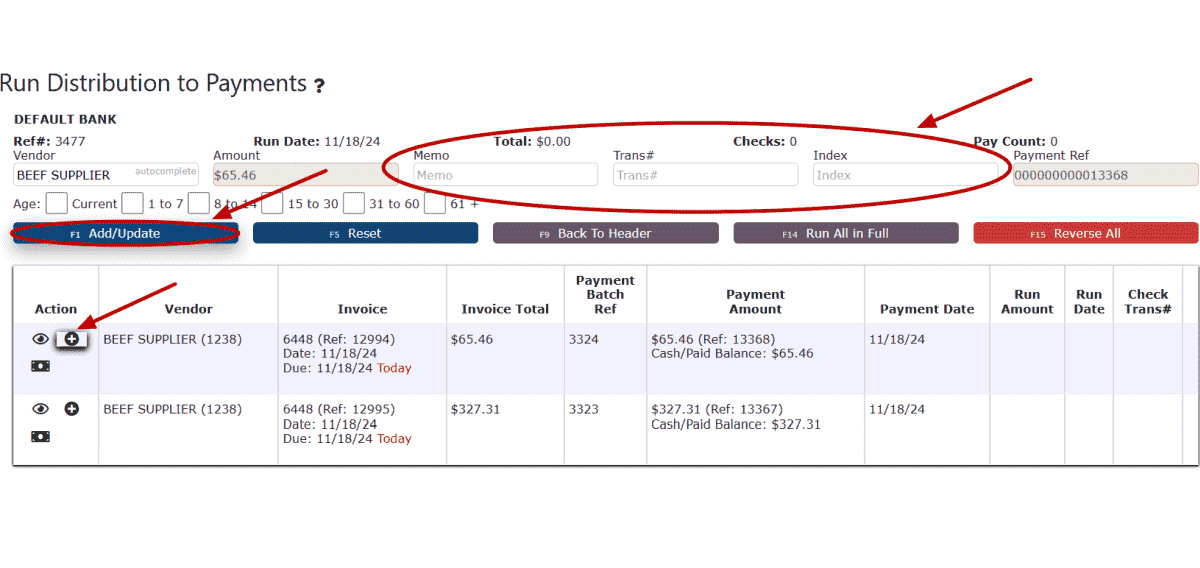
5. Distribute the amount of the payment towards any open invoice.
Add Payment (distribute a payment with a memo):
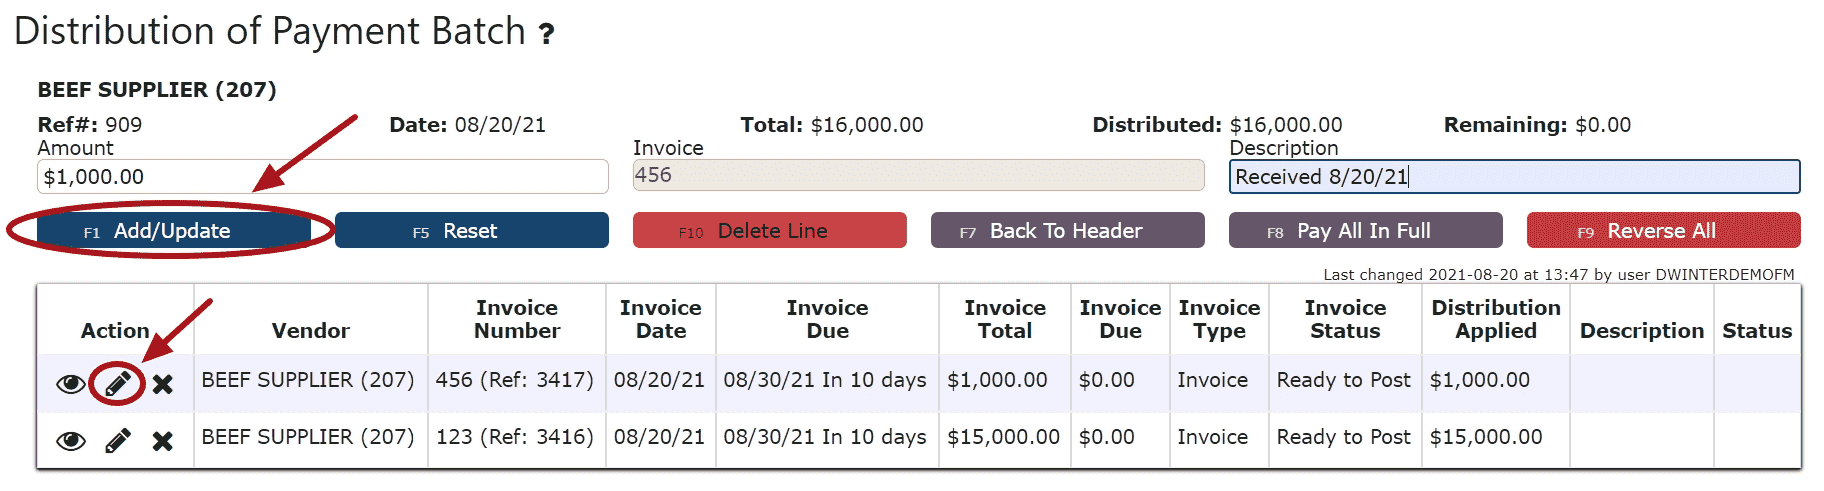
Step 1: Click on the Add Payment Icon next to the invoice to be paid.
Step 2: Enter a memo, if desired.
Step 3: Click on the Add/Update Button.
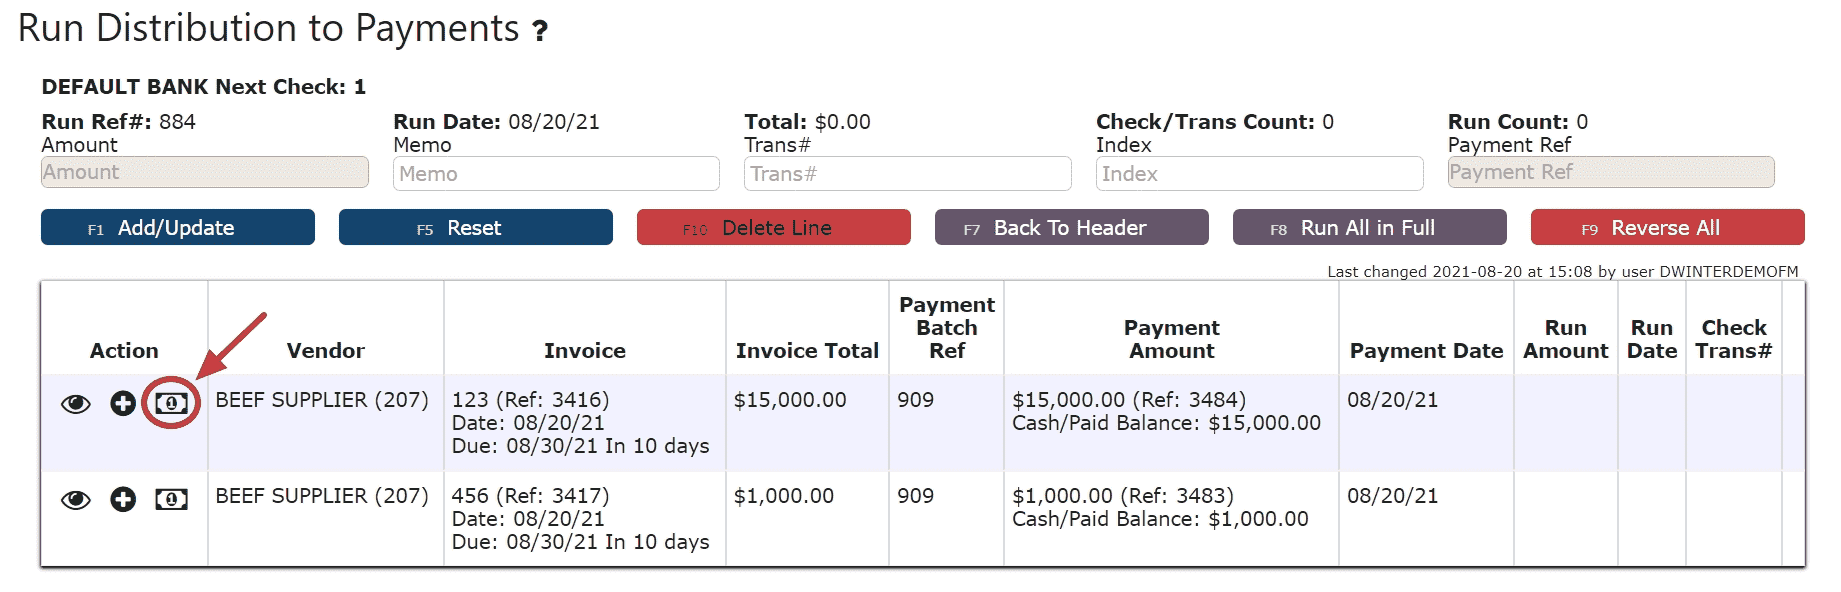
Autopay Remaining Balance (applies the entire remaining payment amount to the invoice):
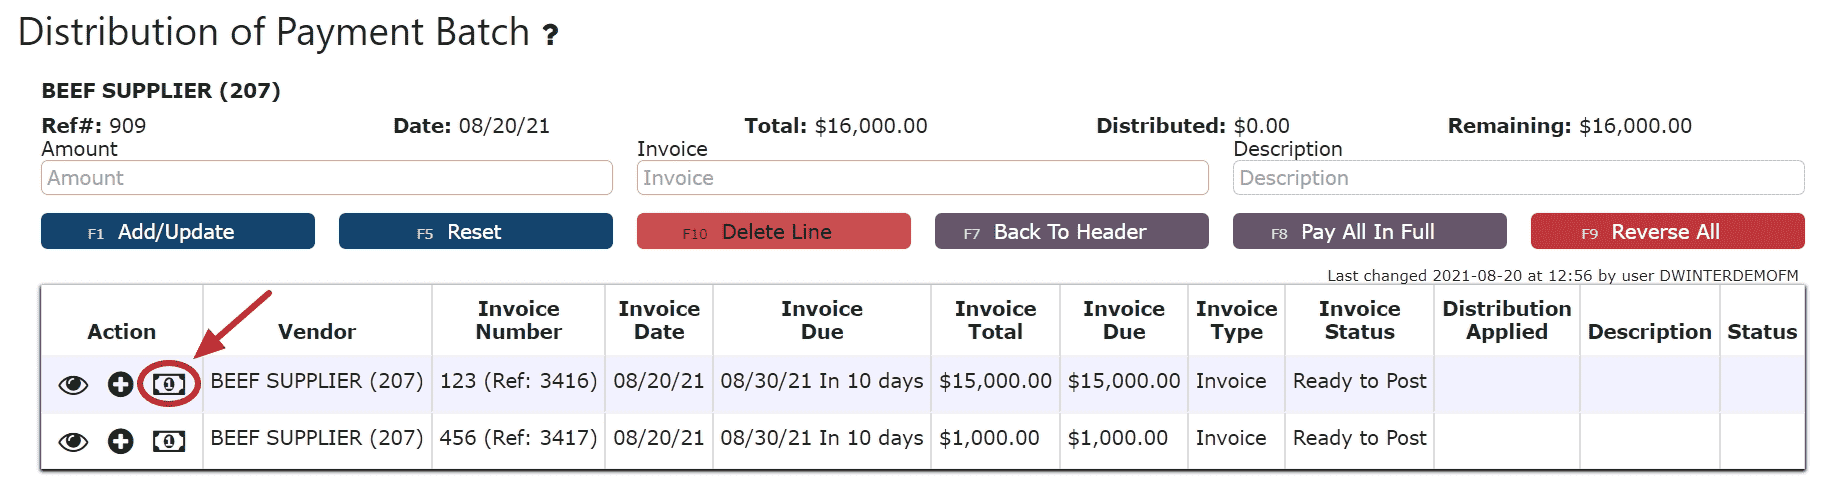
Step 1: Click on the Auto Pay Remaining Balance Icon next to the invoice to be paid.
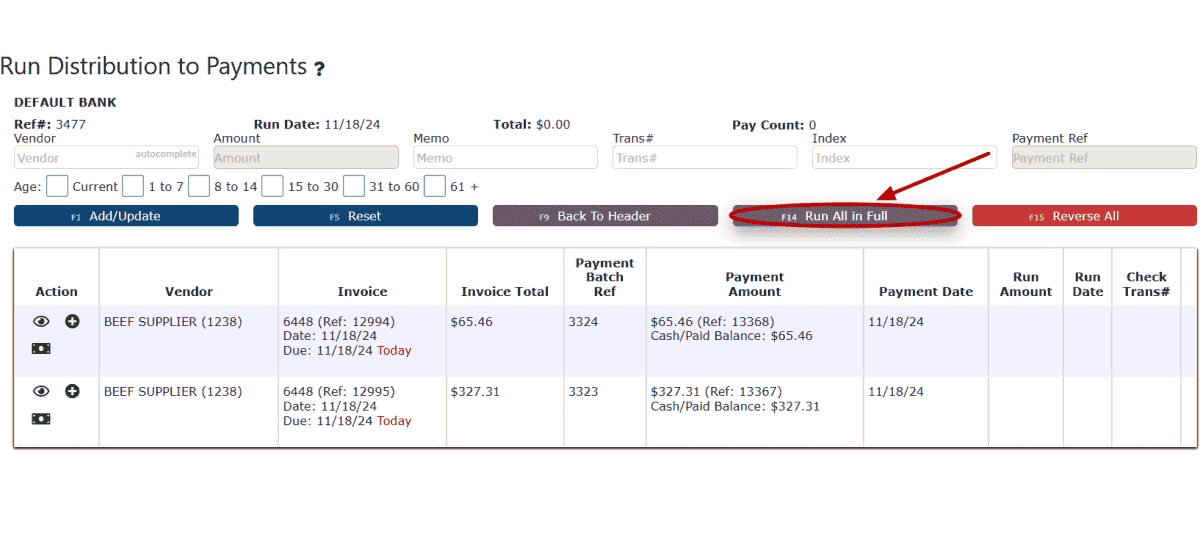
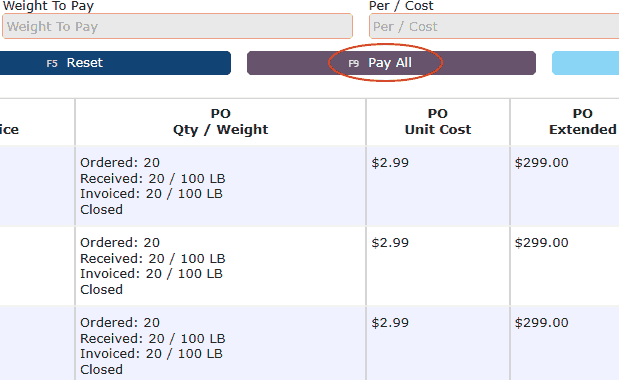
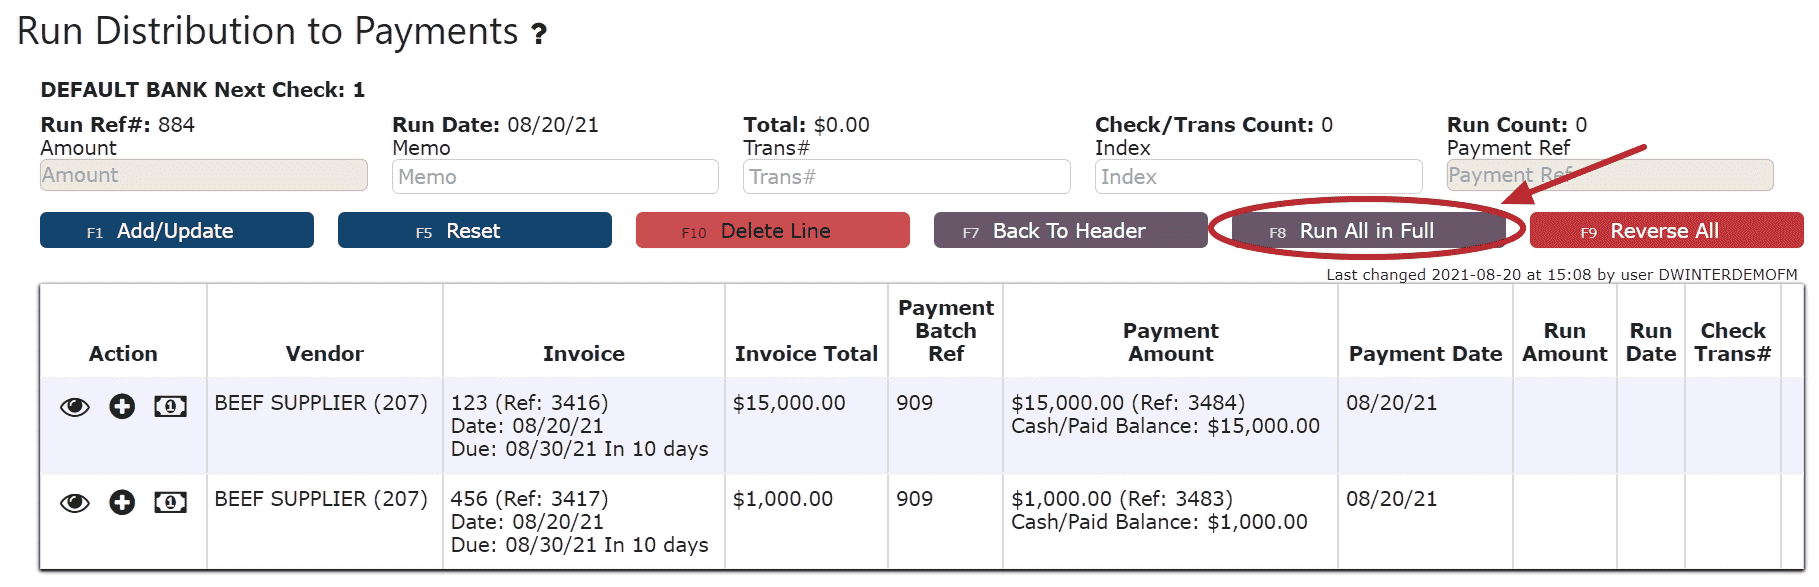
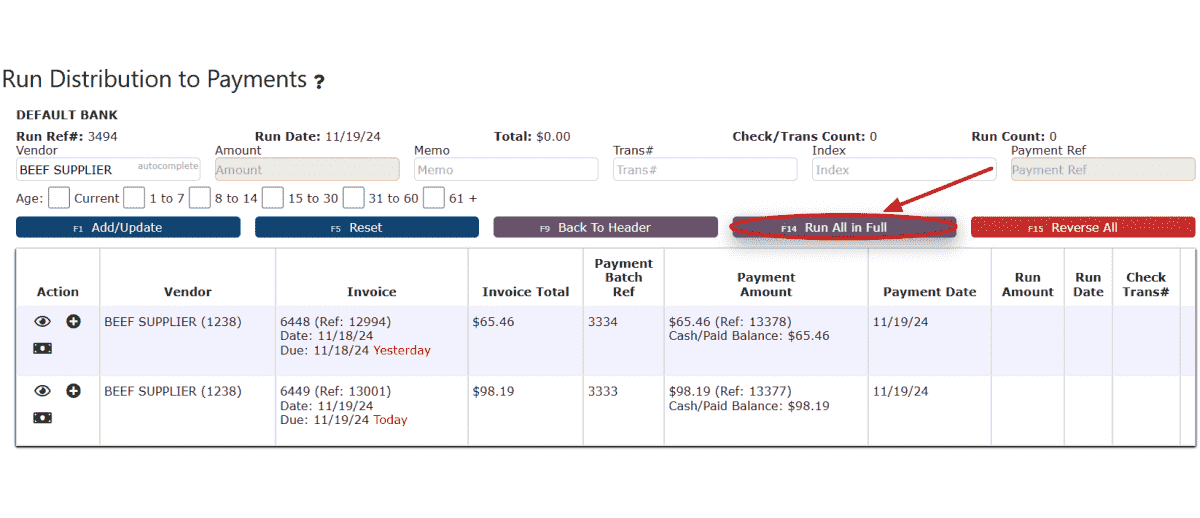
Run All In Full (applies payment to all invoices for the full amount due):
Step 1: Click on the Run All in Full Button.
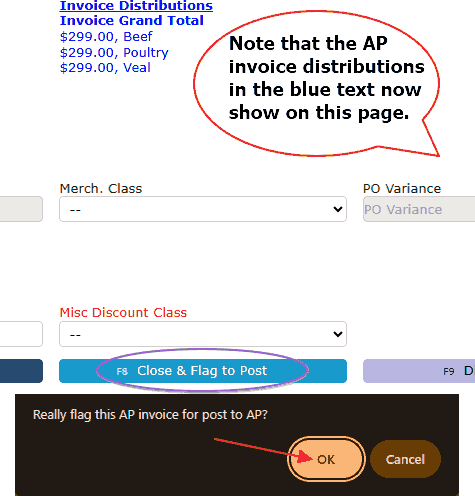
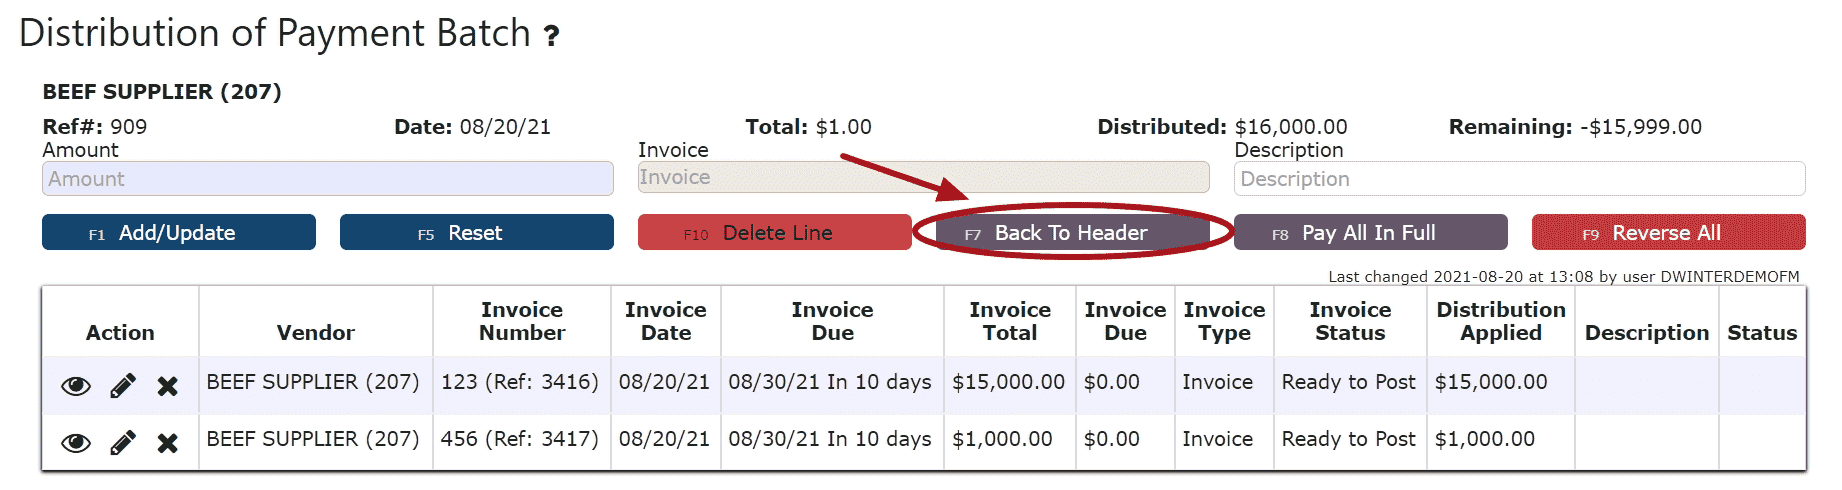
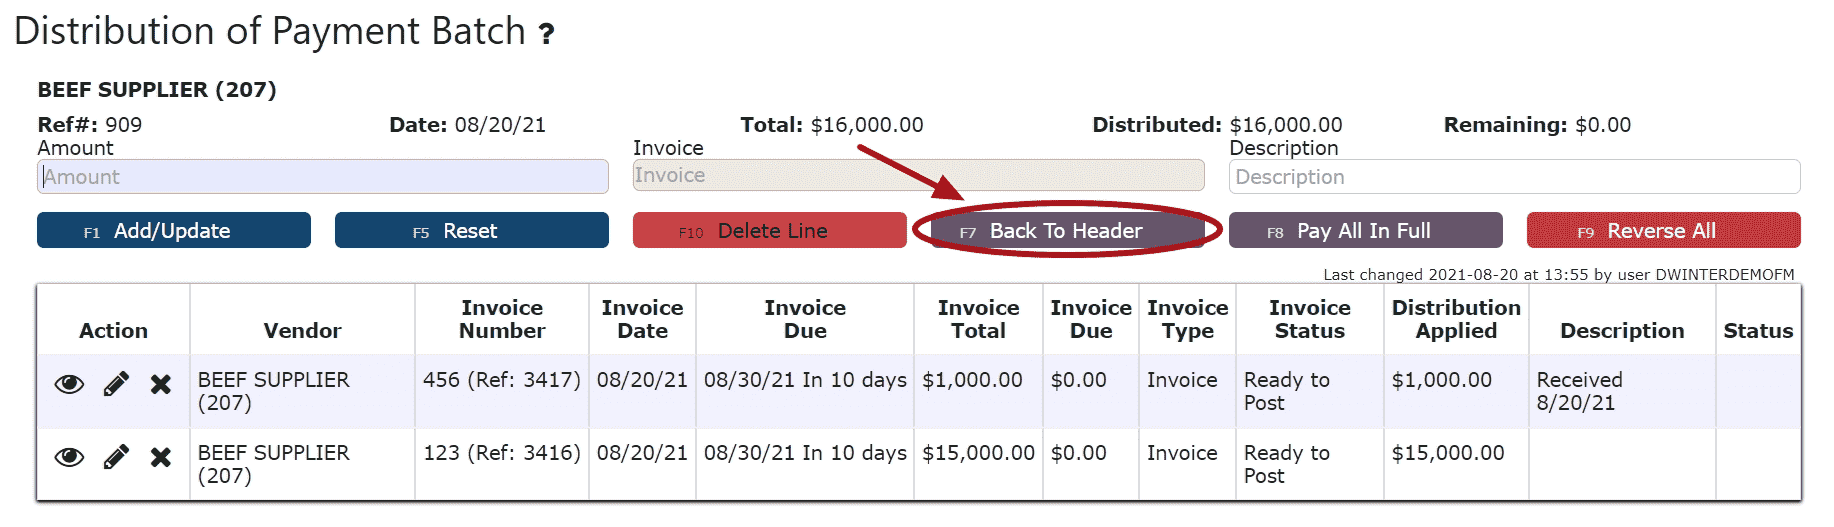
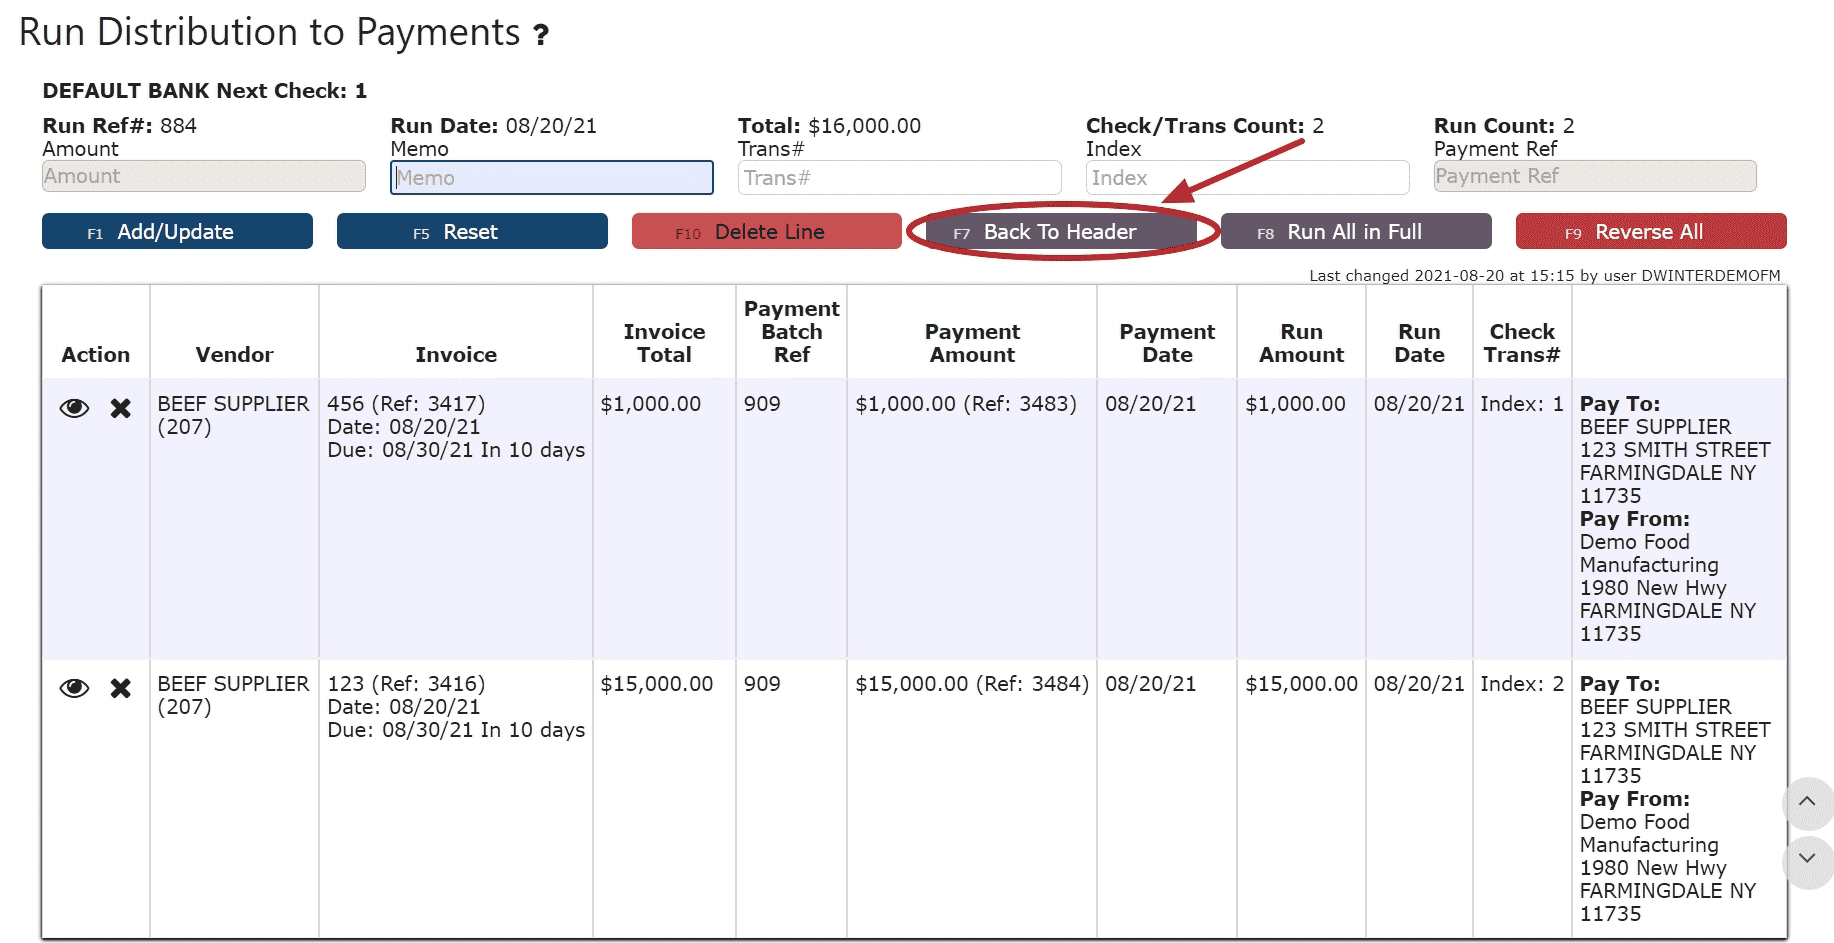
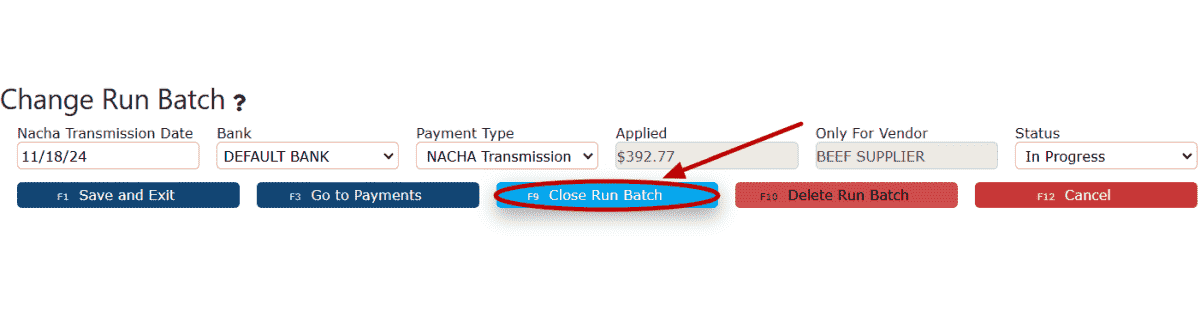
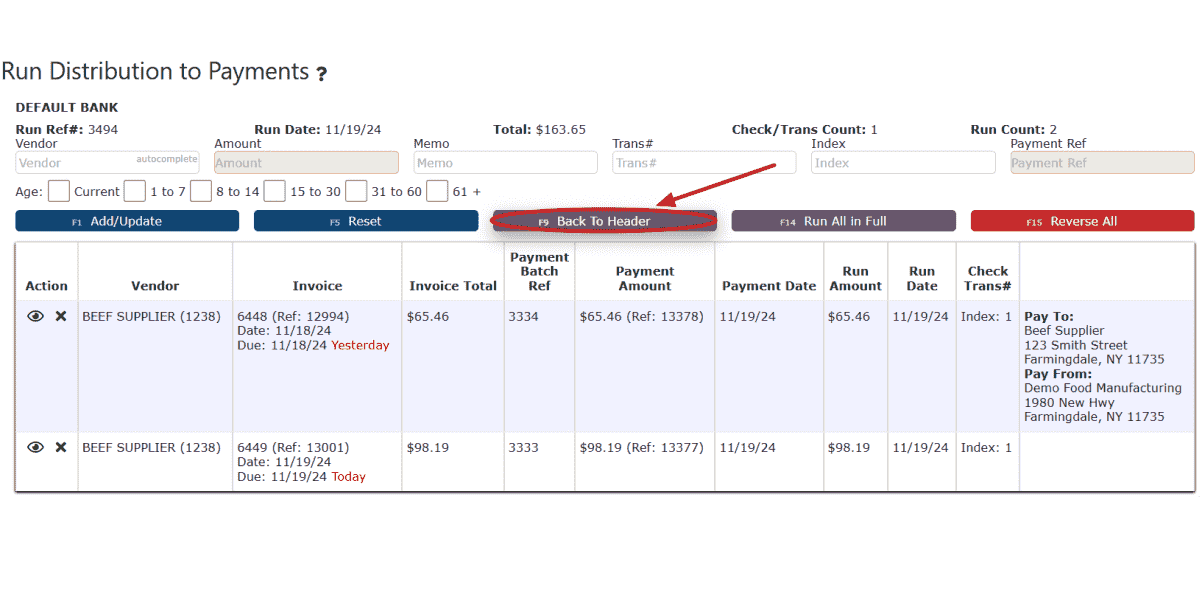
5. Click the Back To Header Button.
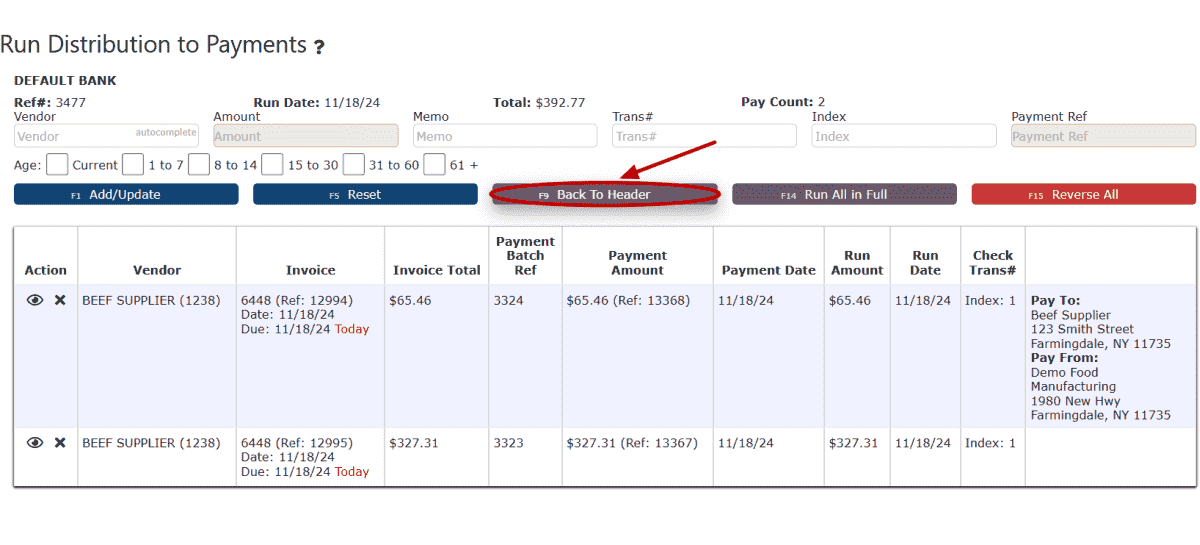
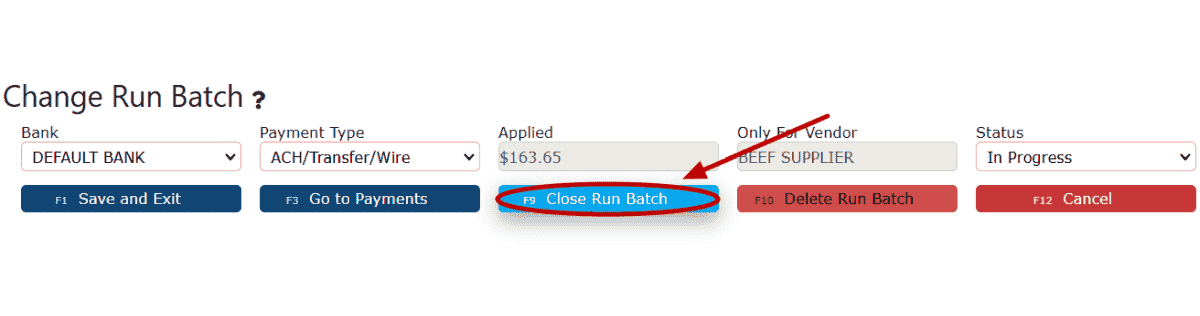
6. Click the Close Run Batch Button.
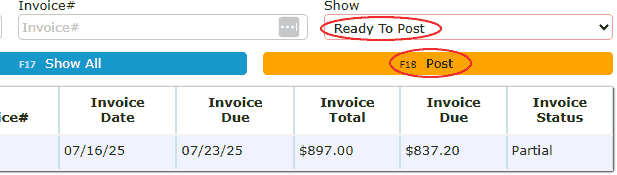
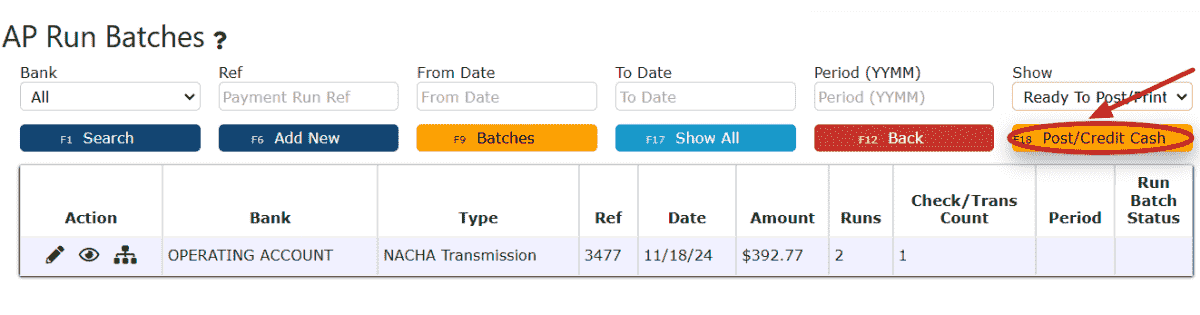
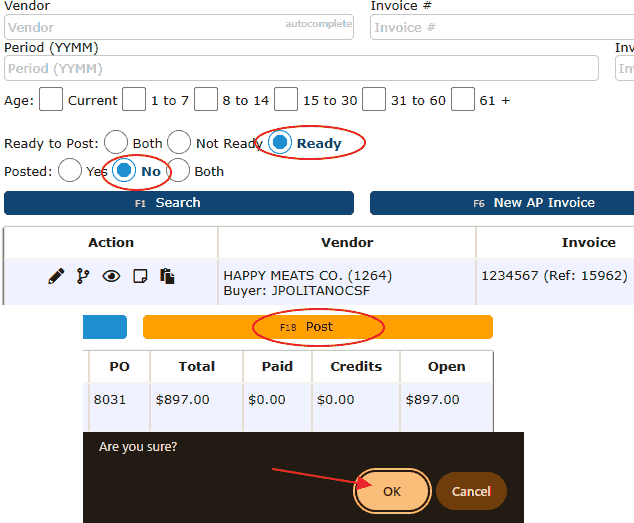
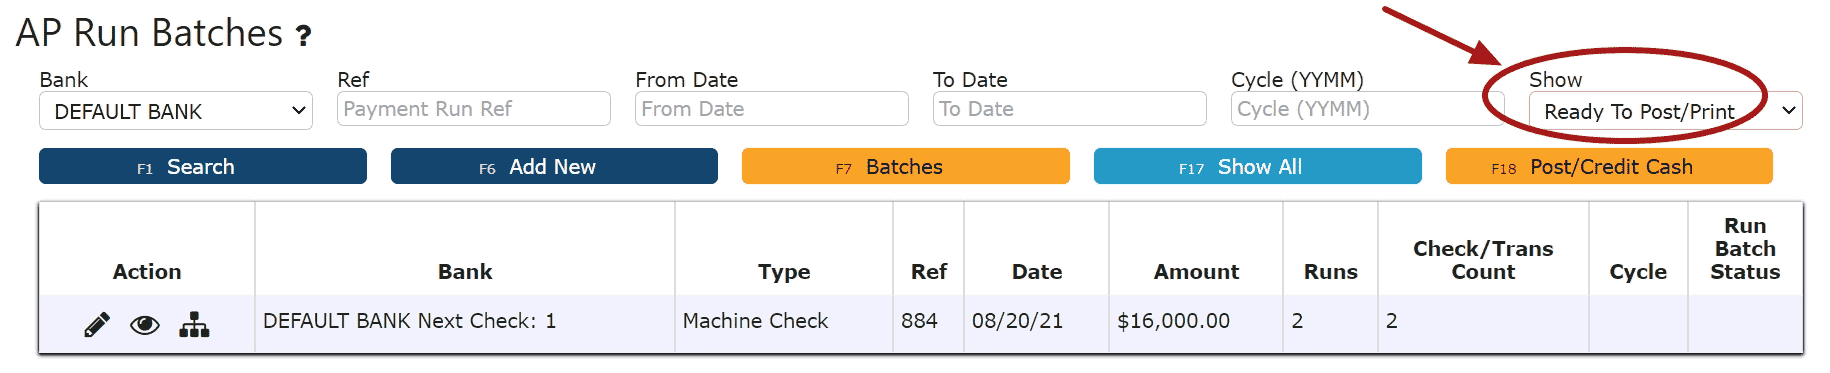
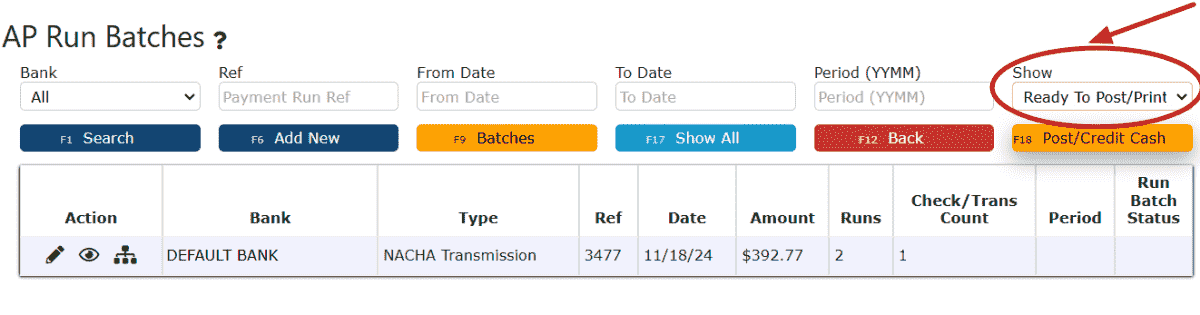
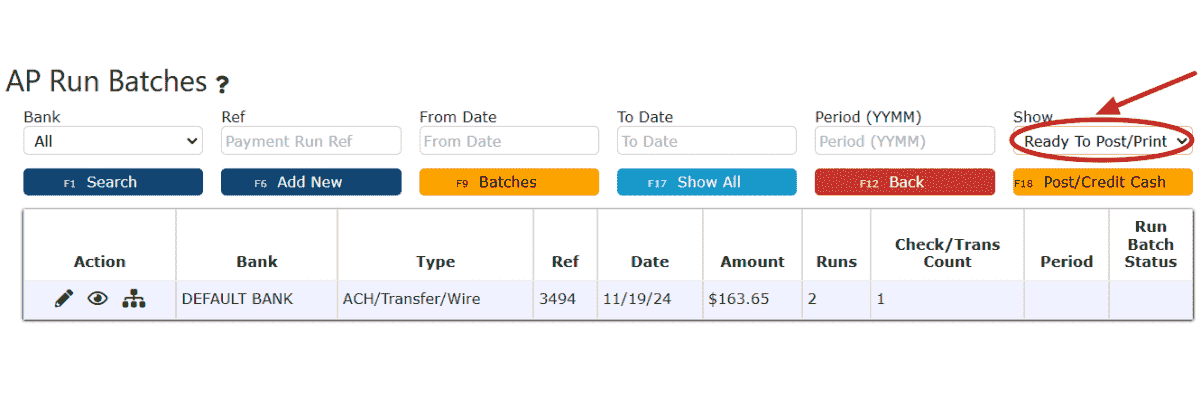
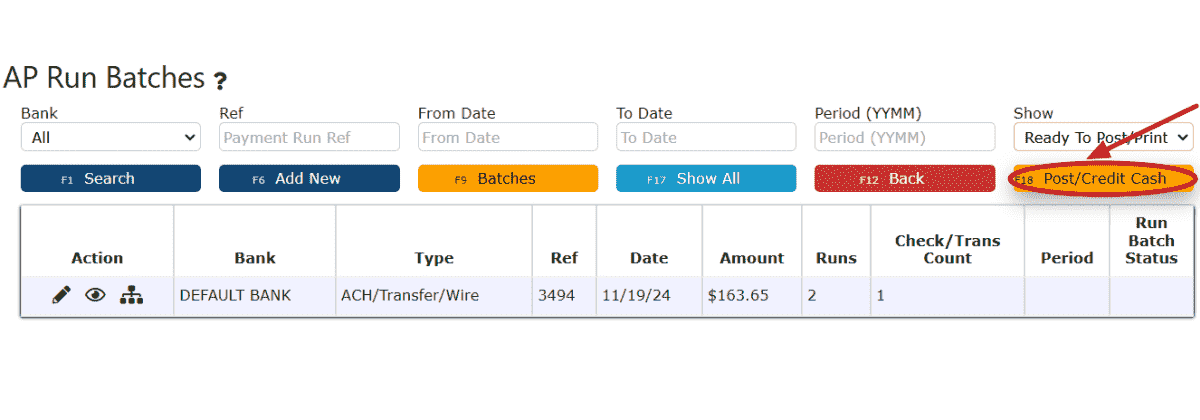
7. Review the Run Batch that is ready to post.
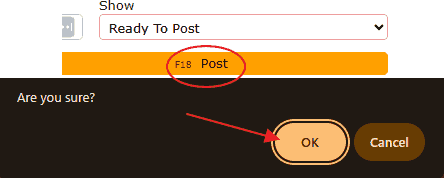
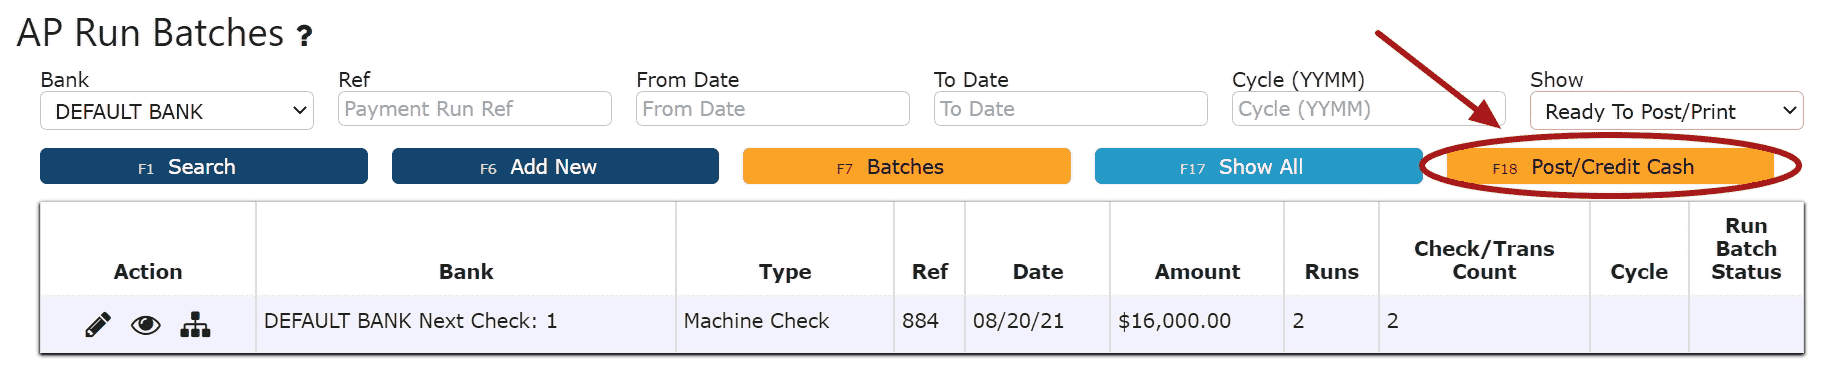
8. Click the Post/Credit Cash Button.
Note:
-> Once Posted, AP Run Batches cannot be edited but can be reversed
-> Any AP Run Batches left open/in progress will prevent the end of day process from automatically moving forward during the night
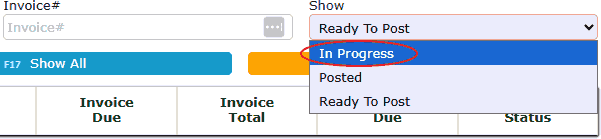
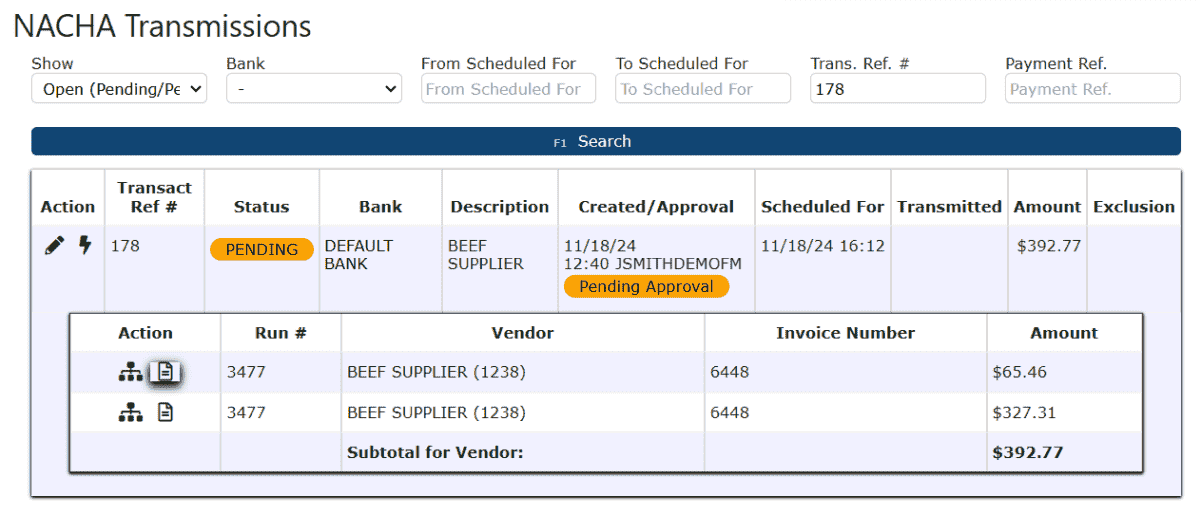
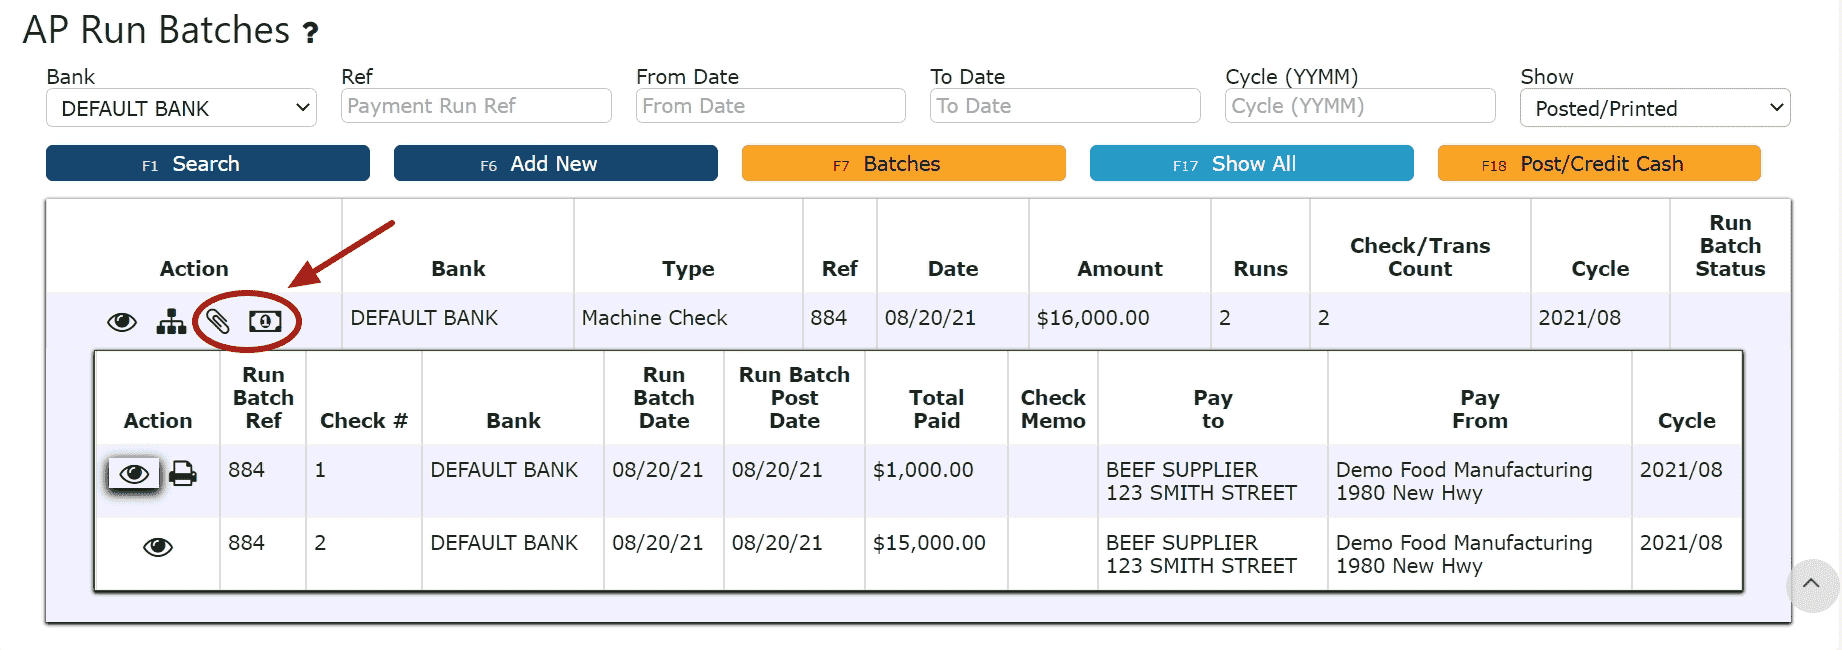
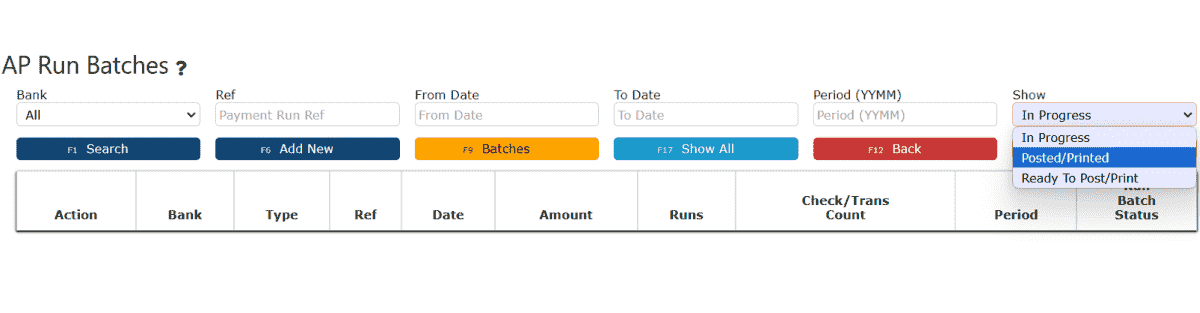
9. The NACHA transmission can now be viewed and/or approved for transmission by an additional user, if necessary. Click on the Show dropdown and select "Posted", then click on the ACH/NACHA Transmissions Icon to view the NACHA Transmission.
Click the Activity icon (Lightning Bolt) to view the AP Pay Run(s) and AP Invoice(s) featured on this NACHA transmission.
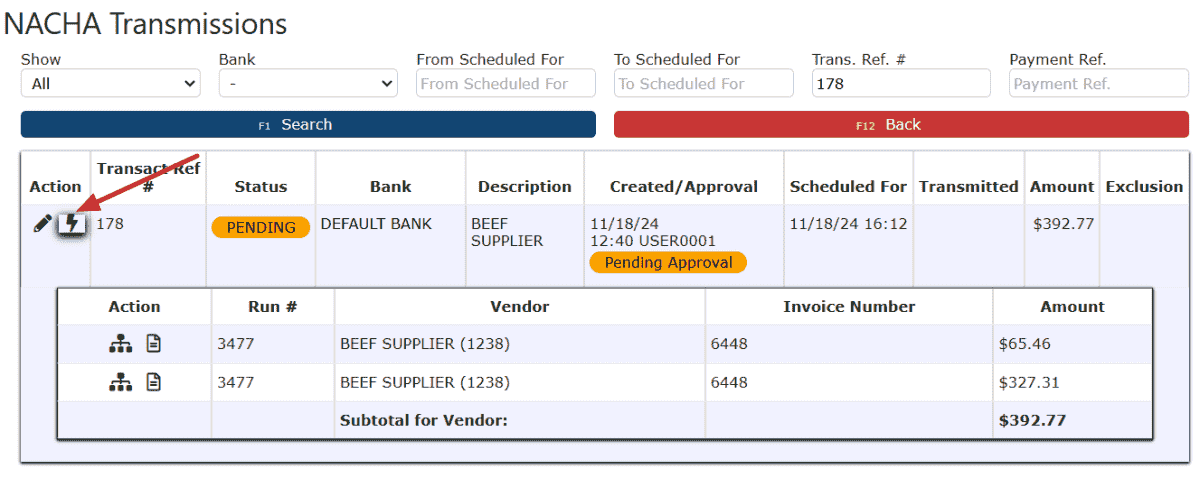
Click on the Go to Run Batch icon to view the AP Run Batch that paid for this invoice.

Click on the Go to AP Invoice icon to view the AP Invoice paid for in this Run Batch.
Email and System Notifications:
Once an AP Run Batch is posted using a NACHA Transmission as a payment method, users set up to receive notifications for NACHA Transmissions will receive notifications in the form of an email and system notification.
Email Notification: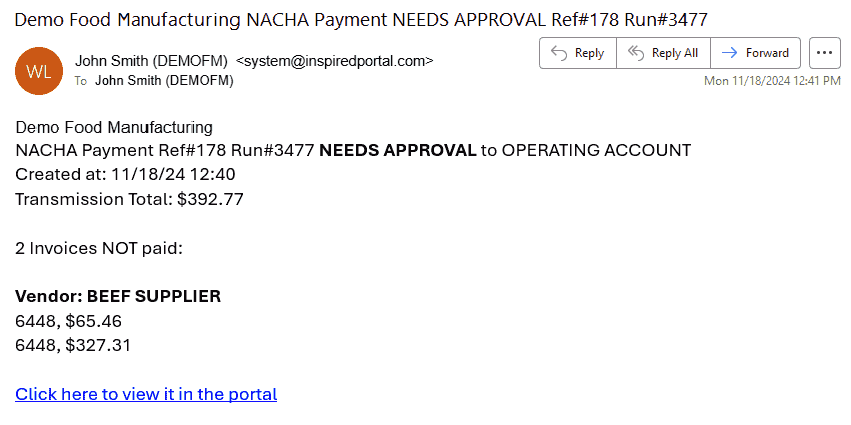 System Notification:
Canceling NACHA Transmissions:
Note: Transmissions that are cancelled prior to being sent to the bank will be completely deleted, and the pay run reversed. For NACHA transmissions that were already sent to the bank, a manual pay run reversal must be performed, and any applicable credits must be obtained separately from the vendor.
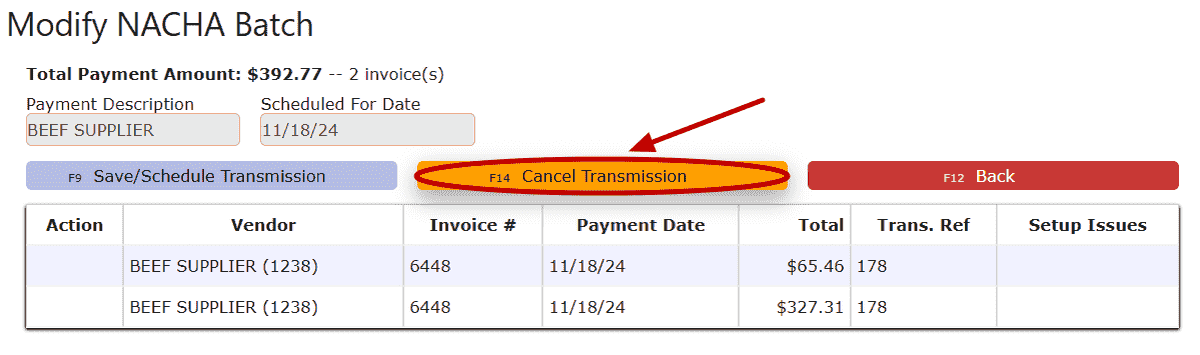
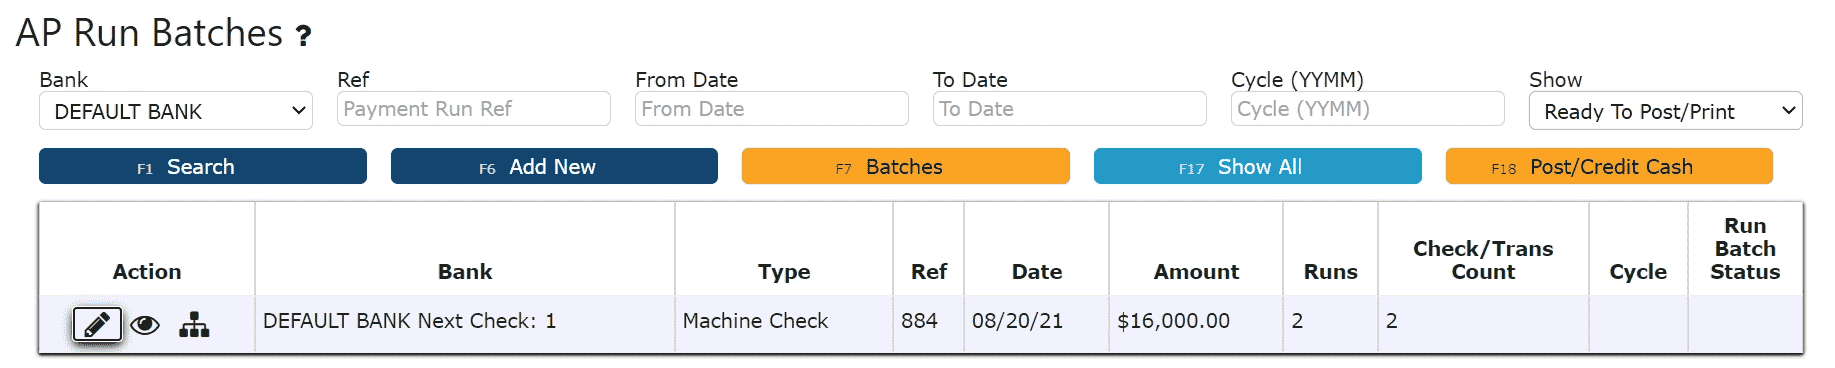
1. Click the Edit icon to edit the NACHA transmission.
2. Click on the Cancel Transmission button.
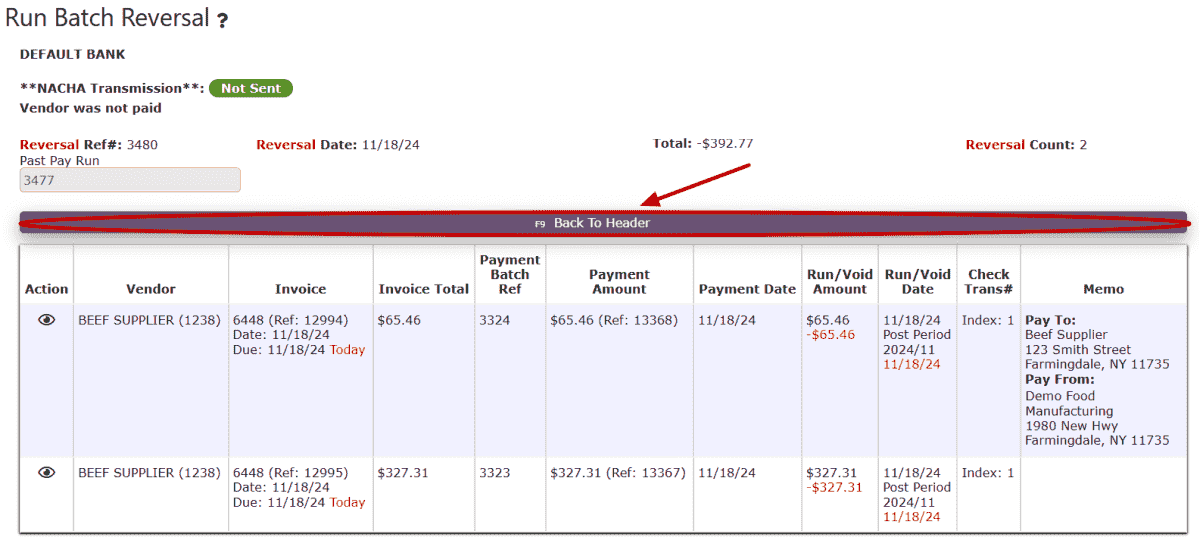
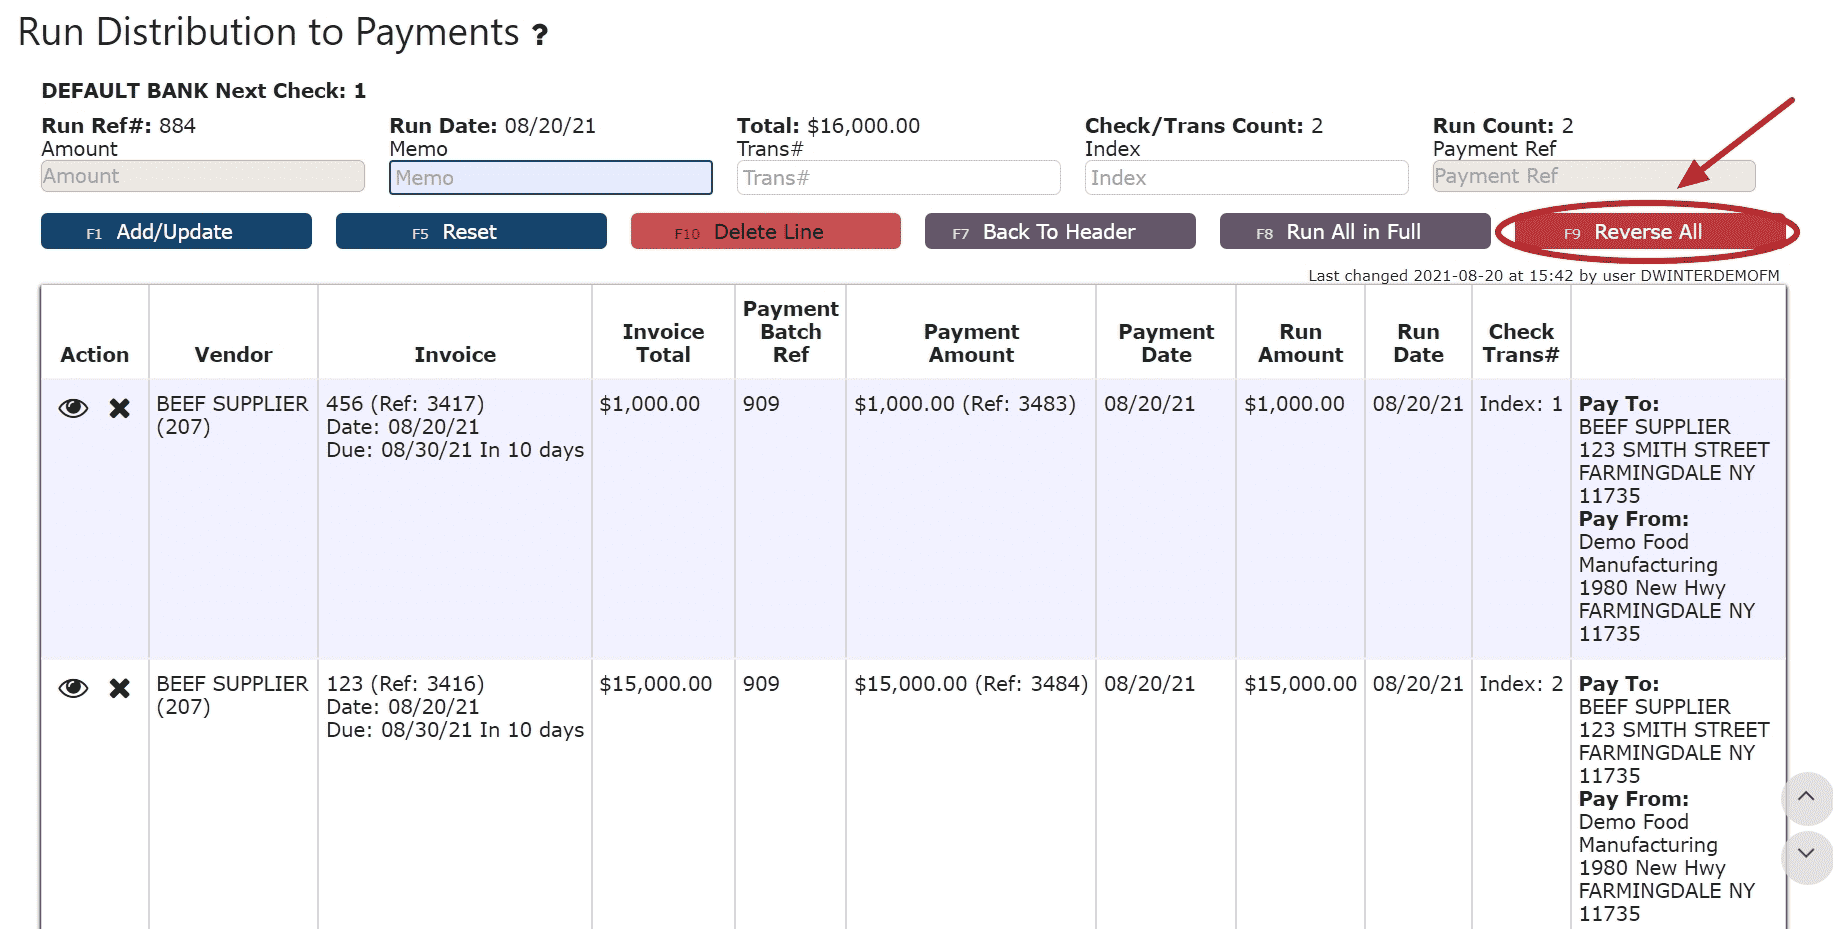
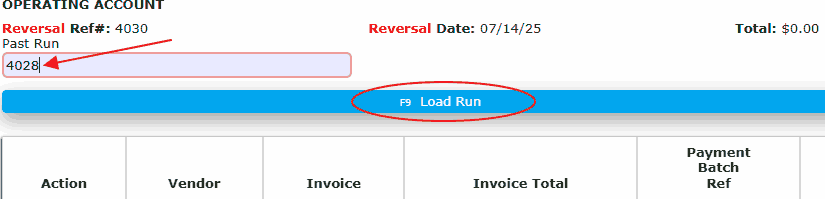
3. Click on the Back to Header button to create an AP Run Batch Reversal against the AP Run Batch featuring the NACHA transmission(s).
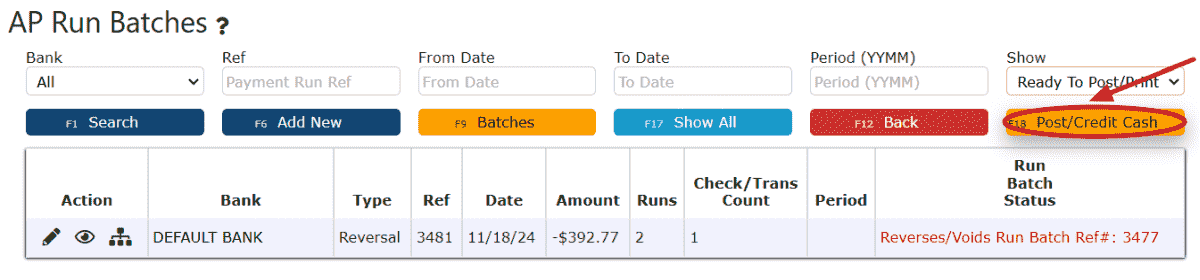
4. Click on the Close Run button to bring the reversal to the "Ready to Post/Print" status.

5. Click the Post/Credit Cash button to post the reversal and cancel the NACHA transmission that was previously pending approval.
Additional User Approval/Rejections
Note:Our system offers the ability to have separate authorized users required to approve any NACHA transmission before the money is taken out of the bank. The user who initially created the NACHA transmission will not have the authority to approve it for sending, but instead a designated user must review and approve or reject accordingly.
1. Have an authorized user navigate to the NACHA Transmission.
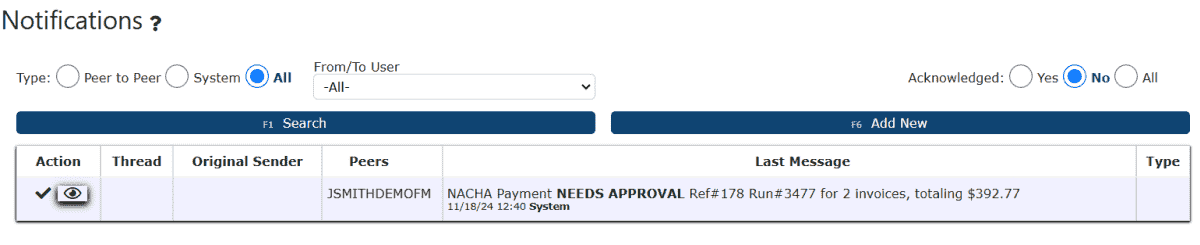
Method 1: From System Notification:
a. Click on the system notification to view it on the Notifications Listing.
b. Click on the Go to NACHA Pay Group icon to view and manage the NACHA Transmission.
 Method 2:
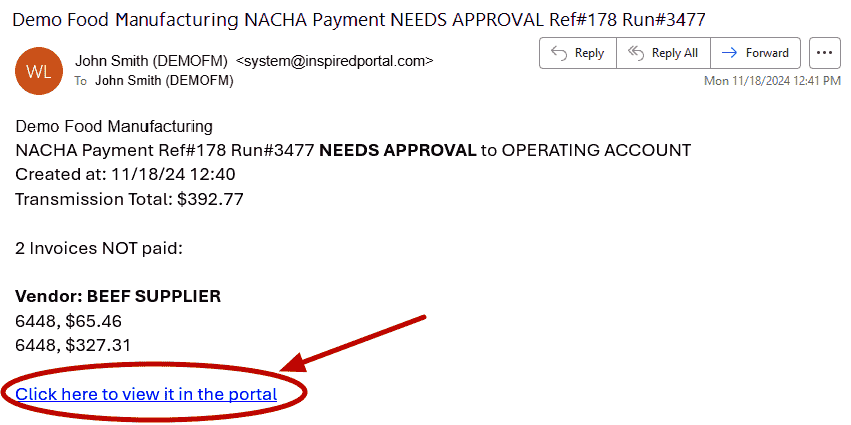
 From Email Notification:
a. Click on the link provided in the email notification to log in and view the NACHA Transmission.
b. Click on the Go to NACHA Pay Group icon to view and manage the NACHA Transmission.
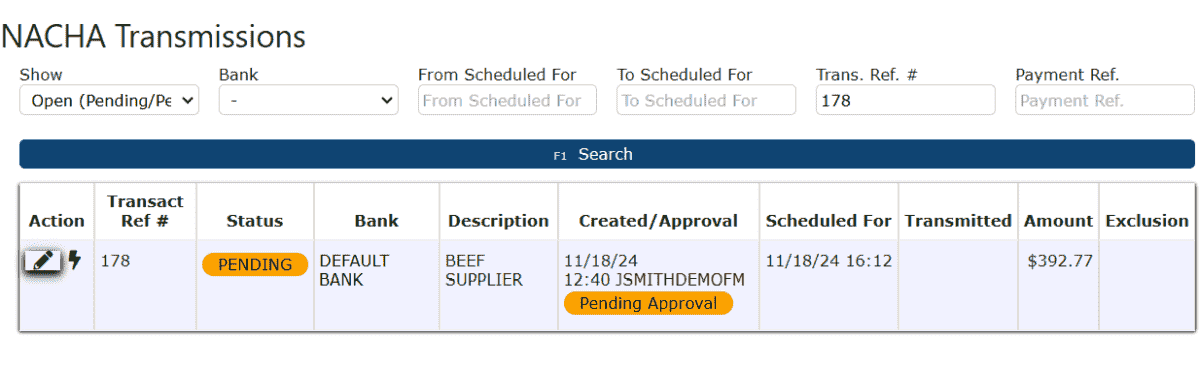
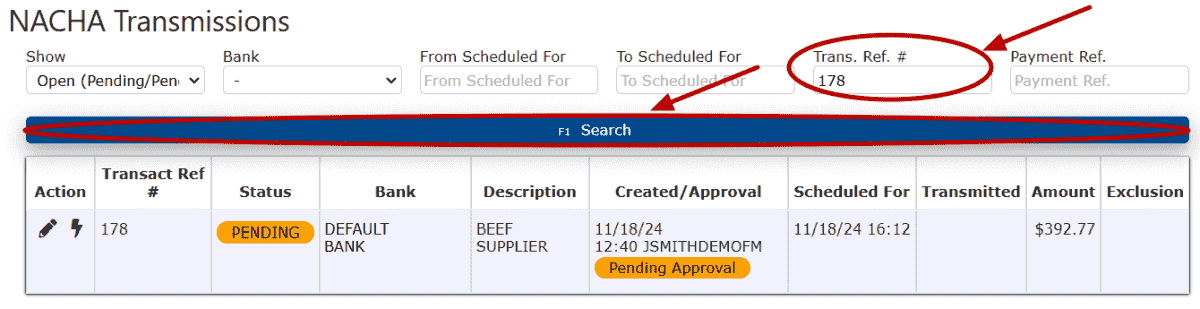
Method 3: From Transaction Reference Number:
a. Click on the Accounting Menu, select the Accounts Payable Sub-Menu, then click on the AP NACHA Transmissions Sub-Menu.
b. Search for the NACHA Transmission's Trans. Ref. # by using the Trans. Ref # search field.
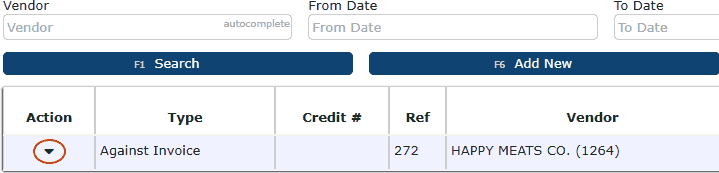
2. Click the Edit icon to manage the NACHA Transmission.
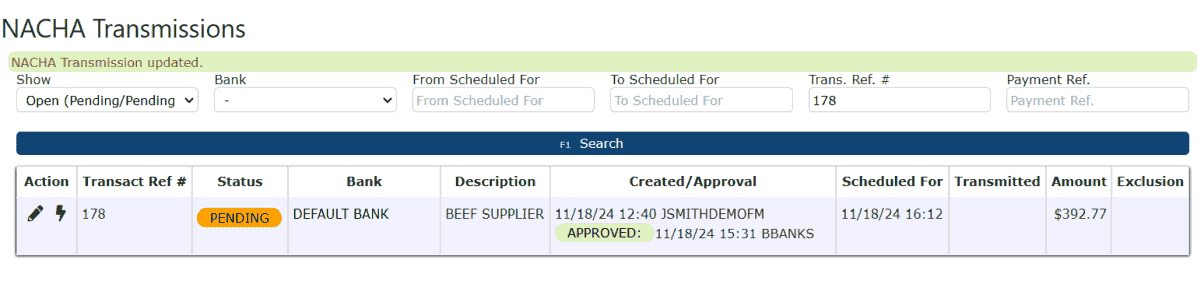
Approve Transmission:a. Click on the Approve Transmission button to approve this payment for transmission.
Note:This will mark the NACHA Tranmission as Approved and enable the transmission to go through on the Transmission Date selected for the AP Run Batch.
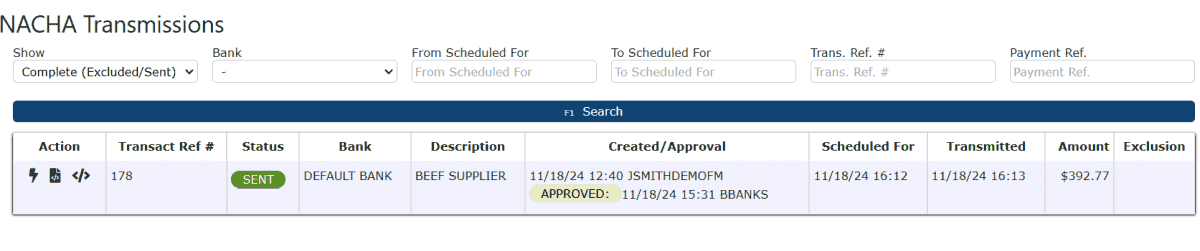
The payment will remain in Pending Status, and transmit at the date and time the transmission was set for.
After transmission, the status of the NACHA Transmission will update to "Sent" and the Transmitted column will note the date/time of the tranmission.
Reject Transmission: a. Click on the Reject Transmission button to reject this payment from transmission.
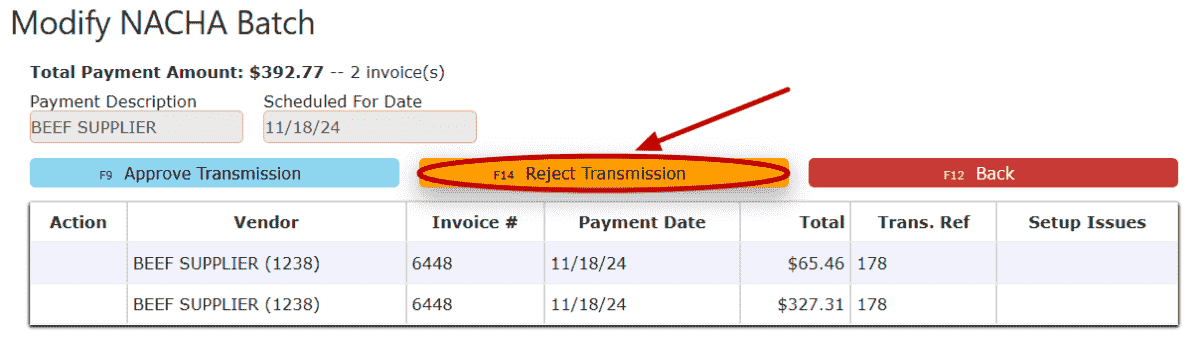
b. Click on the Back to Header button to create an AP Run Batch Reversal against the AP Run Batch featuring the NACHA transmission(s).

c. Click on the Close Run button to bring the reversal to the "Ready to Post/Print" status.
d. Click the Post/Credit Cash button to post the reversal and cancel the NACHA transmission that was previously pending approval.


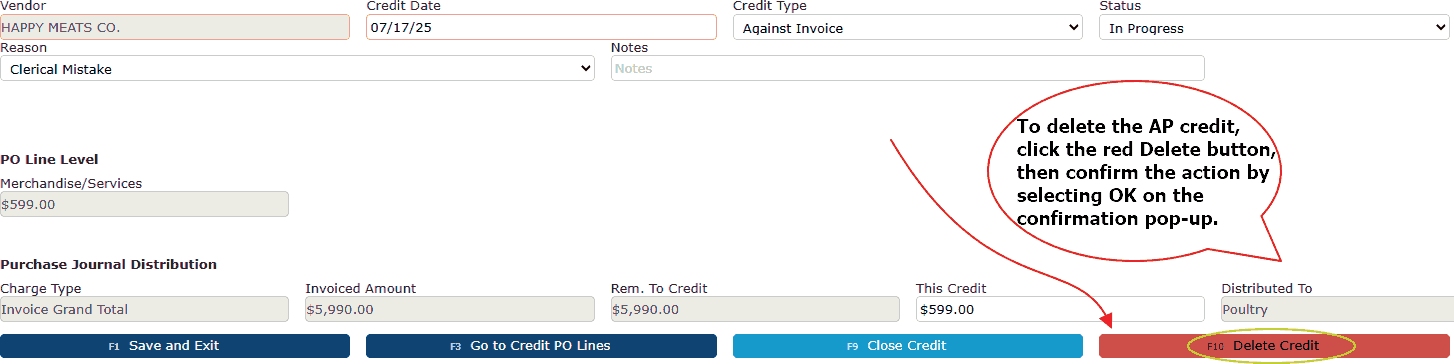
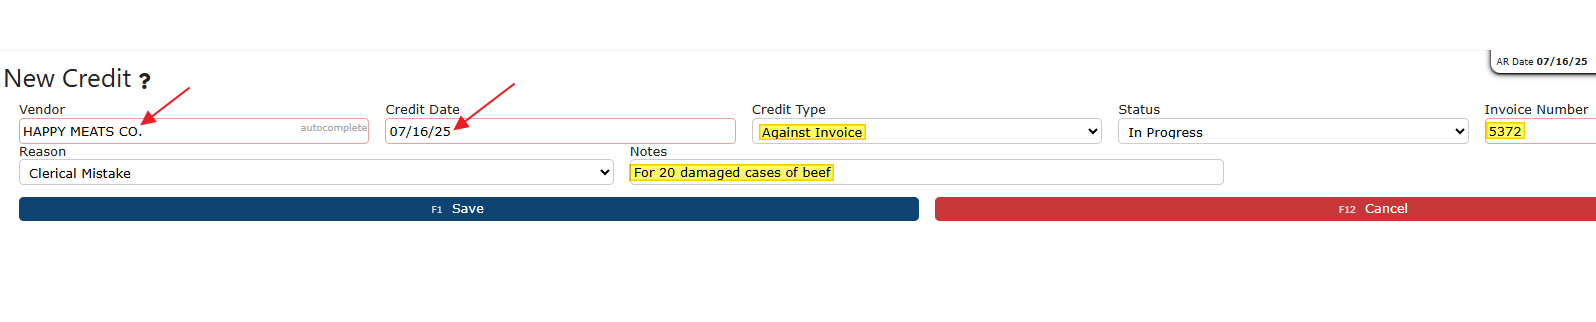 4. Save the Credit Entry