RF Scanning

RF Scanning

  • RF UPC/GTIN Code Associations

    UPC Codes:

    UPC barcodes can be scanned throughout the system in any RF item input field prompt, in lieu of manually typing in the information.  UPC codes must be associated first, with their respective item number in order to use the UPC barcodes for scanning.  

    Ex: Picking


    GTIN Codes:

    GTIN barcodes can be scanned throughout the system in any RF item input field prompt, in lieu of manually typing in the information. 

    Any information contained within the barcode including the item number, lot etc. will preload accordingly as well.  GTIN codes must be associated first, with their respective item number in order to use the GTIN barcodes for scanning. 

    Ex: Picking


    GTIN barcodes can also be scanned to take catch weights.  While associating the GTIN with the item code is not necessary in this instance, it is recommended.  

    Note: If an item has gtin/upc codes associated, the system will automatically prevent scanning gtin/upc etc. codes that differ from what is currently associated.  If an additional gtin/upc etc. code is valid and is to be scanned, then it must be associated to the item before proceeding to scan.


    Associating UPC/GTIN Codes:

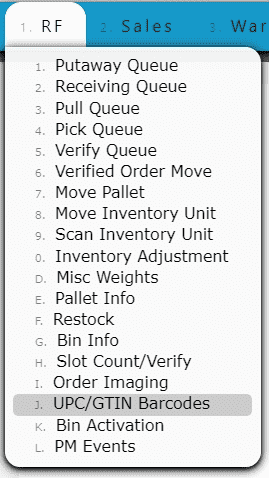
    1. Go to the RF Menu and click on the UPC/GTIN Barcodes Sub-Menu 


    2. Enter the item number 


    3. Scan the UPC or GTIN barcode and click the Next Step Button to save the entry  

  • Barcode Formats

    Both GS1-128(GTIN) and UPC barcode formats are supported for scanning, and can be associated and scanned for items in inventory. 

    Custom barcode format support is also available upon request.


    User Profile Default Barcode Format: Select a specific barcode format to be the default for each user.    

    Note: As barcode formats are switched, the current format will override user level defaults for future scanning processes unless manually changed. 


    Company Default Barcode Format: If a user does not have a default barcode selected, the company default will take effect.  

    *Contact I.T for any changes.  


    Switching Barcode Formats During Scanning: When scanning, easily switch between barcode formats.   

    Note:
    As barcode formats are switched, the current format will remain and override any company/user level defaults for future scanning processes unless manually changed.  

    1. Use the Formats button located on any scanning supported RF screen to switch the current barcode format


    2. Click the Check Icon to select a different format 


    3. You are now ready to scan UPC Codes 


    *Please contact I.T. if you'd like to have additional barcode formats supported for your organization.  

  • Mobile Only Mode
    Our system offers the ability to restrict certain users from performing inventory related RF functions on a computer, forcing them to use a scan gun device instead.

    Inventory related RF functions include, but not limited to:
    - Picking
    - Verifying
    - Manifesting
    - Inventory Adjustments
    - Inventory Move (Inventory Units)

    Users with permission to use a PC may perform all RF functions on either a PC or a scan gun.

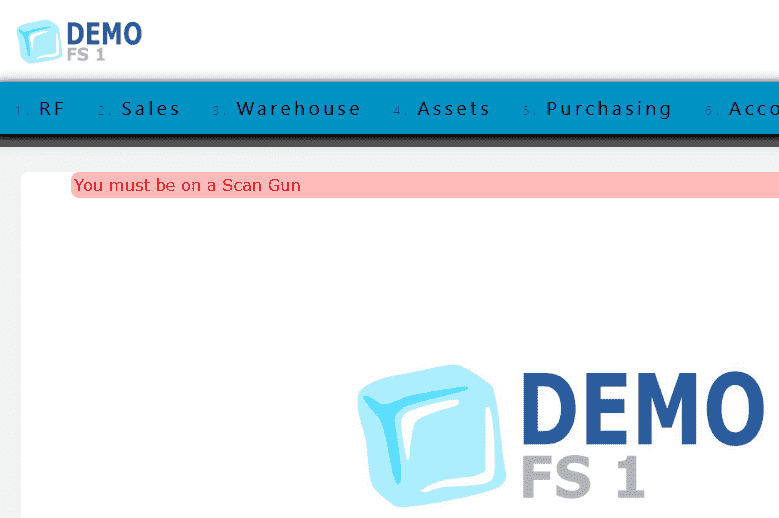
    However, users without permission to use a PC will encounter a red error message and be prevented from moving forward with the action.

    Example 1: Attempting to perform Inventory Adjustment


    Example 2: Attempting to pick order

  • Scanning Features
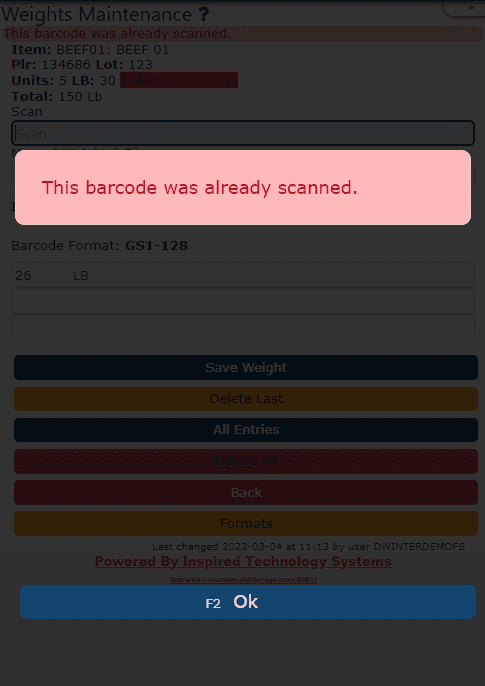
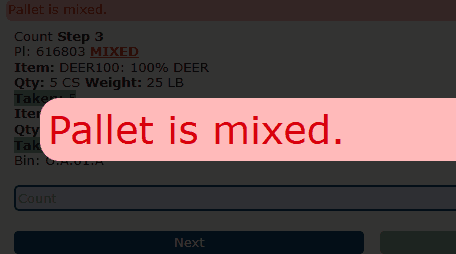
    Warning Messages: Avoid scanning mistakes with our pop-up warning messages that detect duplicate scans, mismatched item codes and weights outside of a certain margin of error.    

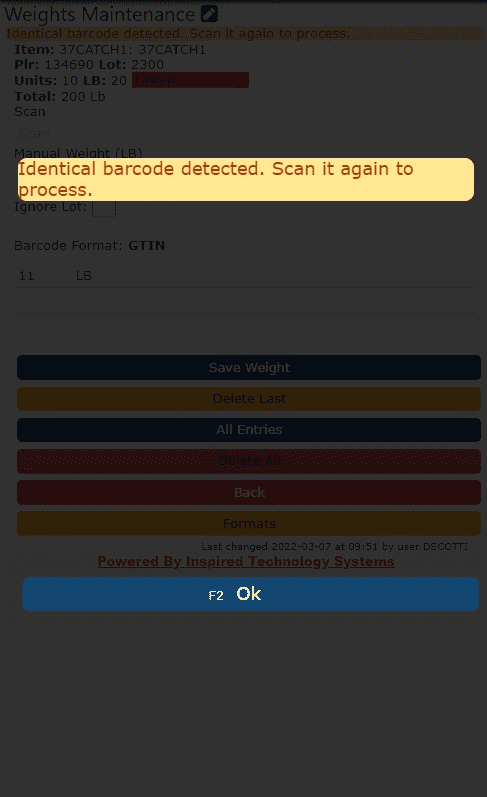
    Note: A serial # or other unique identifier must be present within the barcode to prevent duplicate scans. Otherwise, a warning will be issued if identical weights are detected, and the barcode must be re-scanned to confirm.  


    Ignore Lot: Check this checkbox to ignore vendor lot numbers as you scan weights onto pallets, and maintain your own internal lot numbers instead.  

    Note: Contact I.T. to check this by default 


    Override Lot#: Enter your own internal lot numbers when moving or picking cases to bypass vendor lot numbers when scanning 

  • Order Imaging
    Take photos of outbound loads using any camera enabled mobile device to easily record pallet and product conditions.  


    Add Images to the Order
     

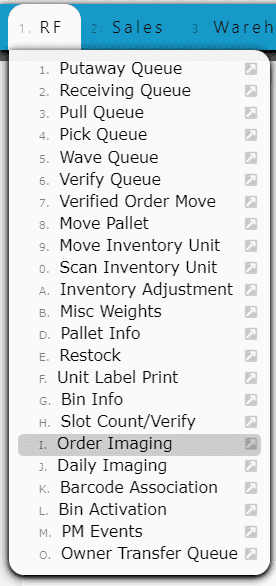
    1. Go to the RF Menu and click on the Order Imaging Sub-Menu 


    2. Enter the Order #, then click on the Next button 


    3. Click on the New Image button 


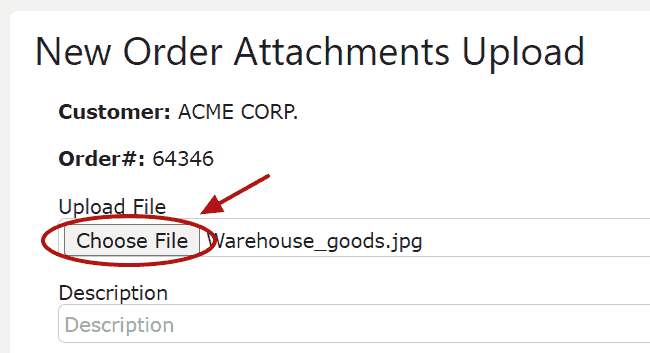
    4. Click on the Choose File button, either select or take a photo, then click Save.  Repeat until all photos are uploaded.   


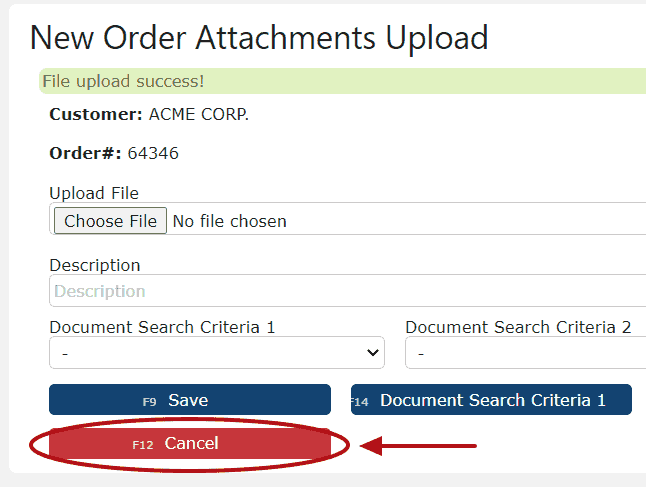
    5. Click on the Cancel button to view your images using the Images button 


    View Images on the Order 

    1. Click on the View Attachments icon

  • Daily Images
    Take and store quality assurance images in the Daily Images Repository. 

    Create a Daily Image Entry 

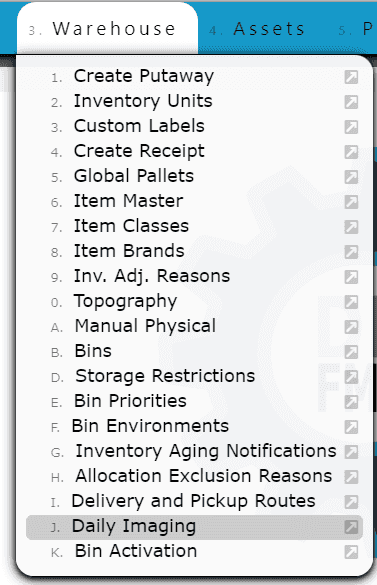
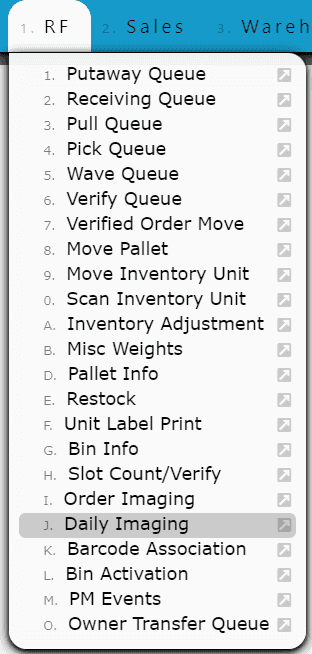
    1. Go to the Warehouse Menu and click on the Daily Imaging Sub-Menu 


    2. Click on the Add New button 


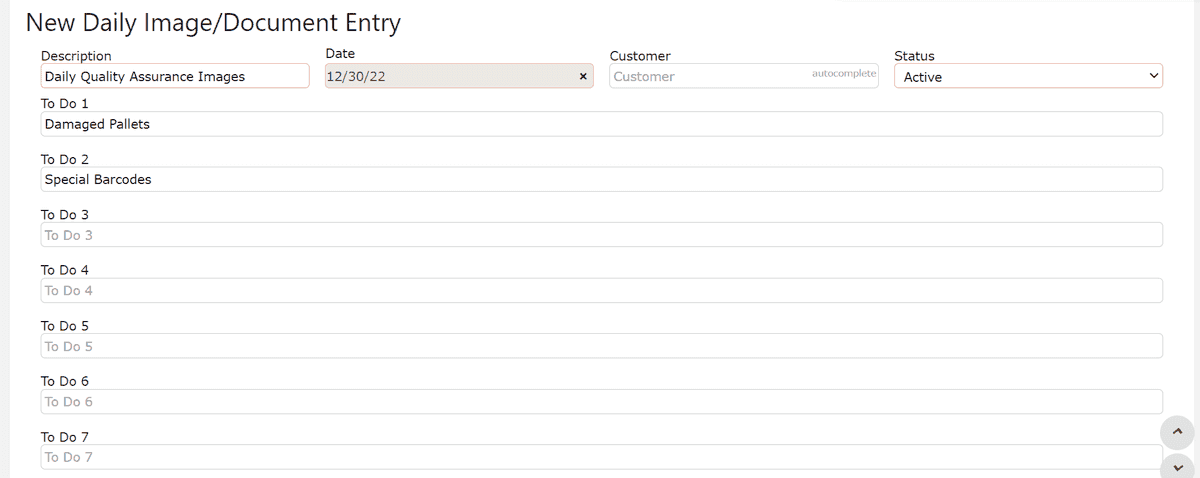
    3. Enter a description and date for this batch of images.  Enter a customer and/or To Do tasks if necessary.  


    Print To Do PDF

    1. Click on the Pencil icon, then click on the 


    Add Images to the Repository 

    1. Go to the RF Menu and click on the Daily Imaging Sub-Menu 


    2. Enter or scan the daily image entry reference #, then click the Next button  


    3.  Click on the New Image button


    4. Click Choose File to take a photo or select a file to upload, enter a description (optional), then save your entry


    5. Repeat Step 4, until all photos are uploaded 

    6. Click the Cancel button to View your images using the Images button 


    7. View your images 

  • Miscellaneous Weights
    Scan or gather weights for a particular item/sku, order or for any other miscellaneous purpose into a stand-alone misc. weights batch. 

    Creating a Misc. Weights Batch


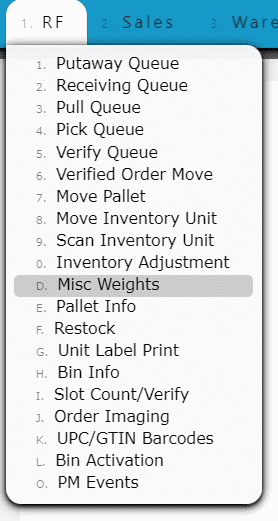
    1. Go to the RF Menu and click on the Misc. Weights Sub-Menu 


    2. Click on the New Batch Button 


    3. Fill in the item number and description, then click on the Save & Details Button 

    Note: A "start/end" weight option can be specified to denote the "start" or "end" result of a process.  


    4. Either enter the weight manually within the Weight Field, or scan a barcode containting the weight within the Scan Field 

    *Repeat until all weights have been added to the batch 


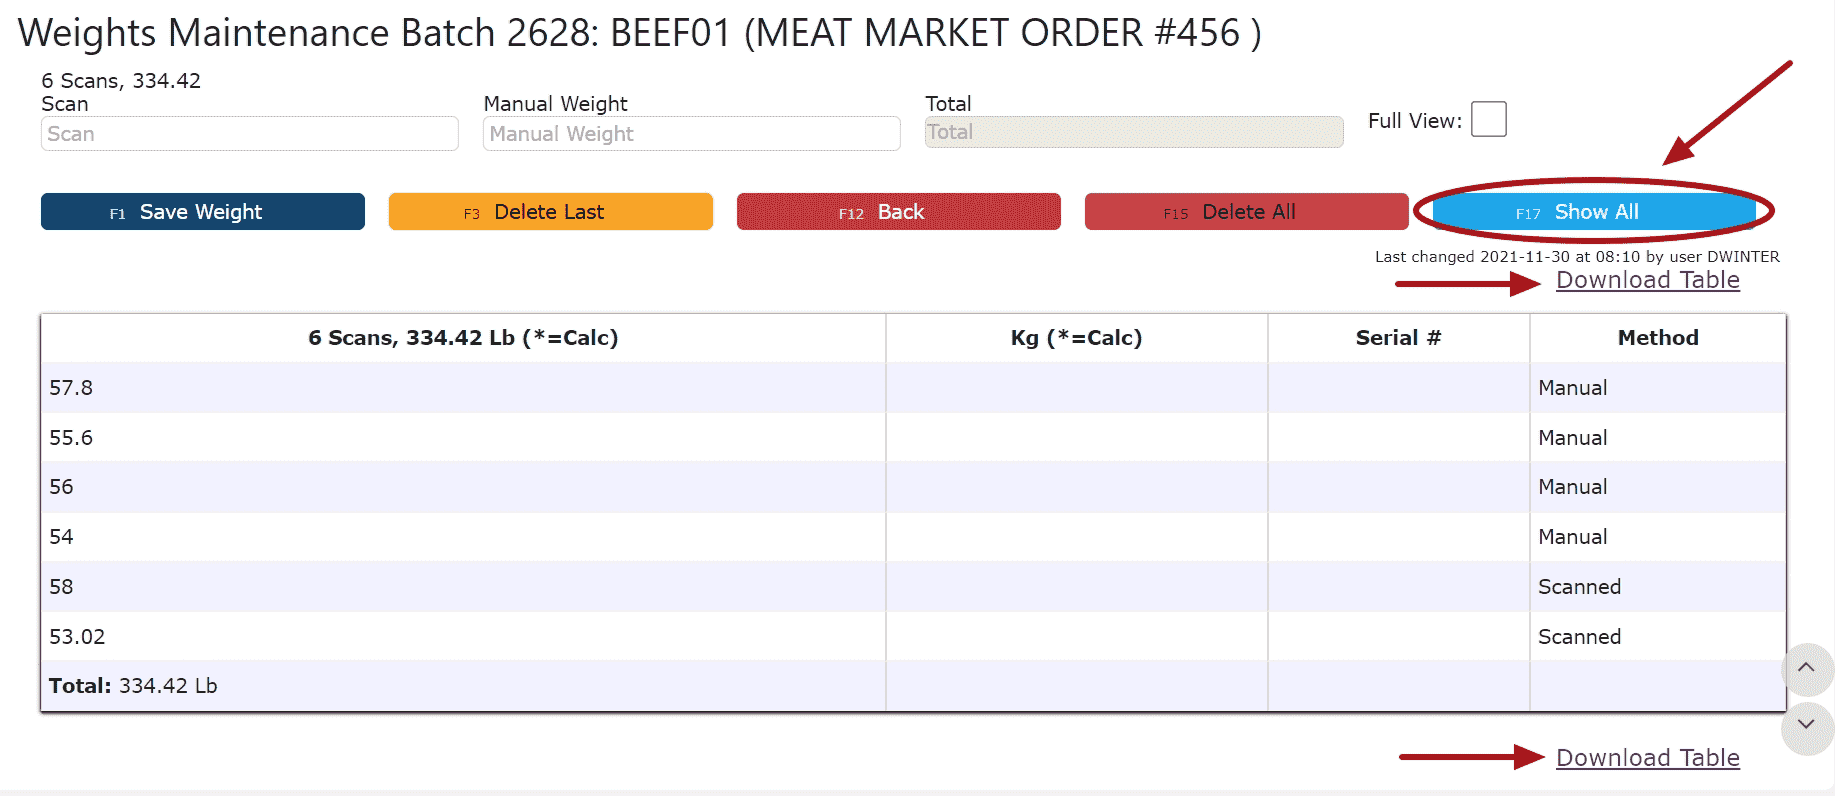
    5. Click the All Entries Button to view a list of all the weights 


    6. Use the Show All Button and the Download Table link to download an excel spreadsheet of the table 


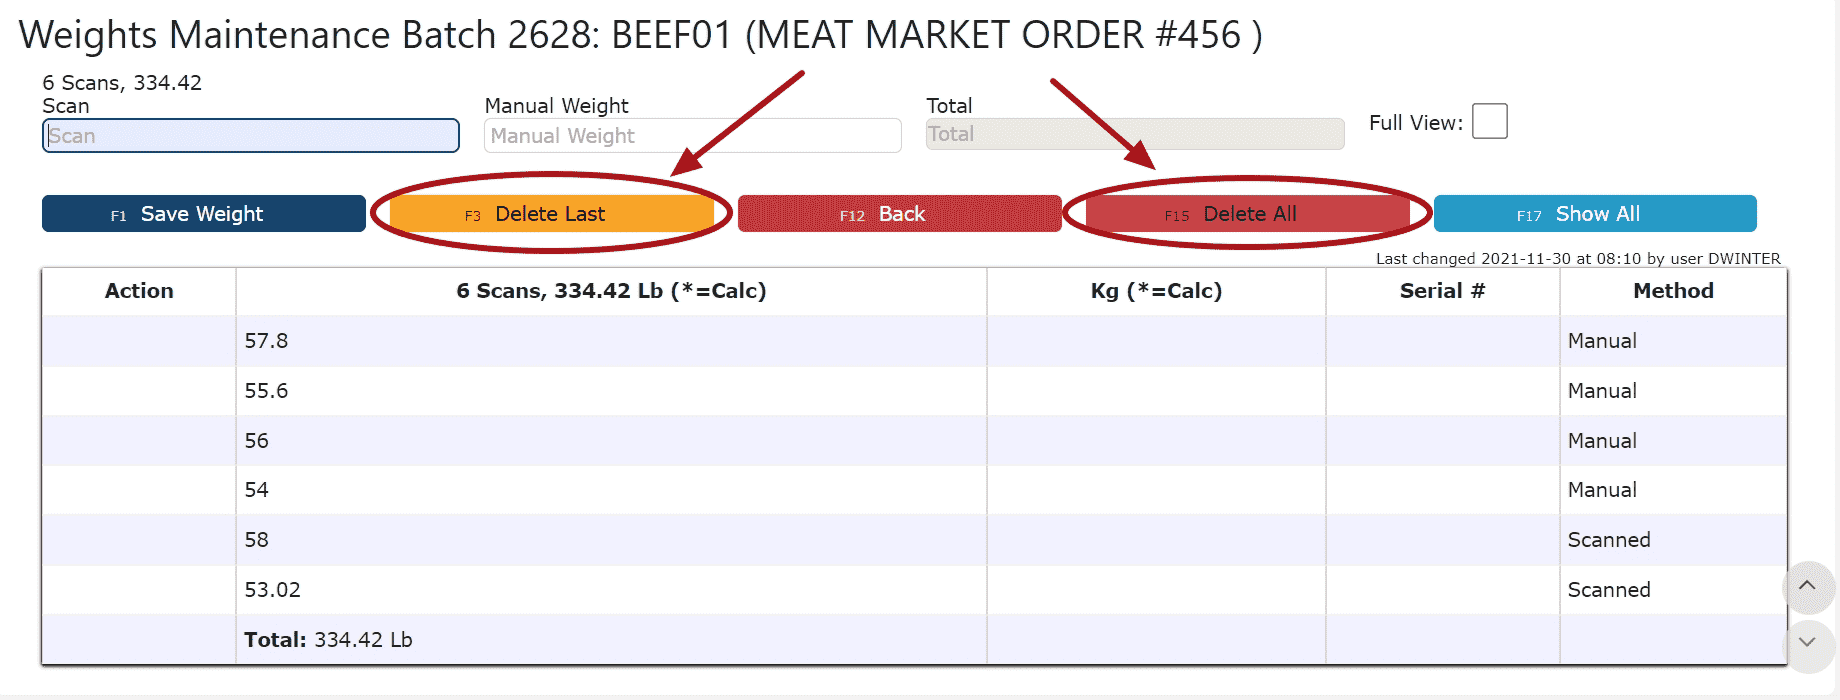
    7. Use the Delete Buttons to remove unwanted weights 


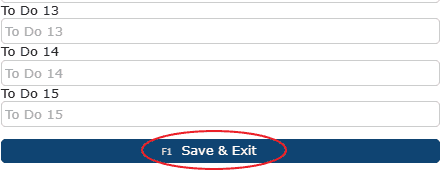
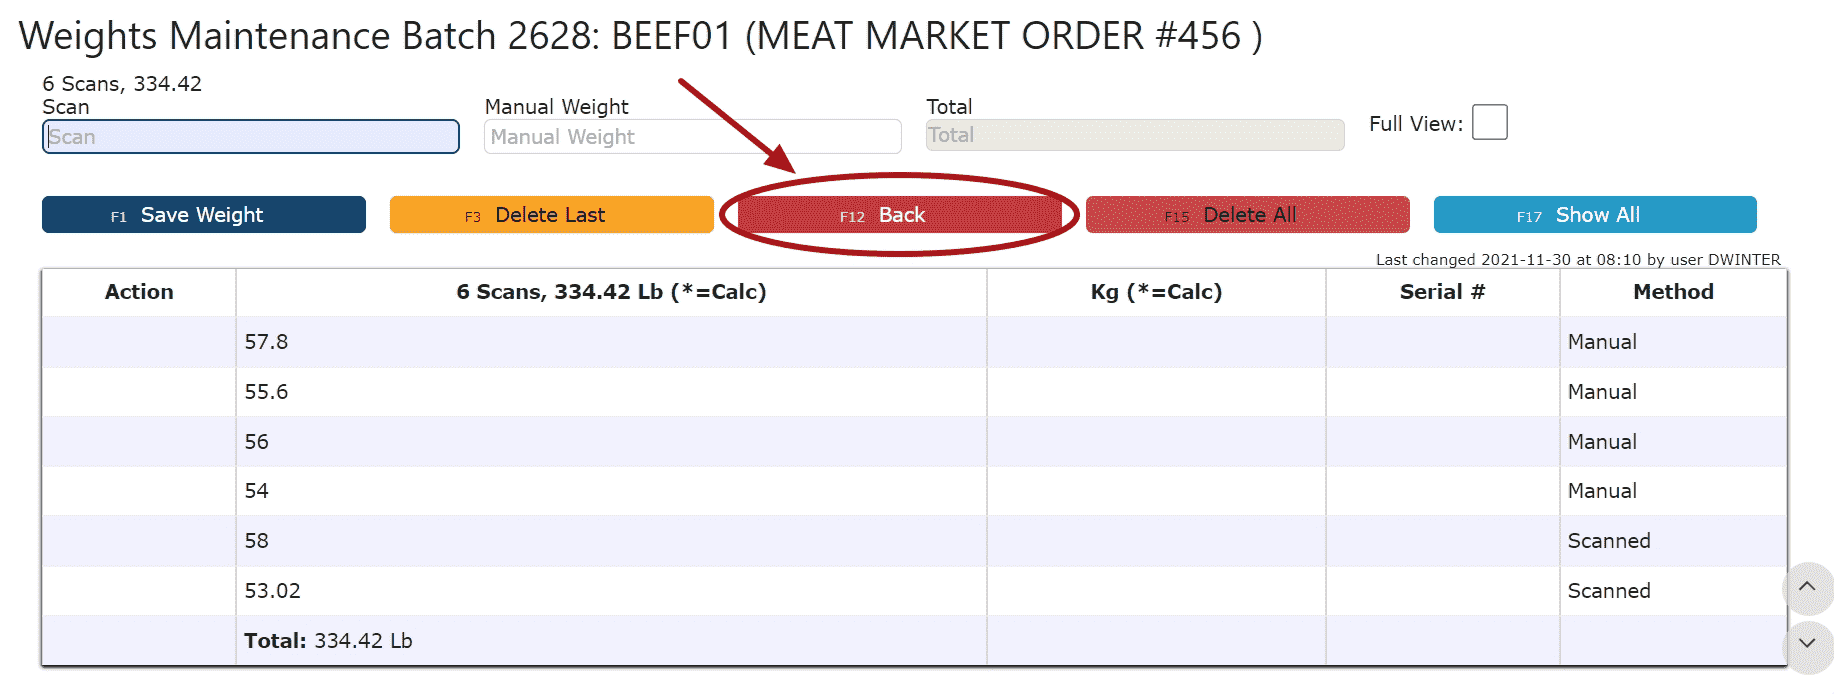
    8. Click the Back Button until editing the main batches screen, then select the Save & Exit option to save the batch 


    Disabling a Misc. Weights Batch


    1. Click on the Disable Weight Batch icon and select OK on the pop-up prompt 


    2. The Misc. Weights Batch is now located under the disabled batches 

    Note: Misc. Weights Batches can be disabled but not deleted 


    Activating a Misc. Weights Batch

    1. Locate the Misc. Weights Batch under the list of disabled batches 


    2. Click on the Edit Weights icon 


    3. Select Active from the Status Dropdown and save the batch 


    Manufacture Start/In Misc. Weights Batches

    A misc. weights batch will automatically be created containing the weights from "destroyed" pallets that have been utilized during the manufacturing process