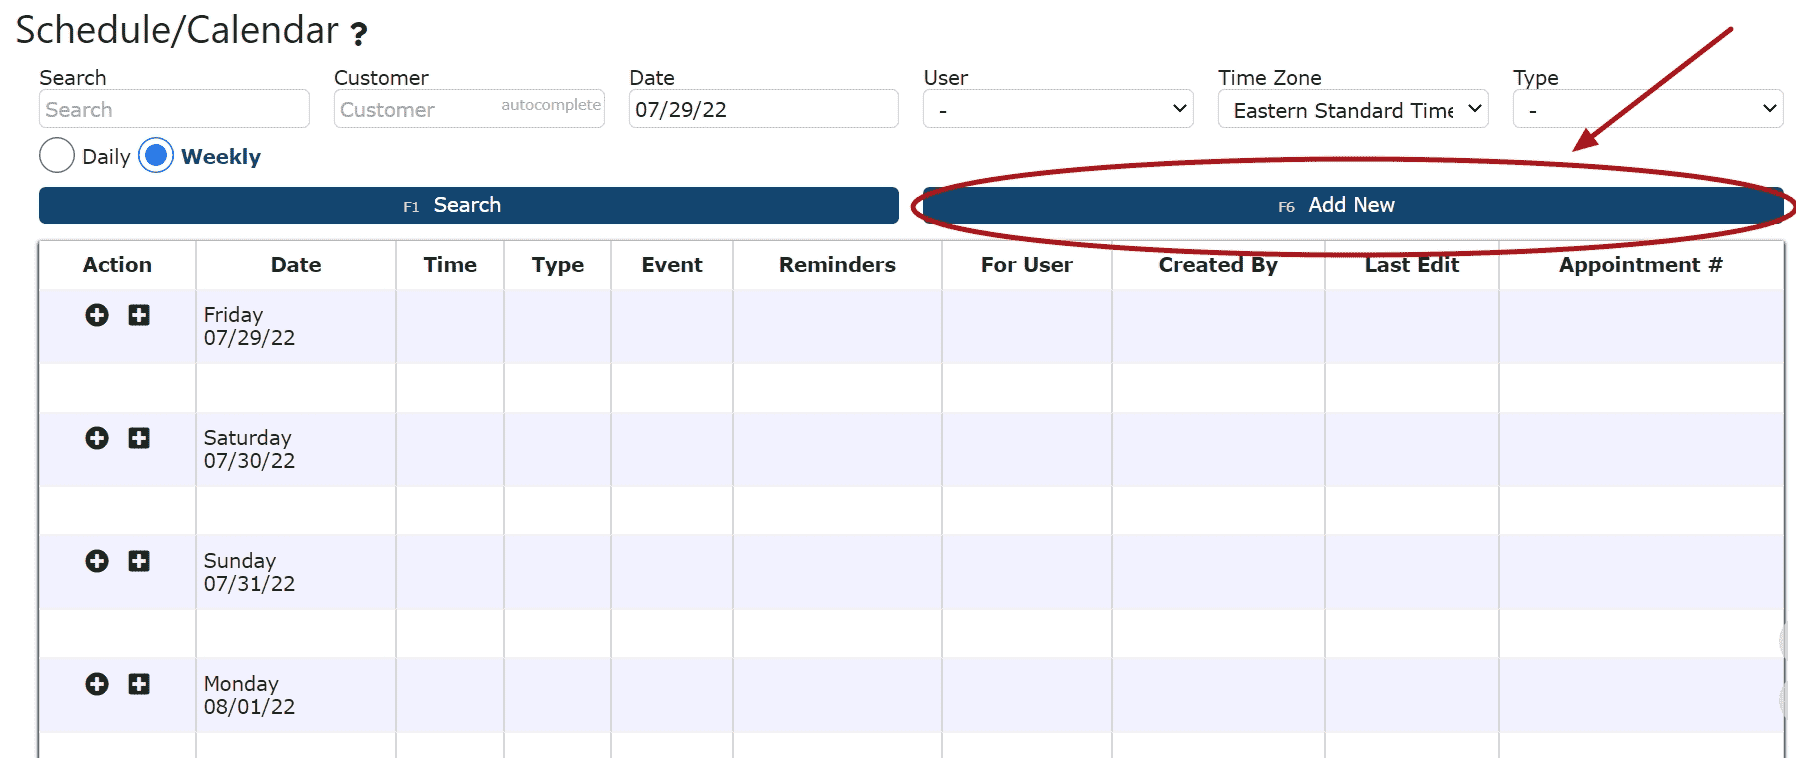
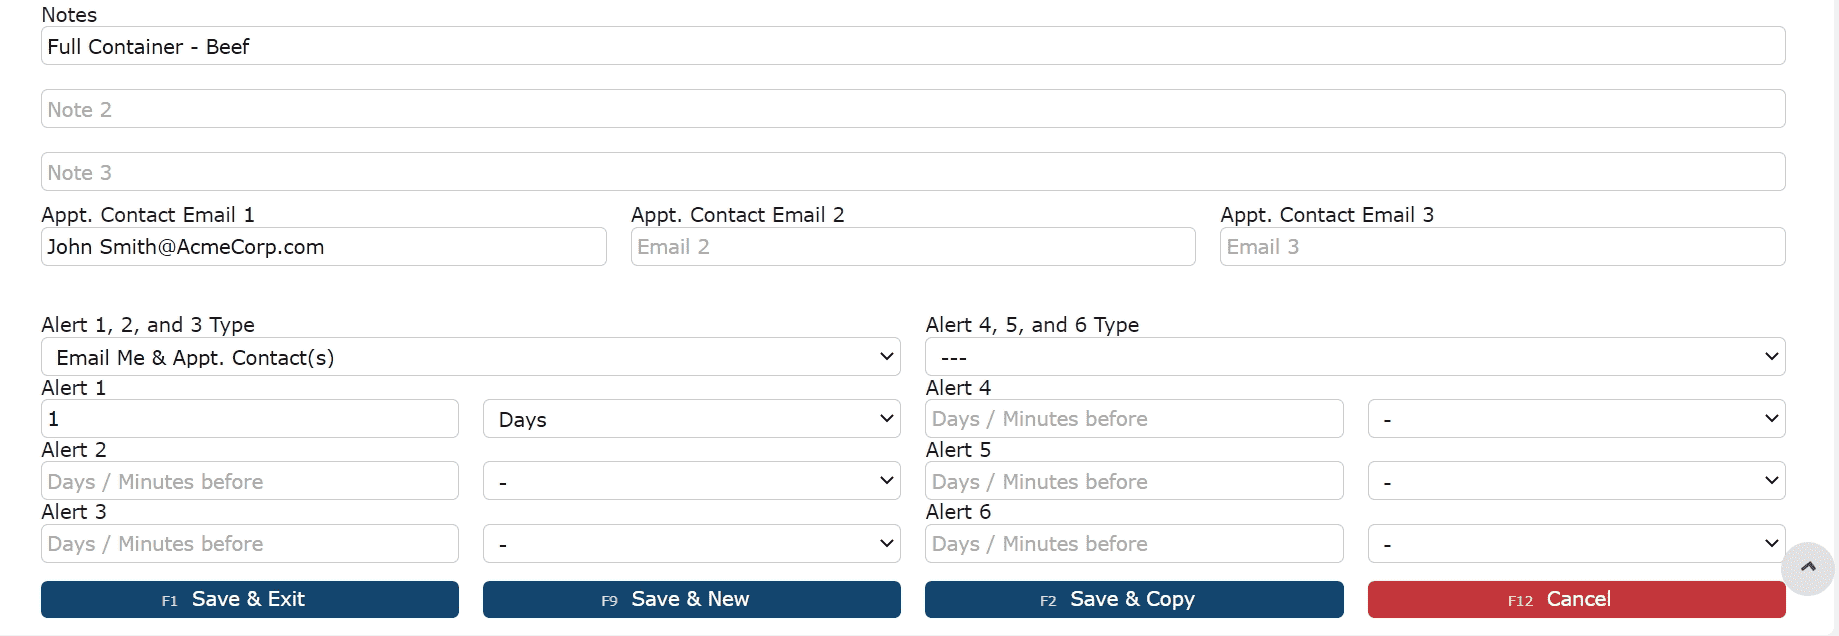
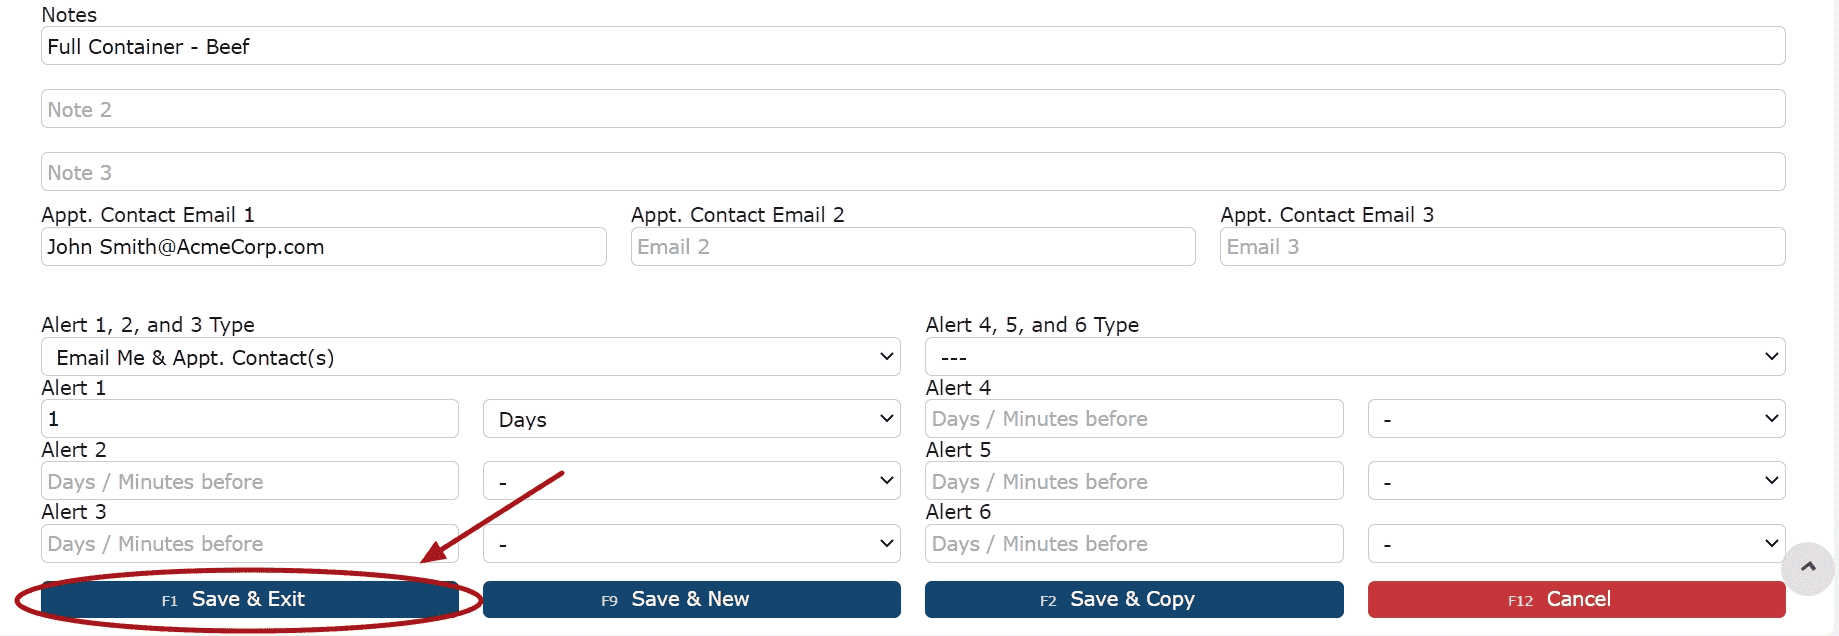
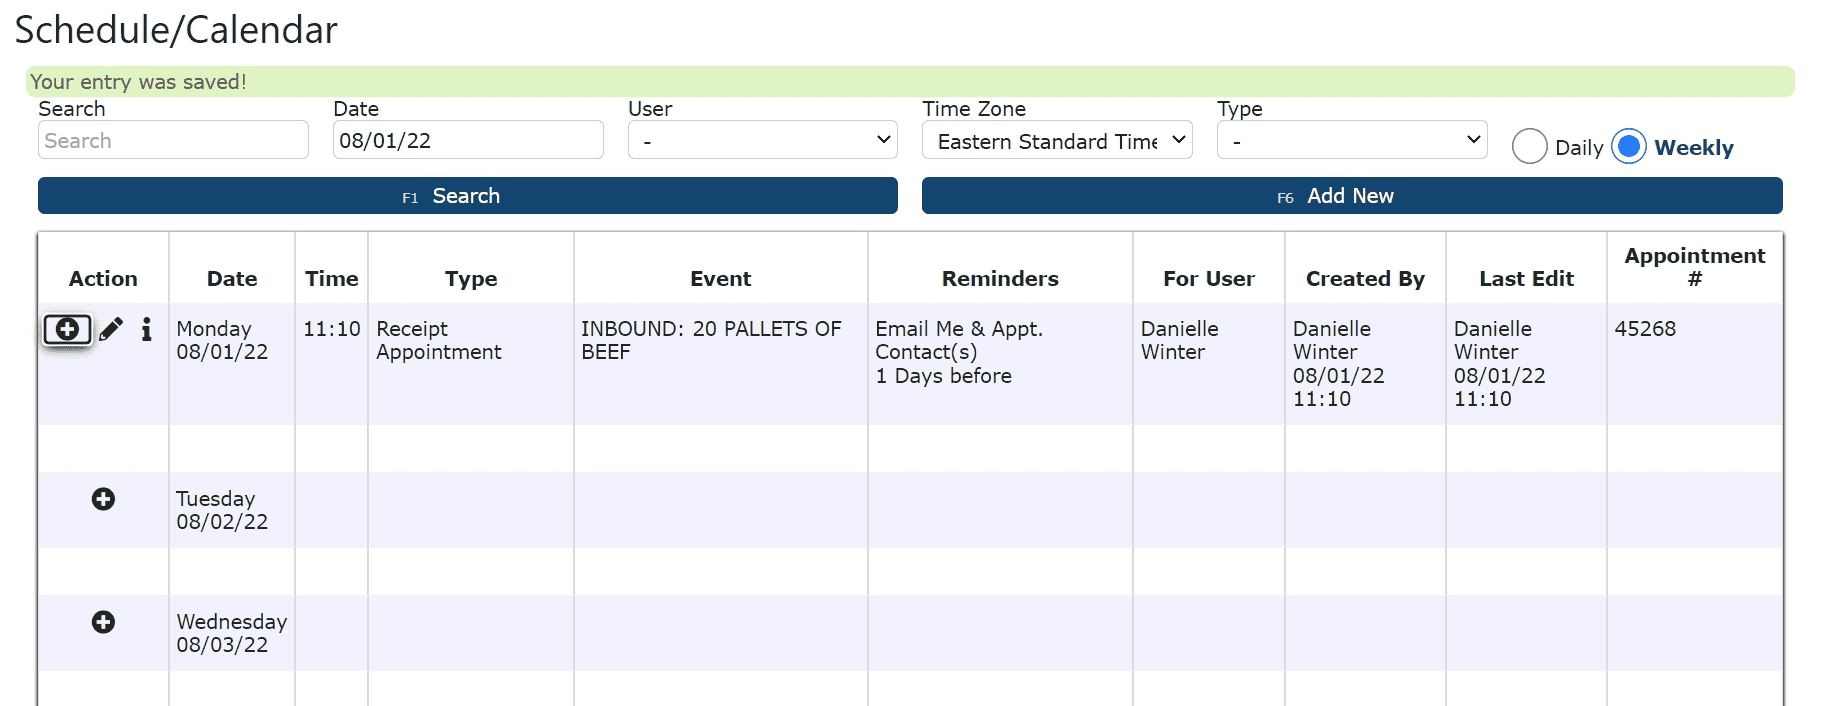
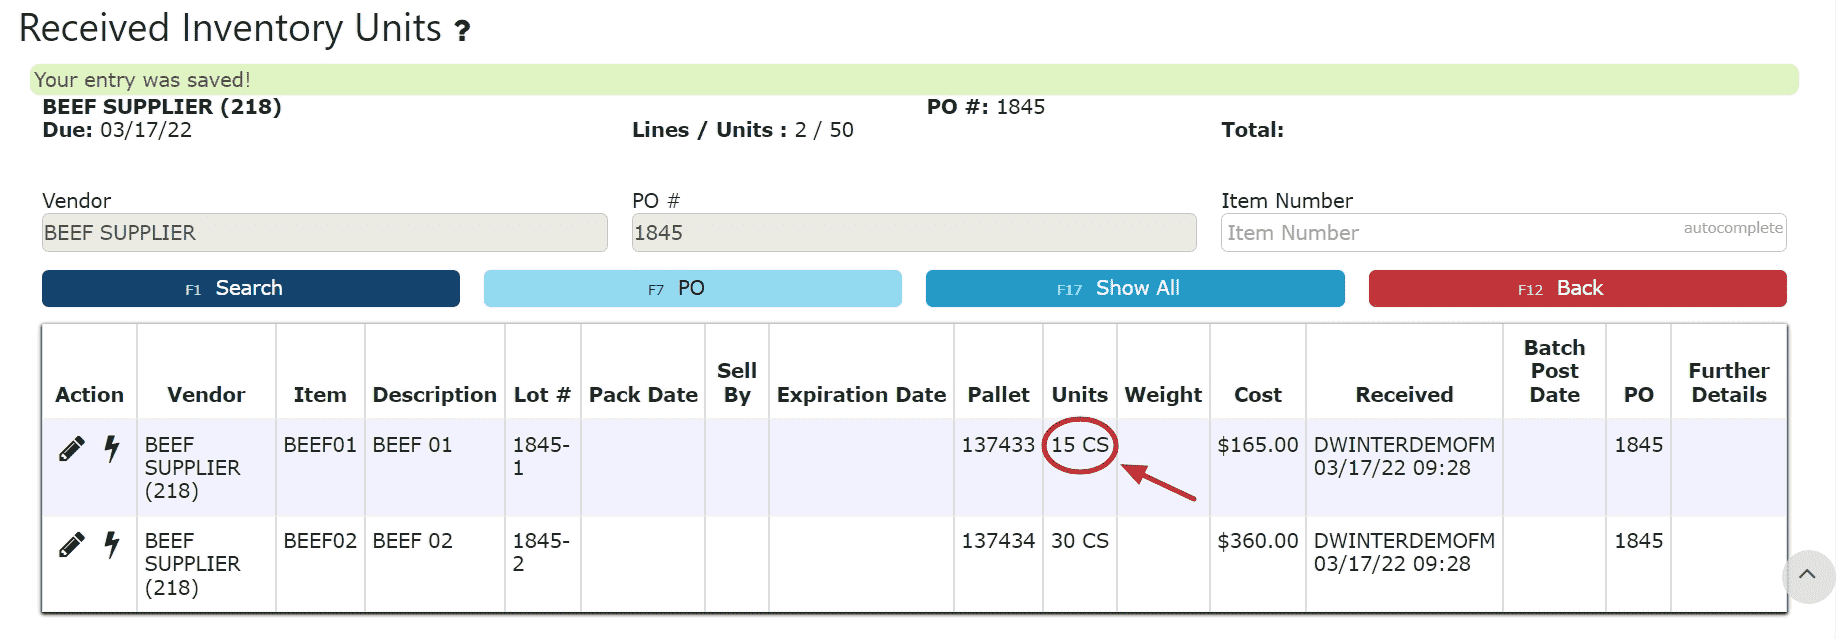
1. Go to the Warehouse Menu and click on the Create Receipt Sub-Menu
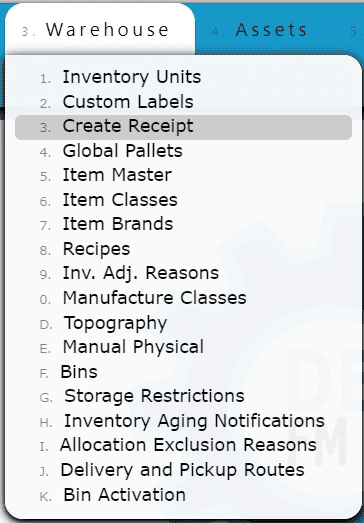
2. Click on either the Floor button to put a pallet away to the floor, or click on the Create Receipt icon next to the corresponding bin

Single Item/Lot Per Pallet:
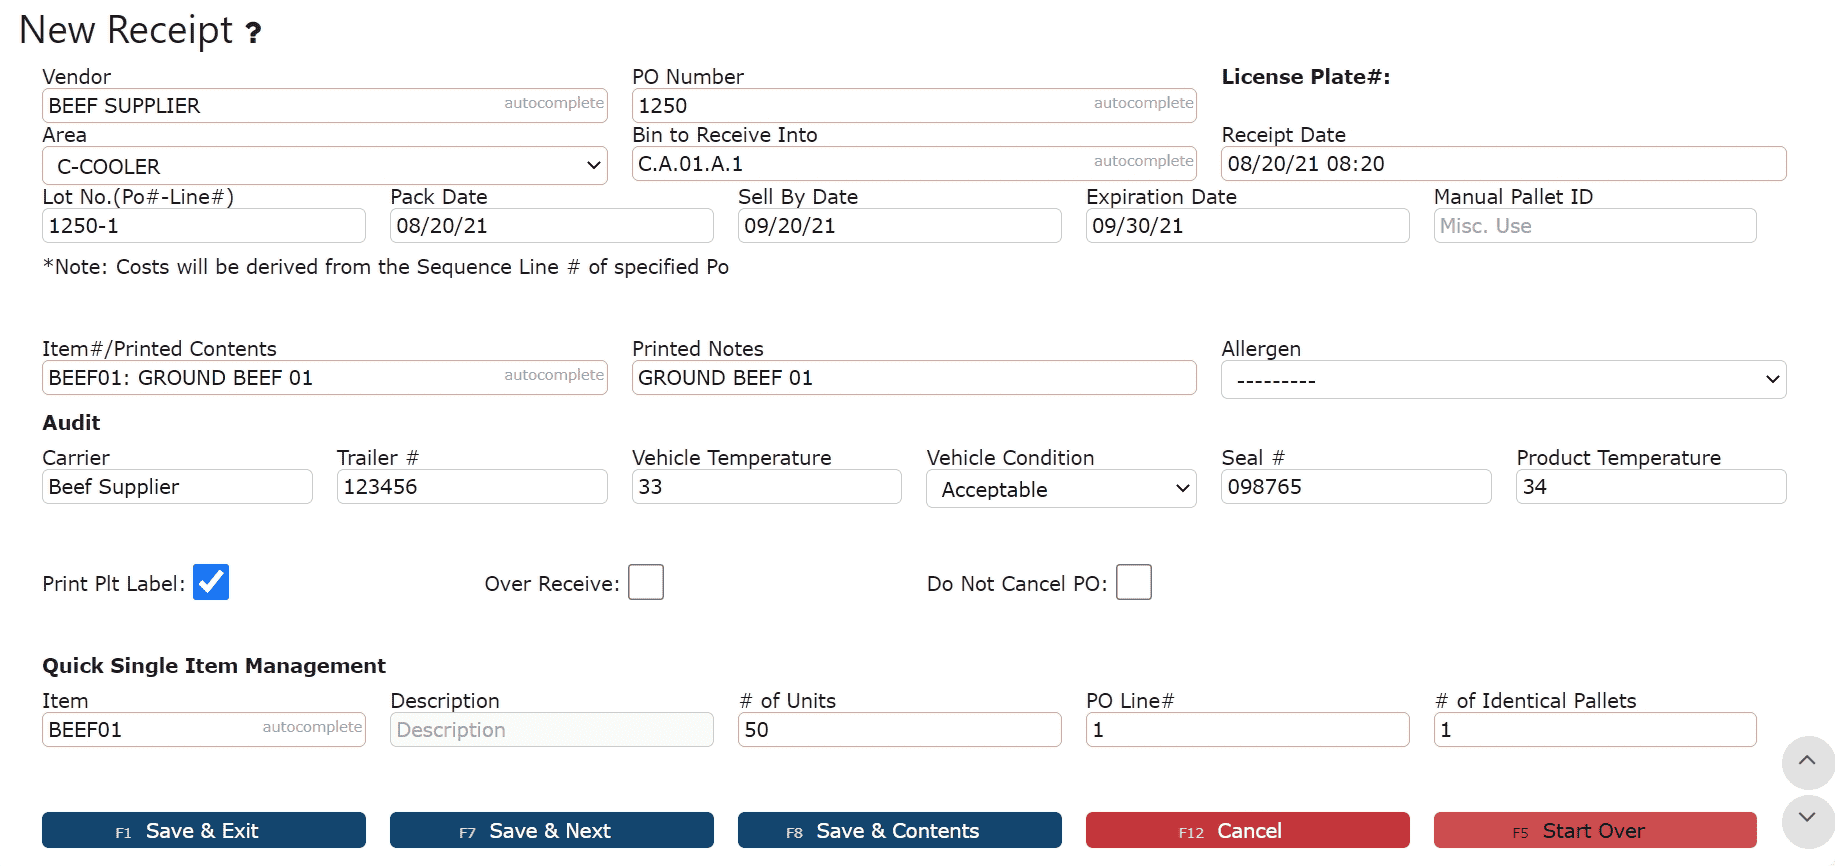
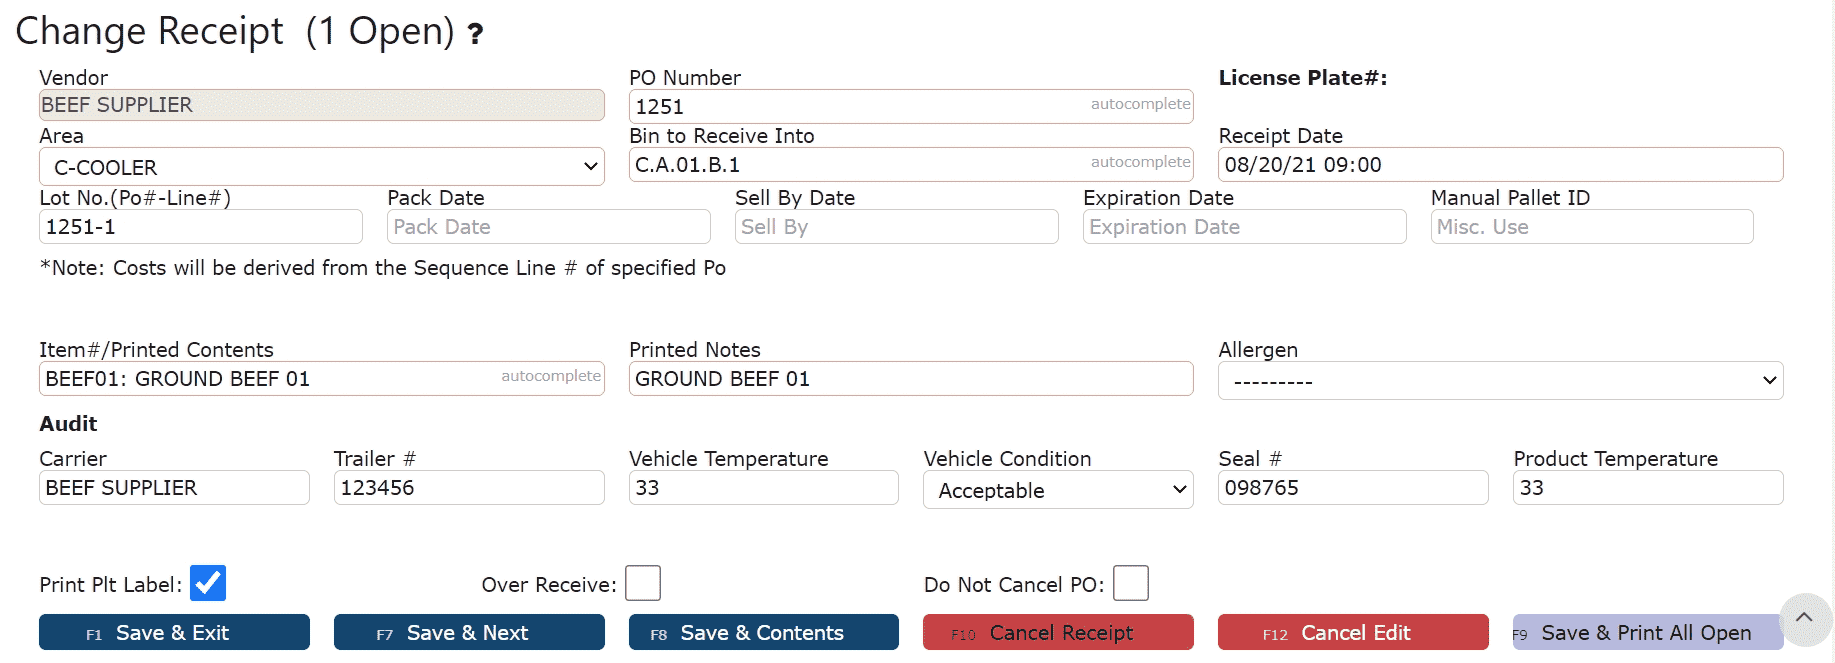
3. Fill in all of the necessary information, then choose whether or not to print a pallet label and/or case labels by checking the Print Plt Label and/or Unit Labels Checkbox.
 Note:
Note:-> The item/printed contents MUST be the item and its description, it cannot be customized or overridden
-> Any changes to the item/printed contents will automatically override the printed notes with the item's description
-> The printed notes can be customized when creating or adding receipts
-> Check the Over Receive Checkbox if the quantity exceeds the original PO amount
-> Check the Do Not Cancel PO Checkbox to retain any unreceived items/quantities within the PO, otherwise they will be removed from the original PO
-> Check the Unit Labels Checkbox to print one label per unit on the receipt
Note: A flag and feature must be enabled by I.T in order to print case labels
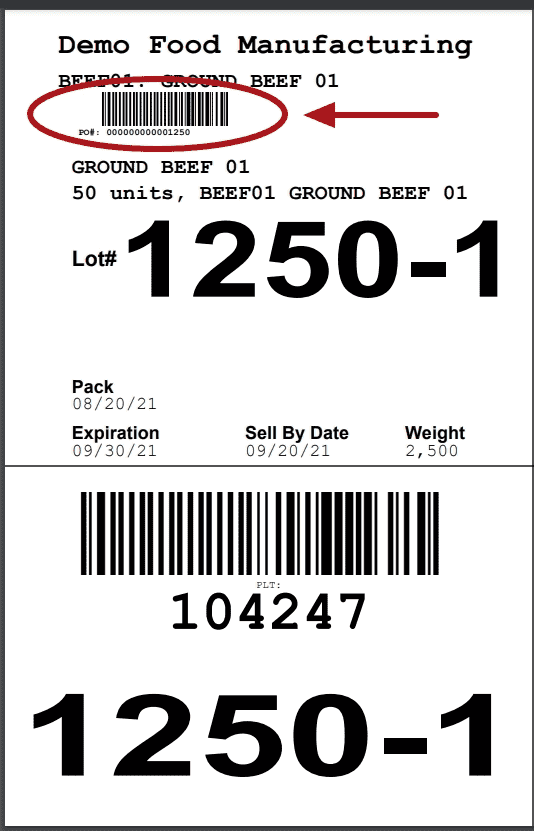
Pallet Label:
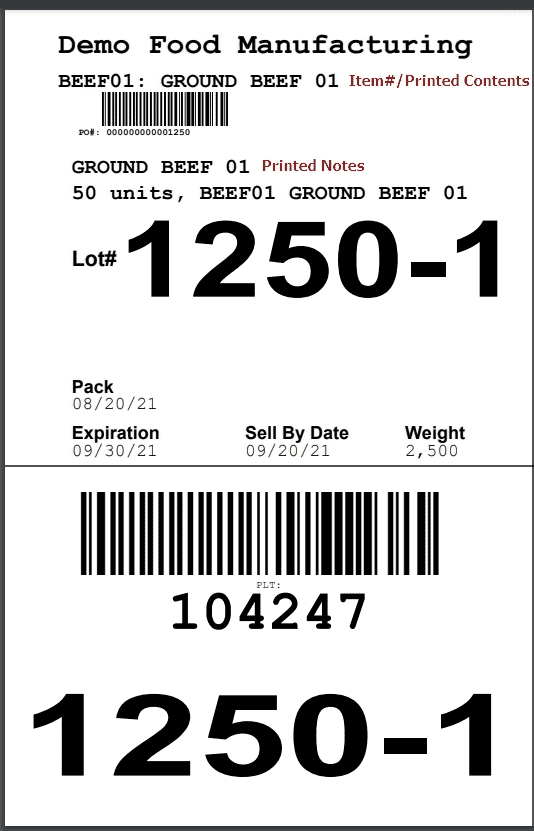 Case Label:
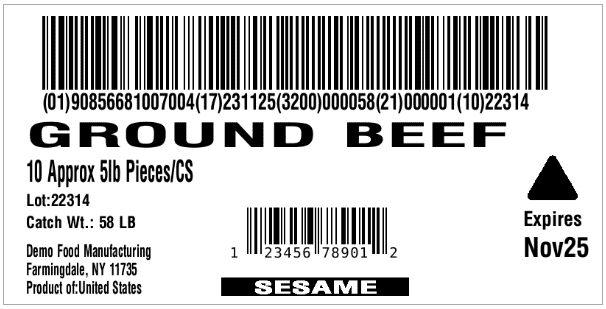
4. To link the receipt to a Receipt Appointment on the Calendar/Schedule, click the Receipt Appt. Button, and then select the appointment from the list


5. Click one of the Save buttons to save the receipt
6. Once the receipt has been saved, click on the Go to Queue button to start performing the receiving in order to place the pallet(s) into inventory

Mixed Pallets (More than one Item/Lot per pallet):
3. Fill in all of the necessary information for the first item on the pallet
Note: Uncheck the Print Pallet Label Checkbox until all items/lots have been added to the pallet
4. To link the receipt to a Receipt Appointment on the Calendar/Schedule, click the Receipt Appt. Button, and then select the appointment from the list


5. Click on the Save & Contents Button
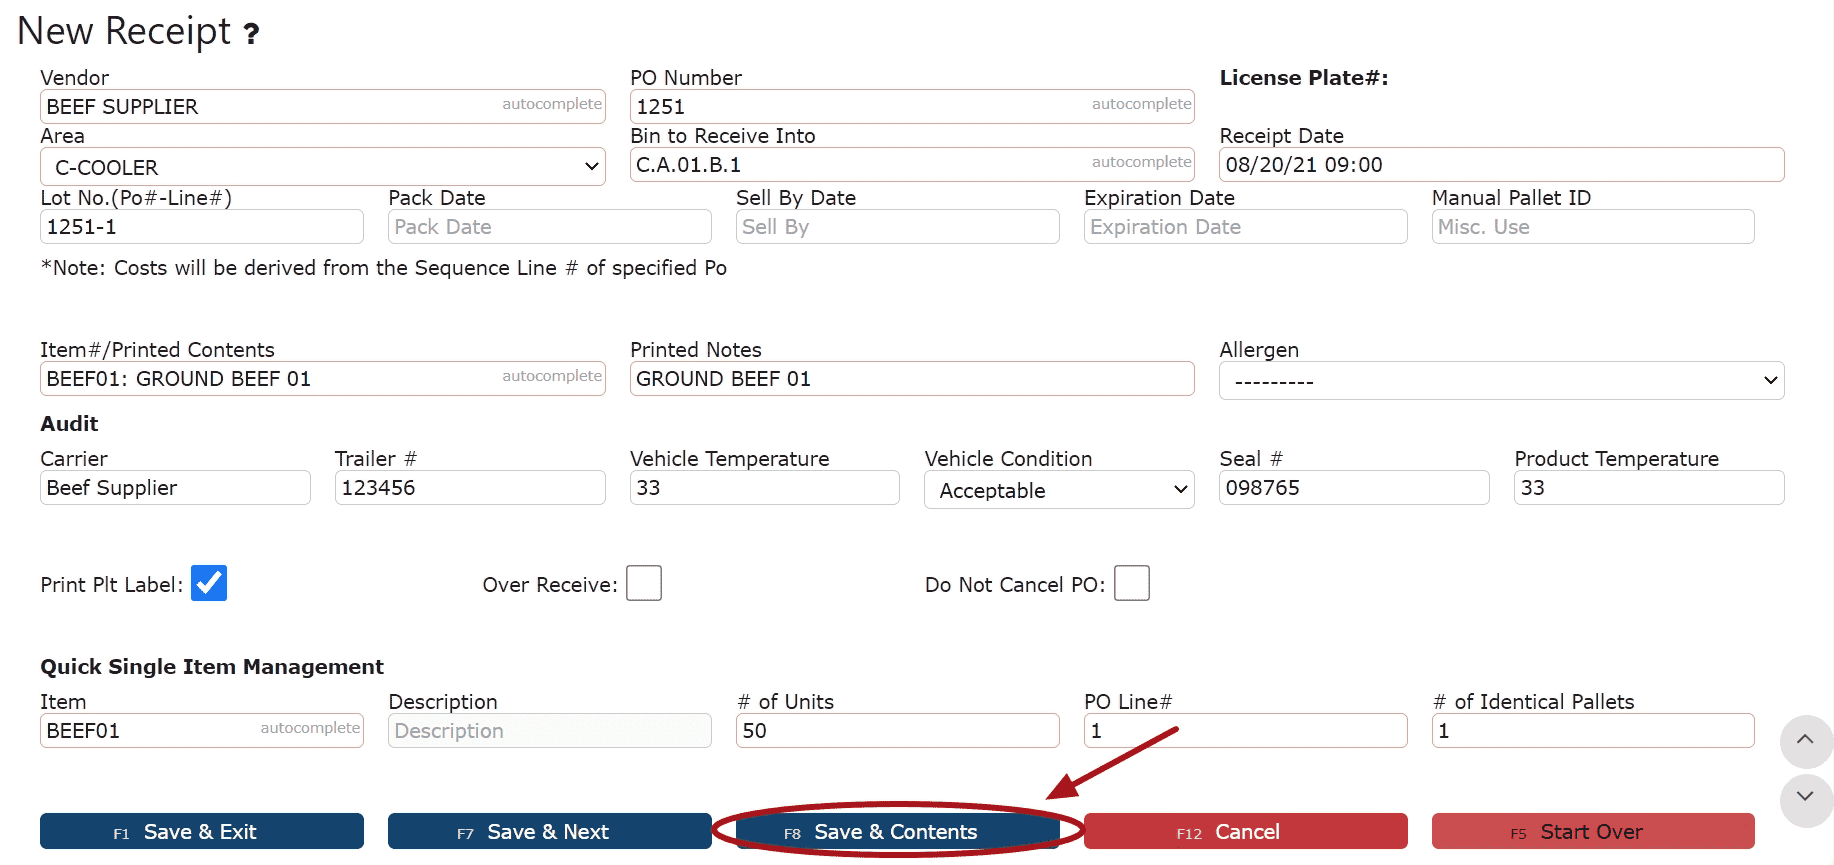
6. Click the Save & New button to confirm the first item's placement onto the mixed pallet
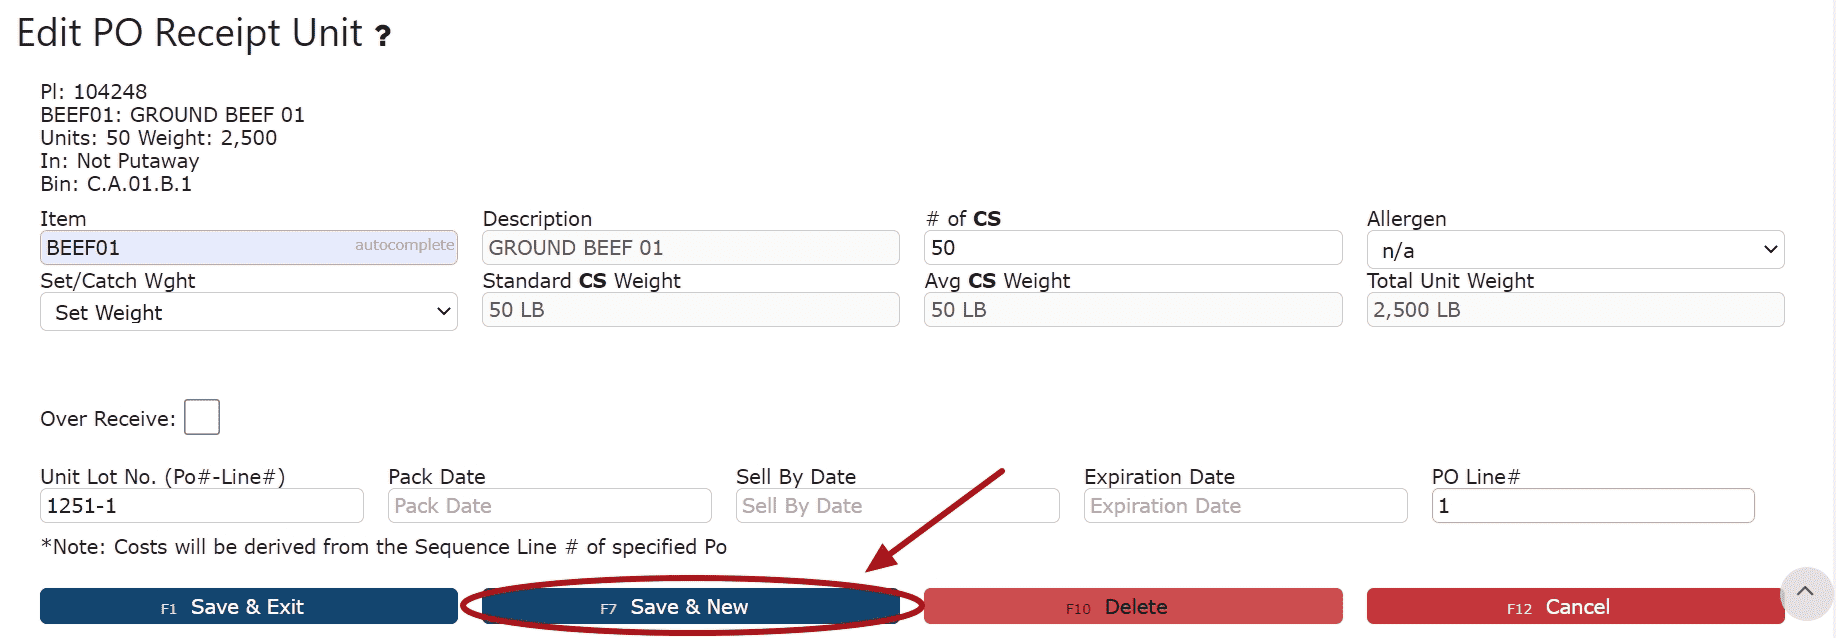
7. Fill in the next item's item number and unit information, then click on either Save & New to continue adding items to the pallet or Save & Exit to finish
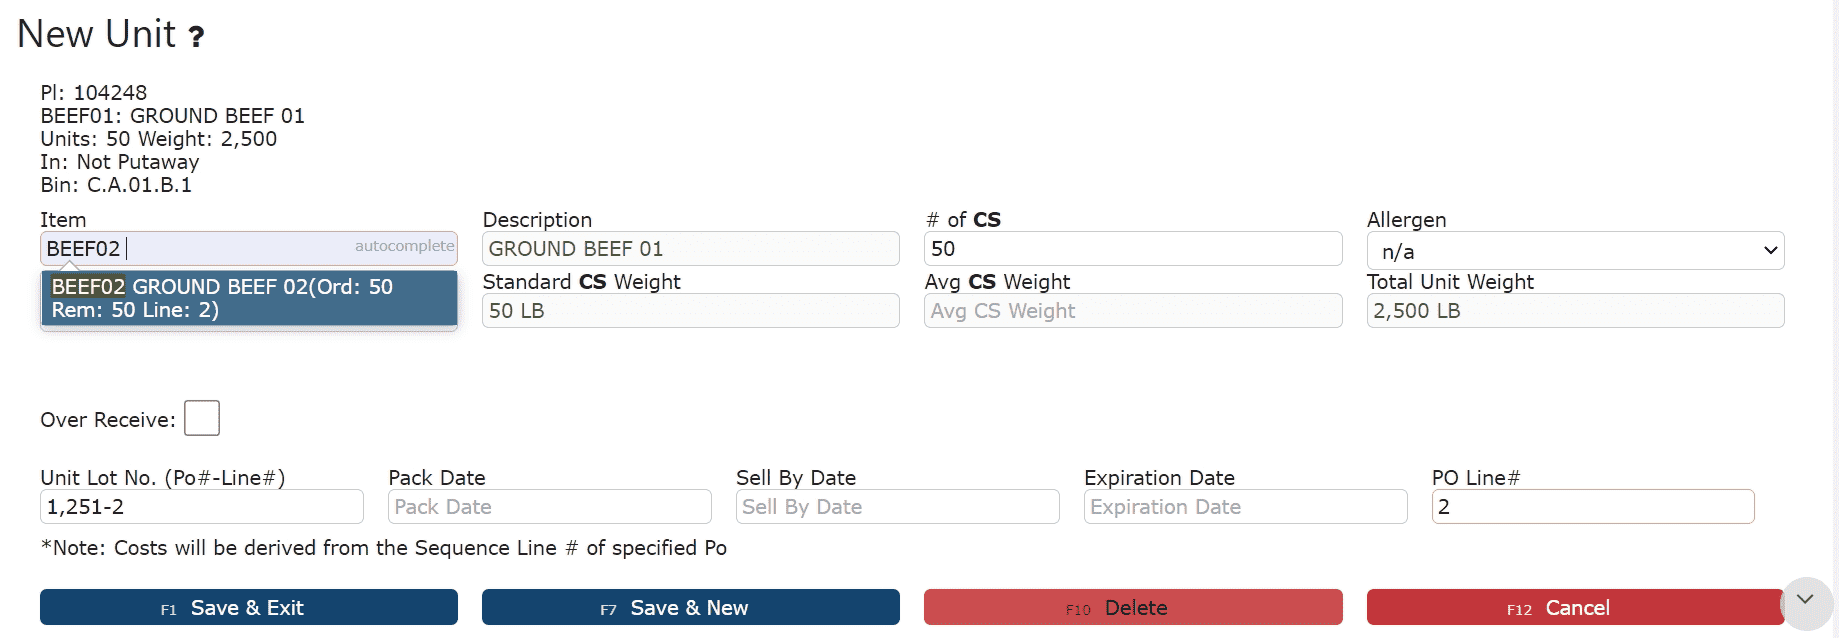
8. After hitting Save & Exit, click the Back button
Note: If catch weight items exist on the pallet, use the Take Weights button to record the weights

9. Check the Print Pallet Label Checkbox if labels are required, then click on Save & Exit
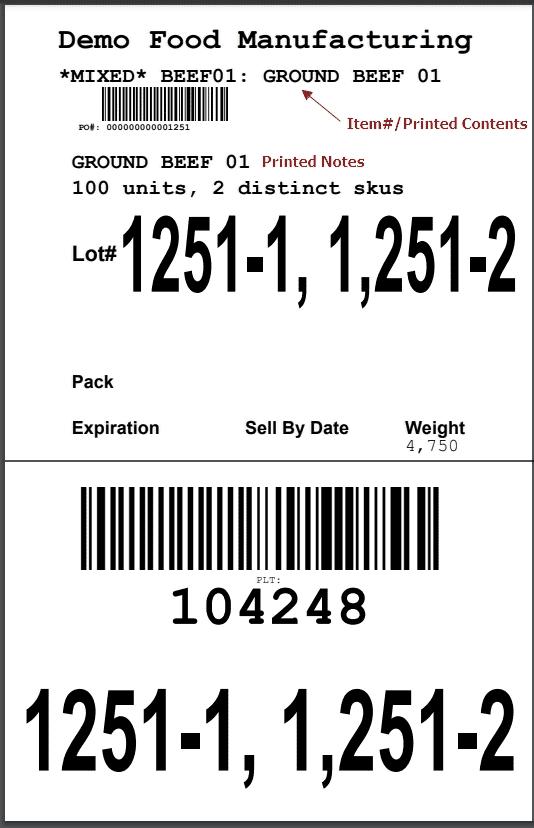
 Pallet Label:
Note: -> For mixed pallets, the Item#/Printed Contents and Printed Notes of the first item only will be displayed on pallet labels.
-> The Item #/Printed Contents and Printed Notes will be updated for new pallet labels when items are moved out of a mixed pallet, if and only if, there is only 1 item/lot left on the pallet. This update is done unless changes were manually made to the Printed Contents prior to the move.
10. Once the receipt has been saved, click on the Go to Queue button to start performing the receiving to place the pallet(s) into inventory

