WMS Activities

Overview

  • WMS Activities

    WMS Activity:

    Warehouse related activities that are performed on pallets in inventory.


    Pallet Moves: Moving one whole pallet to a new bin.

    Pull Queues: A guided/pre-planned pallet move of one or more pallets to new bins/areas. Place a single/multiple pallets into a queue to later decide how they will be moved.

    Inventory Adjustments: Adjusts the amount of units on a pallet either by decreasing or increasing the amount.

    Move Inventory Units: Moving units from one pallet to another.

    Scan Inventory Units: Moving units with catch weights from one pallet to another. 

    Cycle Counts: Take inventory counts with the  Manual Physical or the Slot Count/Verify options. 


WMS Activities

  • Pallet Moves

    Example: Moving pallet 104239 from bin C.A.01.A.2 to bin G.A.01.A.1


    1. Go to the RF Menu and click on the Move Pallet Sub-Menu


    2. Enter or scan the pallet ID, then click the Next Step button 


    3. Enter or scan the bin the pallet is currently in, then click the Next Step button 


    4. Enter or scan the new bin the pallet is going into, then click the Next Step button 


    5.  The pallet has now been moved into the new bin in inventory 


  • Pull Queues

    Example: Moving multiple pallets to the cooler bin (C.A.01.A.1)


    1. Go to the Warehouse Menu and click on the Inventory Units Sub-Menu


    2. Click on the Specify Pull Queue icon next to the pallet to move 


    3. Enter the date and time the Pull will occur and a name for the pull, then click the Save button 


    4. Click on the Specify Pull Queue icon next to the next pallet to add to the pull queue 


    5. Enter the same date and time and name as the previous pull, this will ensure both pallets are added to the same pull in the pull queue

    Note:
    Subsequent Pulls will automatically be assigned to the previous pull unless manually overridden (Assigning to another date/time slot) 


    Both pallets are now in the pull queue 


    6. Go to the RF Menu and click on the Pull Queue Sub-Menu 


    7. Locate the corresponding pull to initiate in the Pull Queue (1 pull of 1 to many pallets per each date/time)


    8. Click on the Initiate Pull icon for the pull to initiate 


    9. Click on the Start Pull button or the Pull icon 


    10. Enter or scan the pallet id to move and click the Next Step Button. 


    11. Enter or scan the Bin to move the pallet into, click the Next Step Button, then confirm.   Use the Floor Button if applicable.  Repeat for each pallet in the queue.  


  • Inventory Adjustments
    Example:Adjust the number of units on pallet 55284 from 5 units to 4 units 


    1. Go to the RF Menu and click on the Inventory Adjustment Sub-Menu 


    2. Enter the pallet to be adjusted 


    3. If choosing to move the pallet after adjusting, enter a queue name to assign the pallet to a pull queue, otherwise, click the Next Step button  


    4. Enter or scan the item (UPC, GTIN or Item Barcode), then click the Next Step button 


    5. Enter the lot if applicable 


    6. Enter the new unit amount (4 in this example) or the offset (-1 in this example) for the pallet 

    Note: Company setup dictates whether to enter a new unit amount, or the offset value.   


    7. Confirm the new unit or offset amount 


    8.  The pallet's unit count has now been adjusted 


    9. View the pallet in inventory with the new unit count

  • Move Inventory Units
    Example: Moving 1 unit from pallet 104239 to a new pallet 


    1. Go to the RF Menu and click Move Inventory Unit Sub-Menu


    2. Click the New Pallet Button 


    3. Enter or scan the pallet the unit is being moved from, then click the Next Step Button  


    4. Enter or scan the item (UPC, GTIN or Item Barcode), then click the Next Step Button 


    5. Enter the lot, then click the Next Step Button 


    6. Enter the number of units to move, click the Next Step Button and confirm 


    7. The unit has now been successfully moved to a new pallet, click on the Done/Label Button to print the new pallet label   


  • Scan Inventory Units
    Example: Moving 1 unit from pallet 104243 to pallet 104242


    1. Go to the RF Menu and click Scan Inventory Unit Sub-Menu

     
    2. Enter or scan the pallet to move into, or click the New Pallet Button,  then click the Next Step Button  
     
     
    3. Enter or scan the pallet the unit is being moved from, then click the Next Step Button  
     

    4. If applicable, enter the override lot# (the lot number currently associated with the inventory in the system which differs from the barcode's lot), then click the Next Step Button 
     

    5. Scan the case's GTIN barcode (barcode must contain a weight), then click the Next Step Button 

    Note: If there is no barcode to scan, click the Next Step Button to skip this scan step and manually enter the information 


    6. Continuing scanning until all units have been moved, then click on the Done/Label Button to print the new pallet label once all moves have been completed 


  • Miscellaneous Weights
    Scan or gather weights for a particular item/sku, order or for any other miscellaneous purpose into a stand-alone misc. weights batch. 

    Creating a Misc. Weights Batch


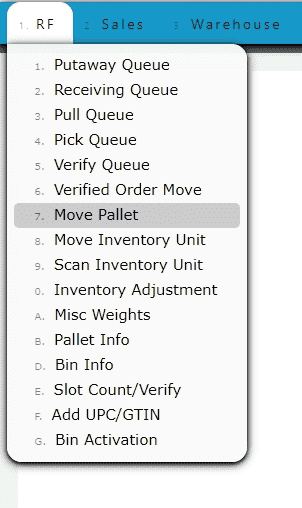
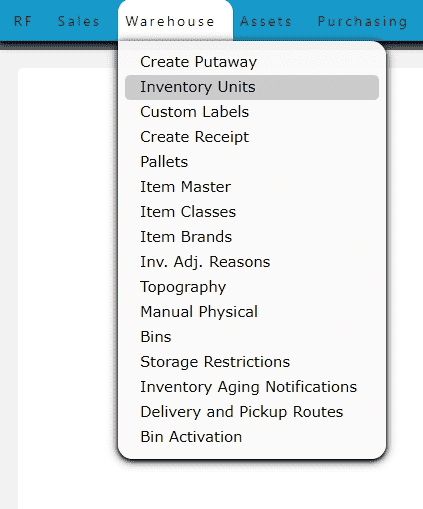
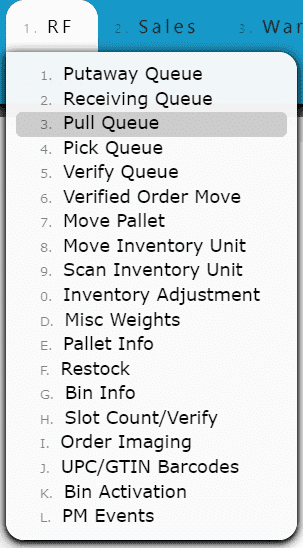
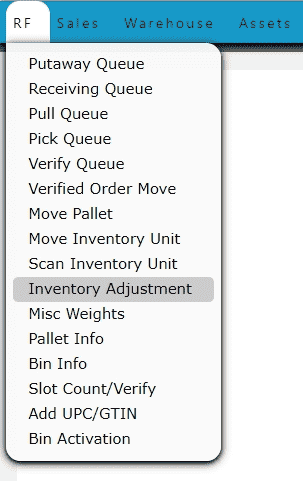
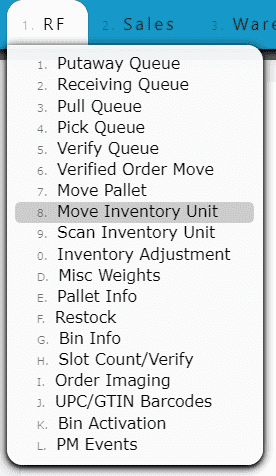
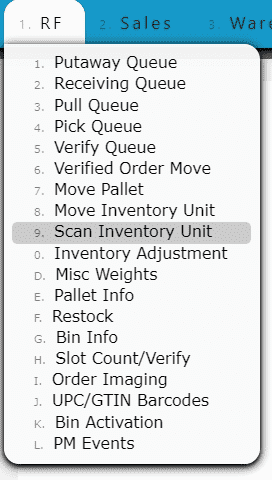
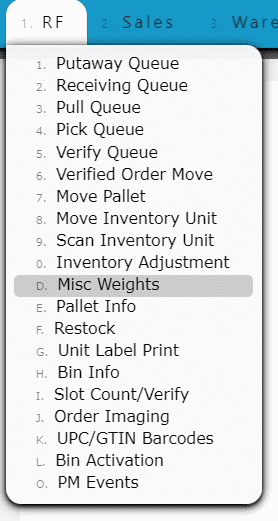
    1. Go to the RF Menu and click on the Misc. Weights Sub-Menu 


    2. Click on the New Batch Button 


    3. Fill in the item number and description, then click on the Save & Details Button 

    Note: A "start/end" weight option can be specified to denote the "start" or "end" result of a process.  


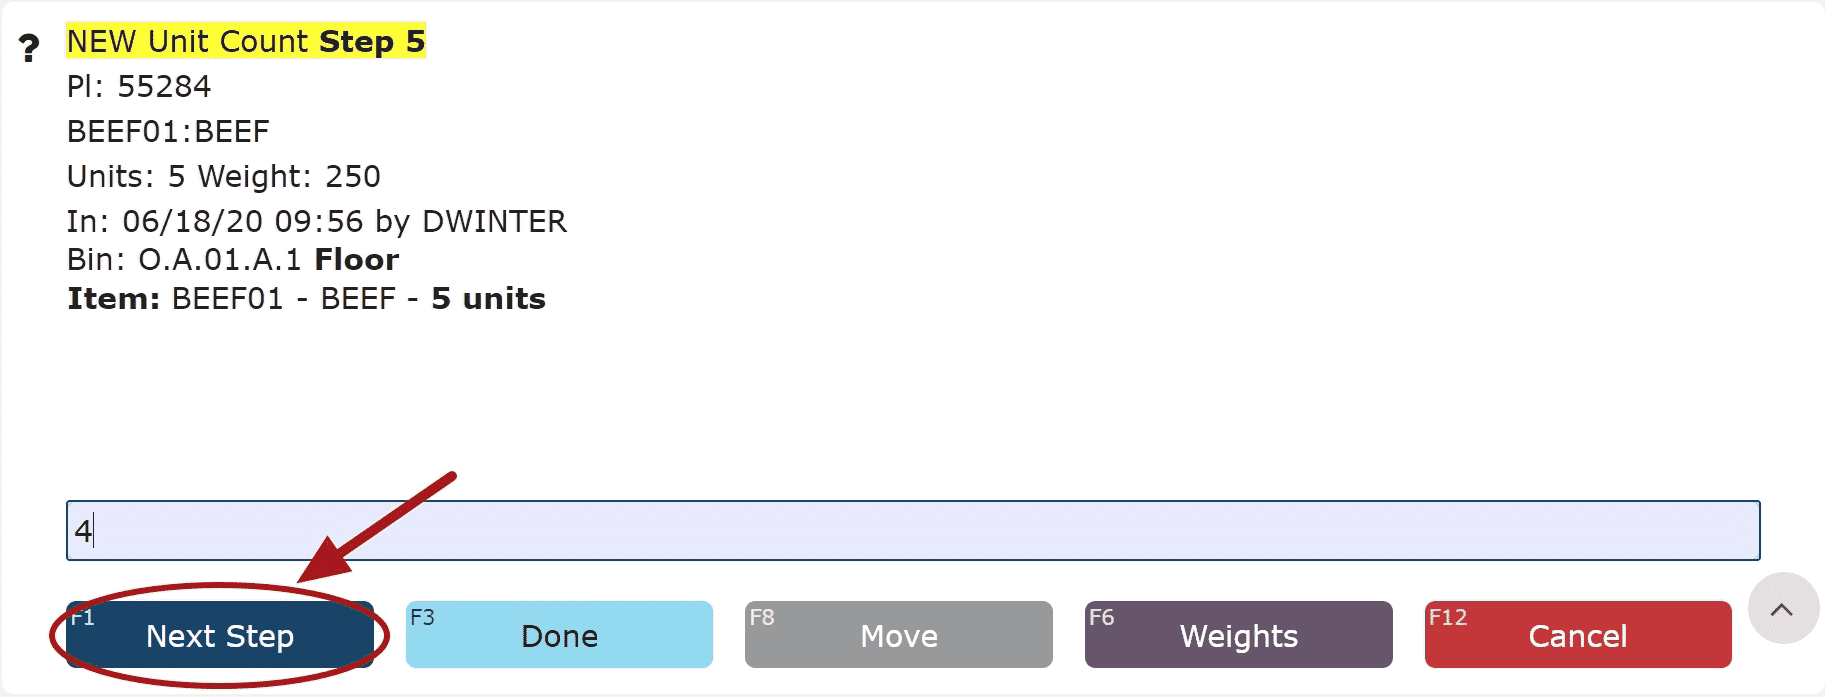
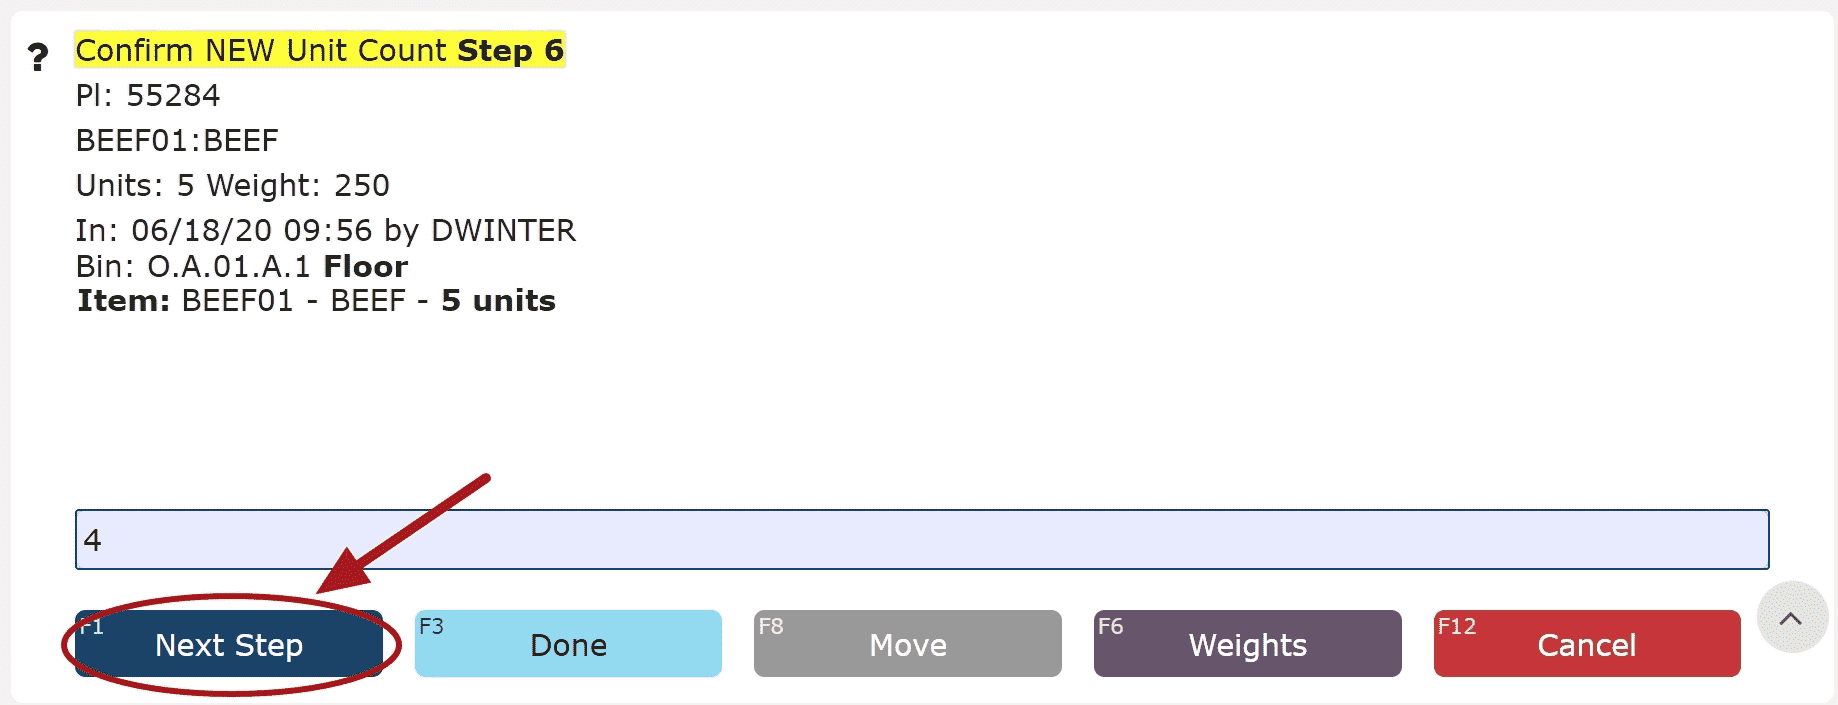
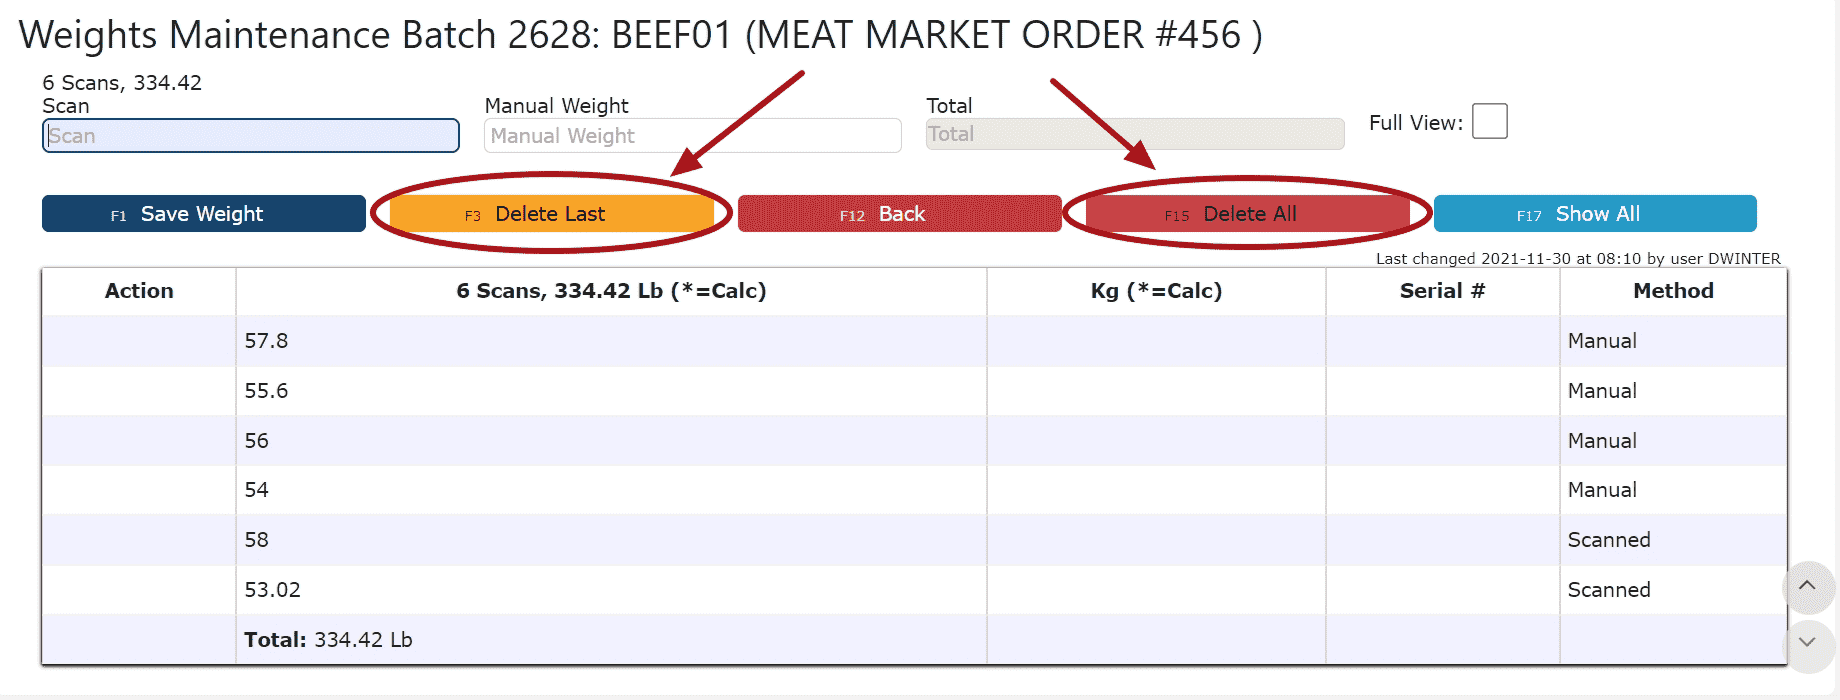
    4. Either enter the weight manually within the Weight Field, or scan a barcode containting the weight within the Scan Field 

    *Repeat until all weights have been added to the batch 


    5. Click the All Entries Button to view a list of all the weights 


    6. Use the Show All Button and the Download Table link to download an excel spreadsheet of the table 


    7. Use the Delete Buttons to remove unwanted weights 


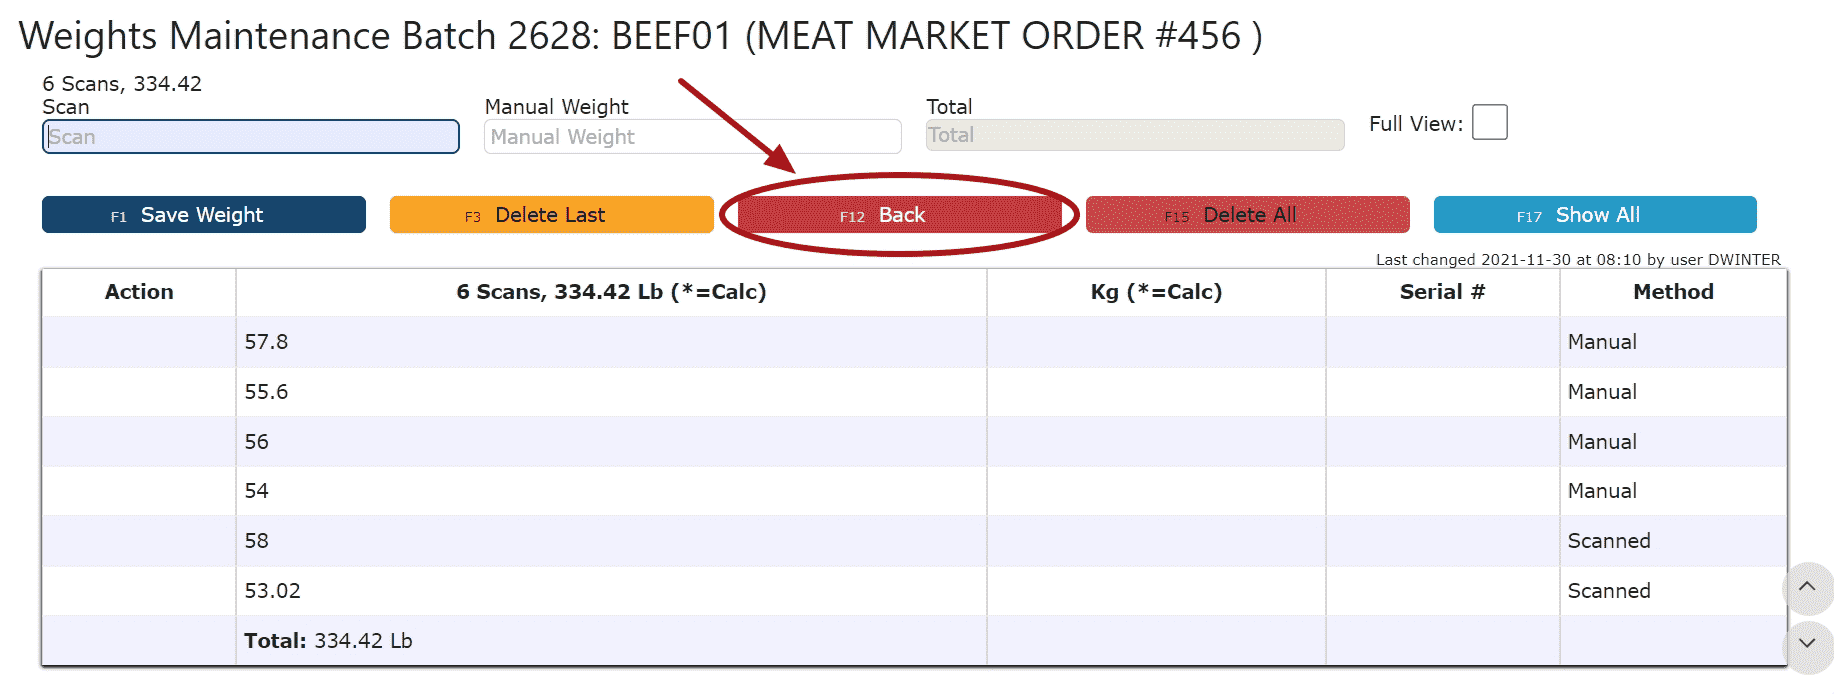
    8. Click the Back Button until editing the main batches screen, then select the Save & Exit option to save the batch 


    Disabling a Misc. Weights Batch


    1. Click on the Disable Weight Batch icon and select OK on the pop-up prompt 


    2. The Misc. Weights Batch is now located under the disabled batches 

    Note: Misc. Weights Batches can be disabled but not deleted 


    Activating a Misc. Weights Batch

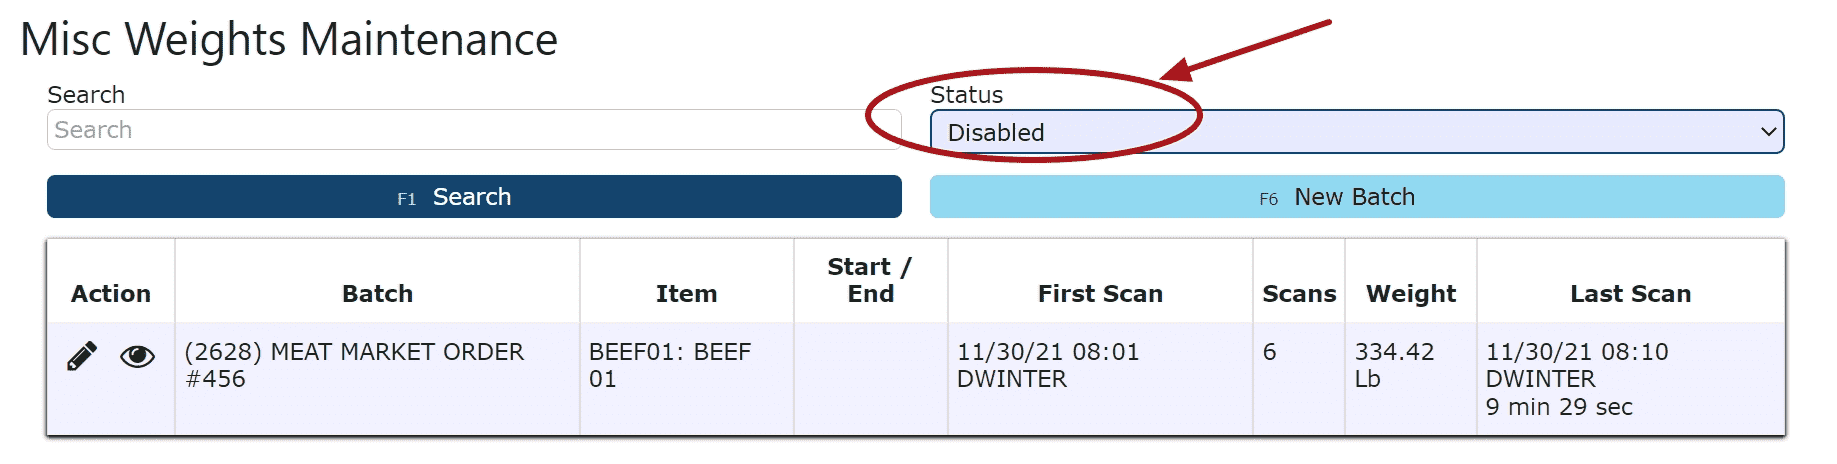
    1. Locate the Misc. Weights Batch under the list of disabled batches 


    2. Click on the Edit Weights icon 


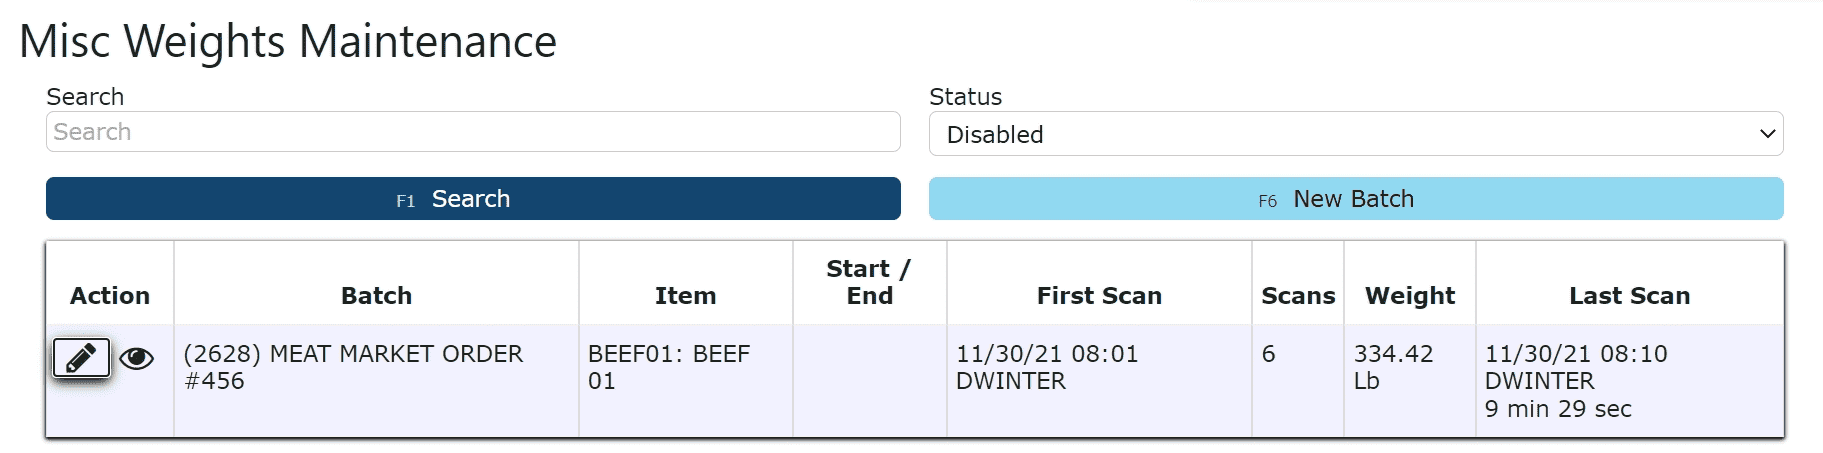
    3. Select Active from the Status Dropdown and save the batch 


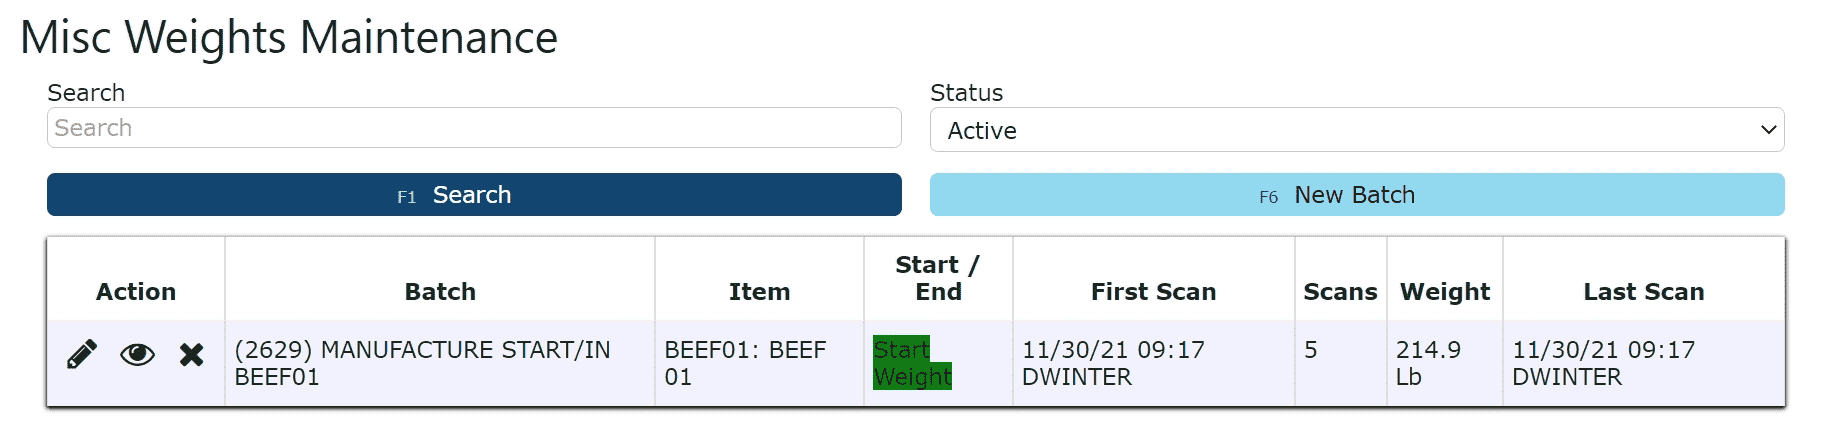
    Manufacture Start/In Misc. Weights Batches

    A misc. weights batch will automatically be created containing the weights from "destroyed" pallets that have been utilized during the manufacturing process